Last updated on February 15, 2025
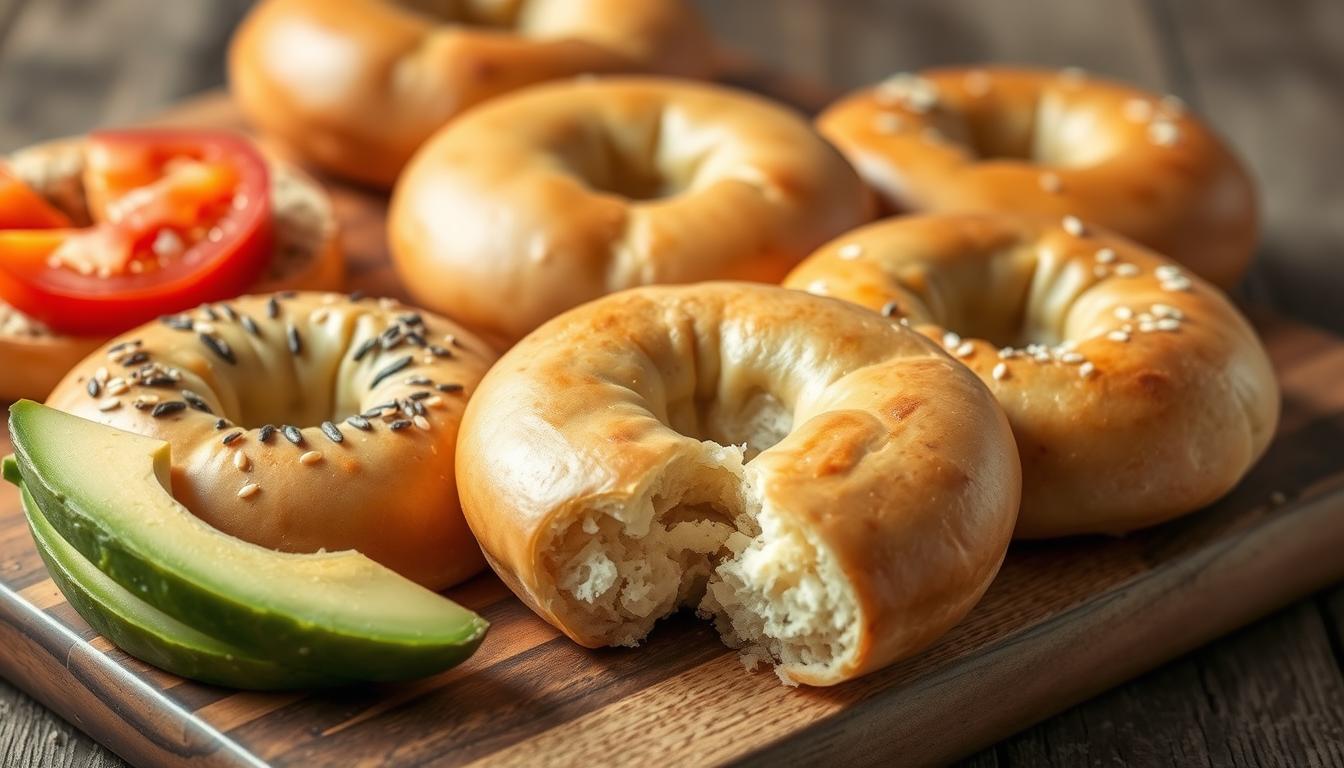
Imagine biting into a warm, fresh gluten-free dairy-free bagel. It feels soft and tastes amazing. Gluten-free and dairy-free diets are popular, making these bagels a favorite at home. They’re perfect for those who can’t eat traditional bagels.
We’ll dive into the world of gluten and dairy-free bagels. You’ll learn how to make them easily at home.
Key Takeaways
- You can make gluten free dairy free bagels at home with a few simple ingredients.
- Dairy free gluten free bagels are a great alternative to traditional bagels for those with dietary restrictions.
- Gluten and dairy free bagels can be stored in an airtight container in the refrigerator for up to 5 days.
- You can freeze gluten-free bagels for up to 3 months.
- Gluten free dairy free bagels can be topped with sesame seeds or a mix of various seeds for added flavor and nutrition.
Understanding Gluten-Free Dairy-Free Bagels
Gluten-free dairy-free bagels let you choose what goes into them. Making your own means you can pick healthy ingredients. This makes for a tasty and nutritious breakfast that fits your diet.
By making your own, you skip the preservatives and additives found in store-bought ones. You can also try new flavors and ingredients. Adding nuts or seeds can give your bagels extra texture and nutrition.
Vegan bagels are a great gluten-free breakfast choice. They’re made with gluten-free flours and dairy-free milk. These bagels taste great and are perfect for those with dietary restrictions. With a bit of creativity, you can make a bagel that’s both delicious and healthy.
Here are some key benefits of making your own gluten-free dairy-free bagels:
- Control over ingredients and nutritional content
- Avoidance of preservatives and additives
- Ability to experiment with different flavors and ingredients
- Delicious and nutritious breakfast option
By making your own gluten-free dairy-free bagels, you get a tasty and healthy breakfast. With the right ingredients and a bit of creativity, you can make a bagel that’s just right for you.
Essential Ingredients for Perfect Allergen-Free Bagels
To make perfect allergen-free bagels, you need gluten-free flours, dairy-free milk, and other key ingredients. Bob’s Red Mill brown rice flour and Bob’s Red Mill tapioca flour are great for gluten-free baking. Dairy-free milk, like almond or soy milk, makes the bagel creamy and delicious.
You’ll also need psyllium seed husks, kosher salt, and baking powder. These help make a bagel that’s gluten-free, dairy-free, and vegan friendly. Make sure to pick ingredients that are gluten free and free from gluten and dairy for safety.
Here are some of the key ingredients you will need:
- 160 g of gluten-free brown rice flour
- 100 g of gluten-free tapioca flour
- 100 g of potato starch
- 20 g of psyllium seed husks
- 2 teaspoons of kosher salt
- 1 teaspoon of baking powder
With these ingredients, you can make tasty gluten free baked goods. They’re perfect for anyone with dietary restrictions. Whether you’re making vegan friendly bagels or just want to try something new, these ingredients will help you create a delicious treat.
Required Kitchen Equipment and Tools
To make delicious gluten-free dairy-free bagels, you’ll need some essential kitchen equipment and tools. Having the right tools is key for gluten-free breakfast options. You’ll need measuring cups and spoons, 2 large mixing bowls, a whisk, an electric mixer, a baking sheet with parchment paper, plastic wrap, a large pot, a pastry brush, and a cooling rack.
Some optional but helpful tools can make the process easier and more efficient. A stand mixer can be a big help when mixing and kneading the dough, which is important for gluten-free baked goods. A dough scraper can also be useful for scraping the sides of the bowl and folding the dough.
Basic Equipment Needs
- Measuring cups and spoons
- 2 large mixing bowls
- Whisk
- Electric mixer
- Baking sheet with parchment paper
- Plastic wrap
- Large pot
- Pastry brush
- Cooling rack
Optional but Helpful Tools
- Stand mixer
- Dough scraper
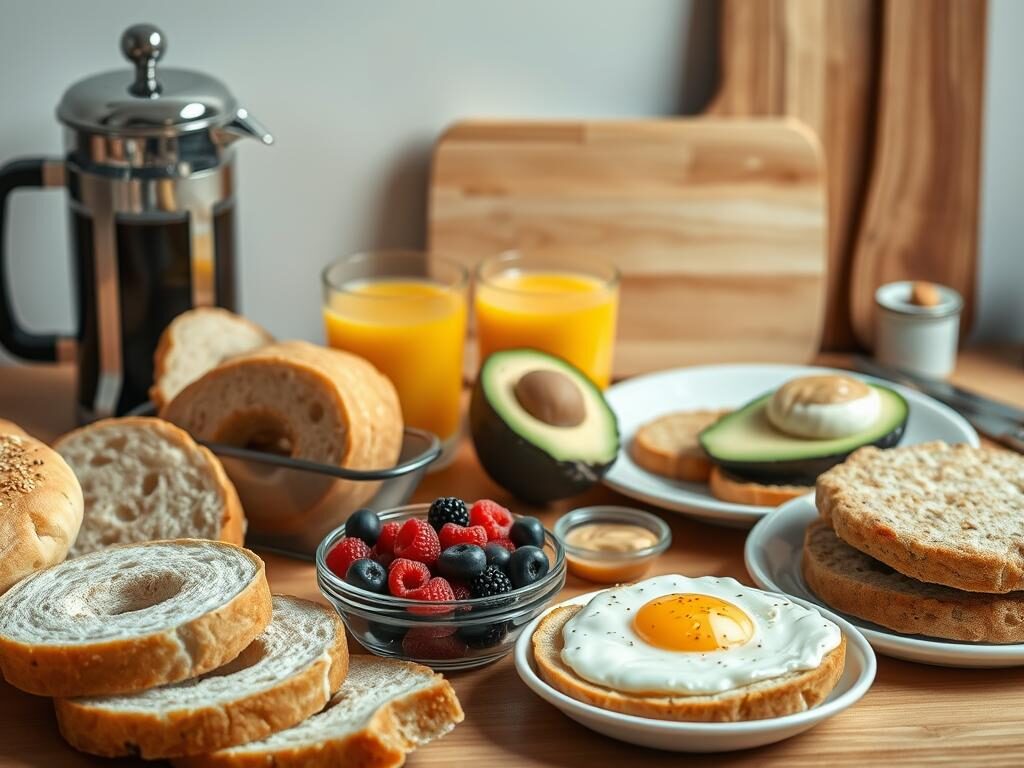
When setting up your workspace, make sure you have all the necessary equipment and tools within easy reach. This will help you stay organized and focused as you work on your dairy-free bakery items. With the right equipment and tools, you’ll be well on your way to creating delicious gluten-free dairy-free bagels that are perfect for any gluten-free breakfast options or as a snack.
Mixing and Preparing Your Bagel Dough
To make tasty vegan bagels, gluten free bagels, and gluten free dairy free bagels, you need to mix the dough right. You’ll need 3 cups of gluten-free bread flour blend, 1½ teaspoons of xanthan gum, and 1 teaspoon of kosher salt. Also, 2½ teaspoons of instant yeast, 1¼ cups of water, 2 tablespoons of brown sugar, and 2 tablespoons of melted butter are required.
Here’s how to mix and prepare your bagel dough:
- In a large mixing bowl, combine the gluten-free flour blend, xanthan gum, and kosher salt.
- In a separate bowl, proof the yeast by mixing it with warm water and brown sugar.
- Add the yeast mixture to the dry ingredients and mix until a dough forms.
- Knead the dough for 10 minutes until it becomes smooth and elastic.
After preparing the dough, let it rise for about 1 hour. It should double in size. Then, shape the dough into gluten free dairy free bagels and boil before baking.
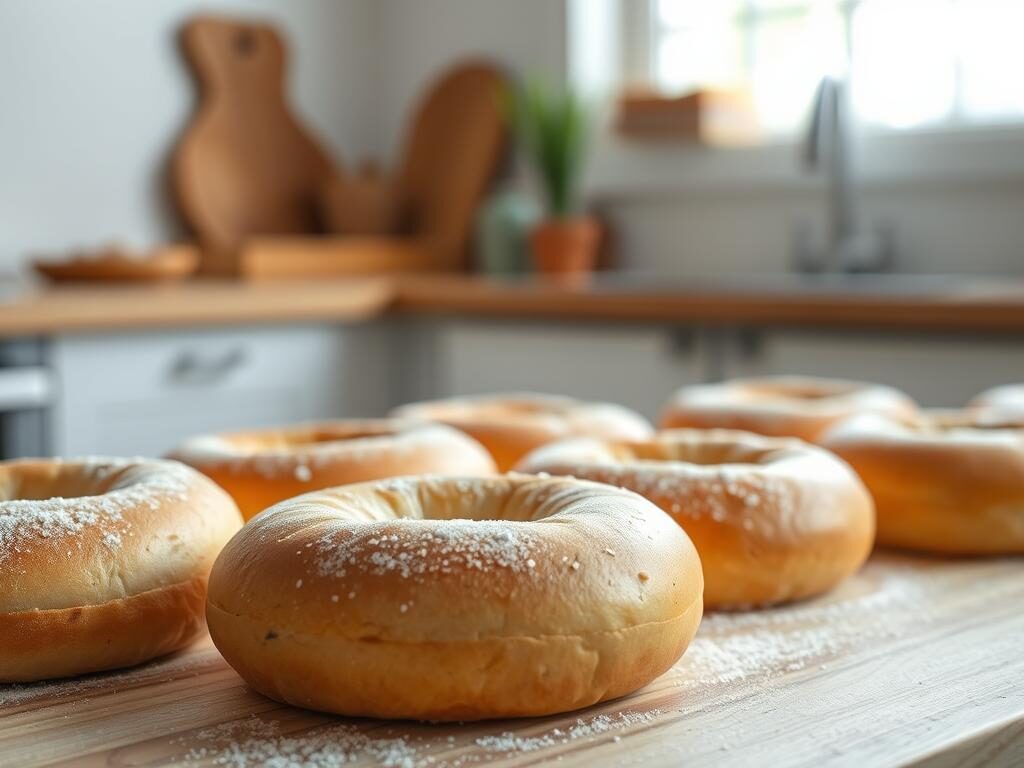
By following these steps and using the right ingredients, you can make delicious vegan bagels, allergen free bagels, and gluten free dairy free bagels. They’re great for any occasion.
Shaping and Forming Your Bagels
Now it’s time to shape your dairy free gluten free bagels. This step is fun and lets you make your bagels just how you like them. First, split your dough into 7-8 parts, depending on the size you prefer.
There are a few ways to shape your gluten and dairy free bagels. You can use the classic ring method or try something new. The ring method involves rolling each piece into a rope and then into a circle, sealing the ends. You can also shape the dough into a ball and flatten it a bit into a disk.
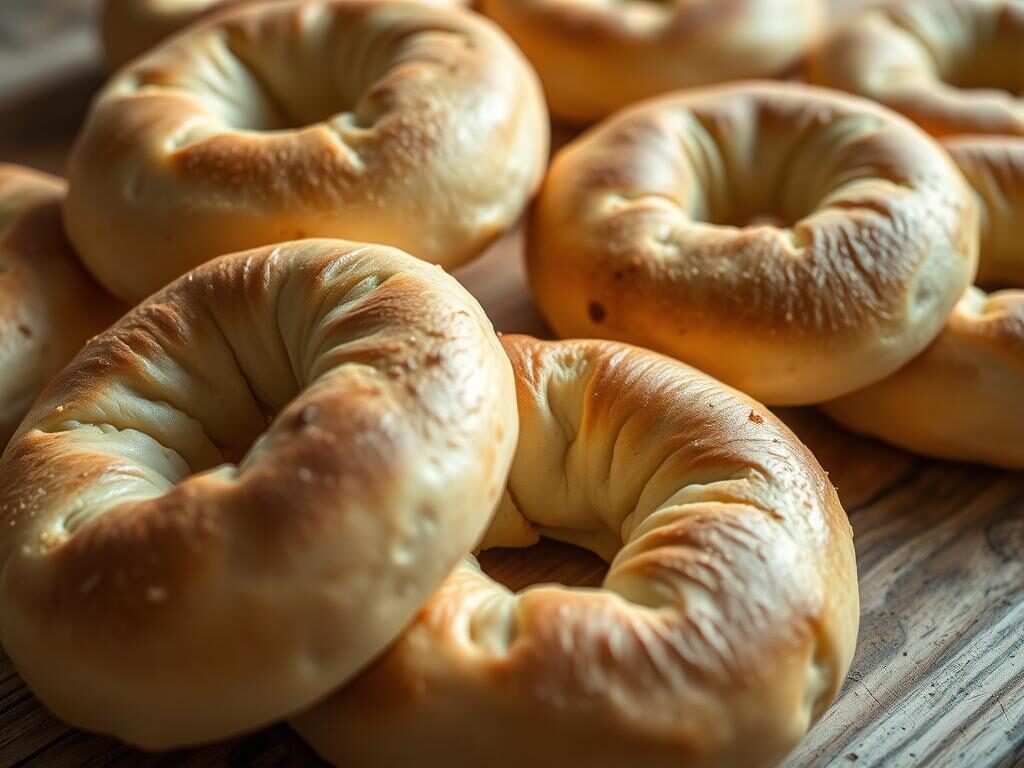
When shaping, make sure your dough is smooth and elastic. Avoid overworking it to prevent dense bagels. You can also add toppings like sesame seeds or dried fruit for extra flavor and texture.
Here are some common issues and how to fix them when shaping your bagels:
- Bagels are too dense: Try reducing the flour or letting them rise longer.
- Bagels are too fragile: Increase the egg in your dough or add more flour for strength.
- Bagels are not forming a good ring shape: Use a bagel mold or adjust your rising environment.
The Boiling Process: Key to Authentic Texture
The boiling process is key to making delicious gluten free baked goods. It helps create a crispy crust and a chewy inside. This makes your gluten free and dairy-free bagels a great treat.
To get this texture, boil your shaped bagels in water with baking soda or salt for 30 seconds on each side. This step is what makes traditional bagels so special. After boiling, your bagels are ready to be baked, giving you a tasty gluten free treat.
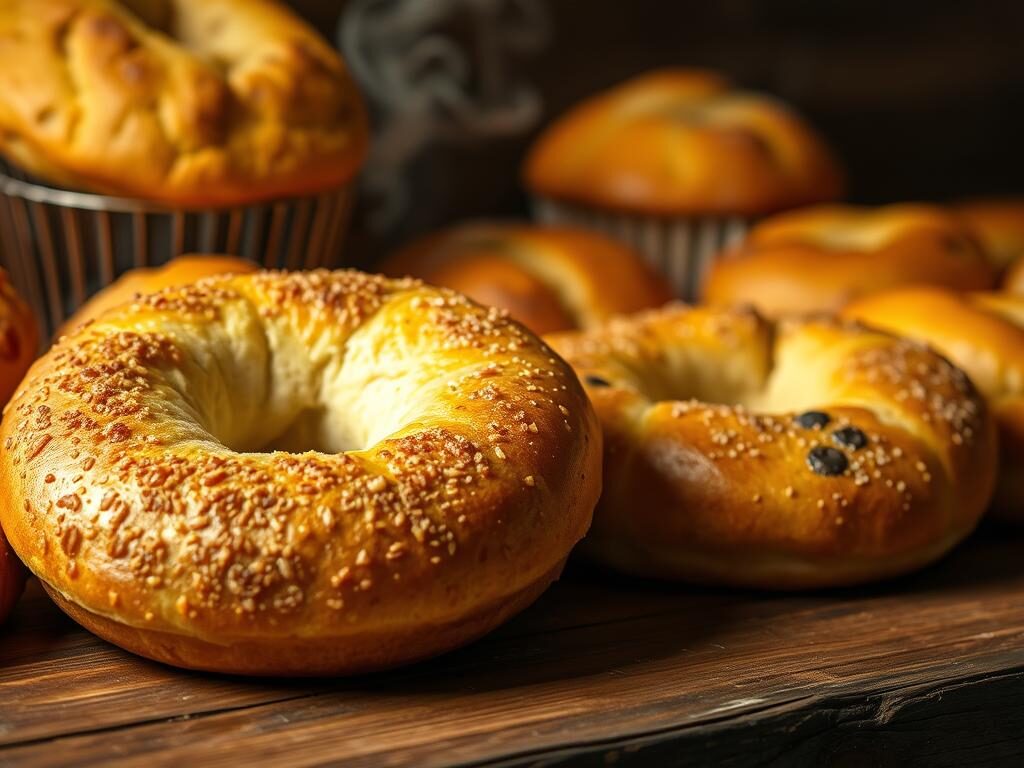
For the best results, use a big pot of water and add 1 tablespoon of baking soda or salt. Heat the water until it boils, then carefully add your bagels. Boil for 30 seconds on each side, then take them out with a slotted spoon. Now, your bagels are ready to be baked, making a tasty gluten free breakfast option.
By following this boiling process, you can make delicious gluten free baked goods. These are perfect for a gluten free breakfast. With a bit of practice, you’ll get an authentic texture and flavor, just like traditional bagels.
Baking Your Gluten and Dairy Free Bagels
To get the perfect texture and flavor for your vegan bagels, follow the right baking steps. Preheat your oven to 400° Fahrenheit for gluten free dairy free bagels. Bake for 20-22 minutes, or until they’re golden brown.
When making allergen free bagels, think about the ingredients and possible allergens. Use a gluten-free flour blend with xanthan gum for better texture. Try different flours like rice or corn starch for unique tastes.
Here are some tips for baking your gluten free dairy free bagels:
- Use the right ratio of flour to yogurt, which is 2 cups of gluten-free flour to 1-2 cups of Greek yogurt.
- Don’t overmix the dough, as this can lead to dense bagels.
- Let the dough rise for at least 1 hour, or until it has almost doubled in size.
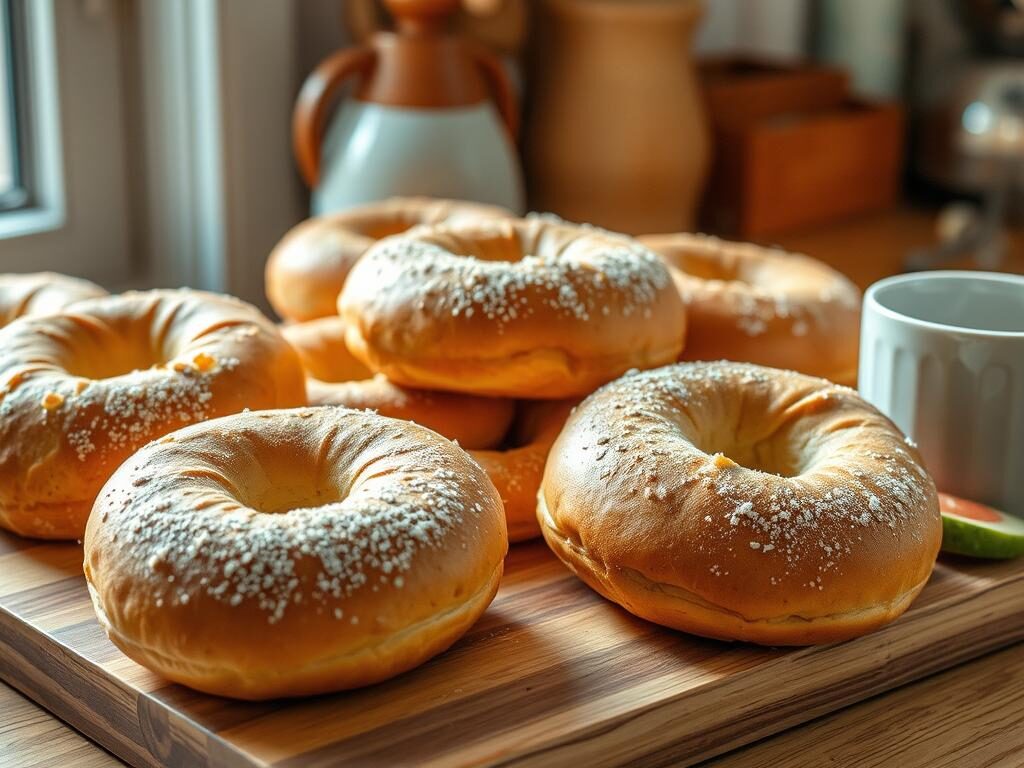
By following these tips and using the right ingredients, you can make tasty vegan bagels. They’re great for anyone with dietary restrictions. Store your allergen free bagels in an airtight container in the fridge for up to 3 days or freeze them for up to 3 months.
Conclusion: Mastering Your Gluten-Free Dairy-Free Bagel Journey
Starting your gluten-free dairy-free bagel-making journey is exciting. Remember, it takes practice to get it right. Don’t worry if your first tries aren’t perfect. Keep trying, learning, and improving your skills.
Homemade gluten and dairy free bagels let you add your own twist. You can make classic bagels or try new flavors like cinnamon-raisin or onion. Be creative and enjoy the freedom of gluten-free baking.
Keep working on your bagel-making skills and enjoy the journey. Baking can be calming and rewarding. Sharing your homemade bagels with others is a special treat. So, keep at it, stay patient, and enjoy every step of your bagel-making adventure.
FAQ
What are the benefits of making your own gluten-free dairy-free bagels?
Making your own gluten-free dairy-free bagels lets you control what goes into them. You can avoid preservatives and additives found in store-bought bagels. Plus, you get to enjoy a tasty and healthy breakfast or snack.
What are the essential ingredients needed to make perfect allergen-free bagels?
To make gluten-free dairy-free bagels, you’ll need gluten-free flours like almond or coconut flour. You’ll also need dairy-free milk, such as almond or soy milk.
What kitchen equipment and tools are needed to make gluten-free dairy-free bagels?
You’ll need a mixing bowl, measuring cups, and a baking sheet to make gluten-free dairy-free bagels. Tools like a stand mixer, dough scraper, and pastry brush can also be helpful.
What are the different methods for shaping and forming gluten-free dairy-free bagels?
You can shape bagels in a traditional ring or try other methods. Knowing how to fix common shaping problems is key.
Why is the boiling process important for gluten-free dairy-free bagels?
Boiling is key for the right texture. It gives you a crispy crust and a chewy inside, just like traditional bagels.
What baking guidelines should be followed for gluten-free dairy-free bagels?
Follow these baking tips: pay attention to temperature and timing. Look for visual signs of doneness. Cool and store them right to keep the texture and taste perfect.

