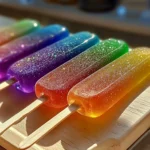
Summer is here, and that can only mean one thing—it’s time for something cool and refreshing! If you’re craving a tasty way to beat the heat, look no further than homemade freeze pops. These delightful treats are not only simple to make but also allow you to customize flavors using your favorite fruits. Whether you’re cooling down after a hot day or planning a fun treat for the kids, homemade freeze pops are sure to hit the spot!
In this article, I’ll guide you through every step of making these delicious frozen snacks. You will find everything from why you’ll love this recipe, the ingredients needed, detailed directions, serving suggestions, and even some pro tips. Let’s dive in and make some freeze pop magic!
Why You’ll Love This Homemade Freeze Pops Recipe
Homemade freeze pops are the perfect treat for a warm day. Here’s why you will love them:
Healthy Ingredients: You control what goes into your freeze pops. They are packed with real fruit without all the added sugar and preservatives found in store-bought options.
Customizable Flavors: Want a mango-strawberry blend? Or maybe a tropical kiwi-pineapple delight? You can mix and match your favorite fruits to create unique flavors that please everyone.
Fun for All Ages: Making freeze pops is a fun activity for kids and adults alike. It’s easy enough for children to help and enjoy the process, making memories in the kitchen.
Versatile and Quick: This recipe doesn’t require any fancy equipment or complicated procedures. Just blend, pour, freeze, and enjoy!
Great for Entertaining: Impress your guests at summer parties with a delicious and elegant treat that looks as good as it tastes.
Ingredients You’ll Need for Homemade Freeze Pops
To create these delightful freeze pops, gather the following ingredients:
Essential Ingredients
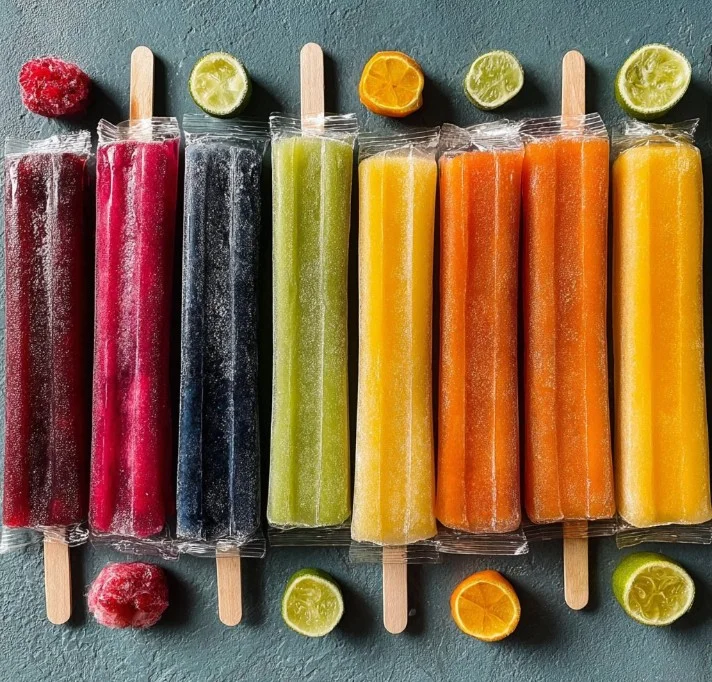
- 2 cups frozen fruit (thawed): Choose from a variety like strawberries, mangoes, peaches, blueberries, kiwi, pineapple, and dragonfruit.
- 1/2 cup water: Helps blend the mixture smoothly.
- 2 tablespoons freshly squeezed lemon or lime juice: Adds a zing of freshness and balances the sweetness.
- 2 tablespoons honey or agave syrup: Sweetens your pops; you can adjust the amount to your preference.
Optional Add-Ons
- Mint leaves: Fresh mint pairs beautifully with kiwi and pineapple or for a refreshing twist in any flavor.
- Extras: Consider adding a pinch of salt to enhance flavors or a splash of coconut milk for creaminess.
How to Make Homemade Freeze Pops: A Step-by-Step Guide
Making homemade freeze pops is straightforward. Follow these detailed steps:
Step 1: Thaw Your Frozen Fruit
Start by thawing your frozen fruit. You have two options here:
- Room Temperature: Let the fruit sit at room temperature for about 30 minutes. This softens it up, making it easier to blend.
- Microwave: In a pinch, microwave the fruit for around 30 seconds. Just be careful not to overheat them; you want them soft but not hot.
Step 2: Blend the Ingredients
Once the fruit is thawed, it’s time to blend!
- Add the thawed fruit to a blender.
- Pour in 1/2 cup of water.
- Squeeze in 2 tablespoons of lemon or lime juice for a fresh zing.
- Add 2 tablespoons of honey or agave syrup to sweeten the mixture.
Blend everything together until the mixture is smooth and well combined. If you want a really smooth texture, blend for an extra minute or two.
Step 3: Pour into Popsicle Sleeves
Now it’s time to pour the mixture into your popsicle sleeves.
- Use a funnel to make this task easier and cleaner. This helps you avoid spills and ensures you fill each sleeve evenly.
- Fill each sleeve to about 3/4 full, leaving a little space at the top for expansion as they freeze.
Step 4: Freeze Your Pops
Place the filled popsicle sleeves flat in your freezer.
- Let them freeze for at least 8 hours, or ideally overnight. This ensures they freeze completely and are ready to enjoy when the craving strikes!
Serving Suggestions for Homemade Freeze Pops
Serving homemade freeze pops is half the fun! Here are some creative ideas:
- On a Hot Day: Hand them out as a cooling treat during a backyard barbecue or picnic. They’re always a hit!
- Decorative Plates: Serve them on a colorful platter with lemon or lime slices for a refreshing touch.
- Fruity Accents: Garnish with fresh mint leaves or additional fruit slices to elevate the presentation.
- Pairing Ideas: Serve them alongside light snacks or fruity drinks for a full summer treat experience.
Pro Tips for Perfecting Your Homemade Freeze Pops
To make sure your freeze pops turn out just right, follow these handy tips:
- Fruit Choice: Choose ripe fruits that are sweet and flavorful. This ensures a better taste in your final pops.
- Adjust the Sweetness: Taste your mixture before pouring it into the sleeves. If it’s not sweet enough, add a little more honey or agave.
- Layering Flavors: For a fun twist, try layering different fruit mixtures in the same popsicle sleeve. Just let the first layer freeze for a bit before adding the next.
- Easy Removal: To easily remove the pops from the sleeves, run warm water over the outside for a few seconds. This helps them slide out smoothly.
- Create Unique Blends: Don’t be afraid to experiment! Mix and match fruits and juices to create your own signature flavor combinations.
Easy Variations for Homemade Freeze Pops
While the classic version is delicious, there are loads of ways to switch things up:
- Berry Medley: Combine blueberries, raspberries, and strawberries for a vibrant berry mix.
- Tropical Twist: Blend mango, pineapple, and coconut milk for a creamy tropical delight.
- Citrus Blast: Mix orange, lemon, and lime juices for a refreshing citrusy burst.
- Green Dream: Use kiwi, spinach, and apple for a refreshing and healthy green freeze pop.
Storage Tips to Store Homemade Freeze Pops
Keep your homemade freeze pops fresh and tasty with these storage tips:
- Store in the Freezer: Keep your freeze pops in the freezer at all times. They can last up to three months if sealed well.
- Use Airtight Containers: Once frozen, you can also transfer the pops to airtight containers to save space in your freezer.
- Prevent Freezer Burn: Ensure the pops are sealed properly to avoid freezer burn. Wrapping them in plastic wrap before storing can help.
Conclusion
Homemade freeze pops are a delicious and healthy way to stay cool during hot days. With just a few simple ingredients and steps, you can create refreshing treats that anyone will love! Plus, the ability to choose your favorite fruits and mix flavors makes this a recipe you’ll come back to time and again.
So grab your blender and popsicle sleeves, and let’s start freezing up some yard-long smiles!
FAQs About Homemade Freeze Pops
1. How long do homemade freeze pops last in the freezer?
Homemade freeze pops can last up to three months when stored in an airtight container in the freezer.
2. Can I use fresh fruit instead of frozen?
Yes! You can use fresh fruit, but it may require you to add ice or extra water to achieve the right texture for blending.
3. Are homemade freeze pops healthier than store-bought?
Absolutely! When you make freeze pops at home, you control the ingredients, which means no artificial flavors, colors, or preservatives.
4. Can I add yogurt to my freeze pops?
Yes! Adding yogurt can create a creamy texture, making for a delicious frozen treat. Simply blend it in with your fruit mixture.
5. What is the best way to remove the freeze pops from the molds?
Running warm water over the outside of the molds for a few seconds will help the pops slide out easily.