Last updated on February 11, 2026
A Cozy Start
Have you ever stood in your kitchen craving something sweet, messy, and a little nostalgic—like the kind of dessert that makes you think of summer picnics and grandma’s porch? I have, more times than I can count, and this recipe grew out of one of those late-afternoon cravings. If you’re a beginner, you might worry about filling cones without making a mess or getting the cheesecake filling perfectly smooth—I’ve been there, too. Trust me: Banana Pudding Cheesecake Cones are easier than they look, and if you like a classic pudding flavor, you might also enjoy this classic banana pudding recipe that I often turn to when I want something cozy and straightforward.
A Quick Look at This Banana Pudding Cheesecake Cones Recipe
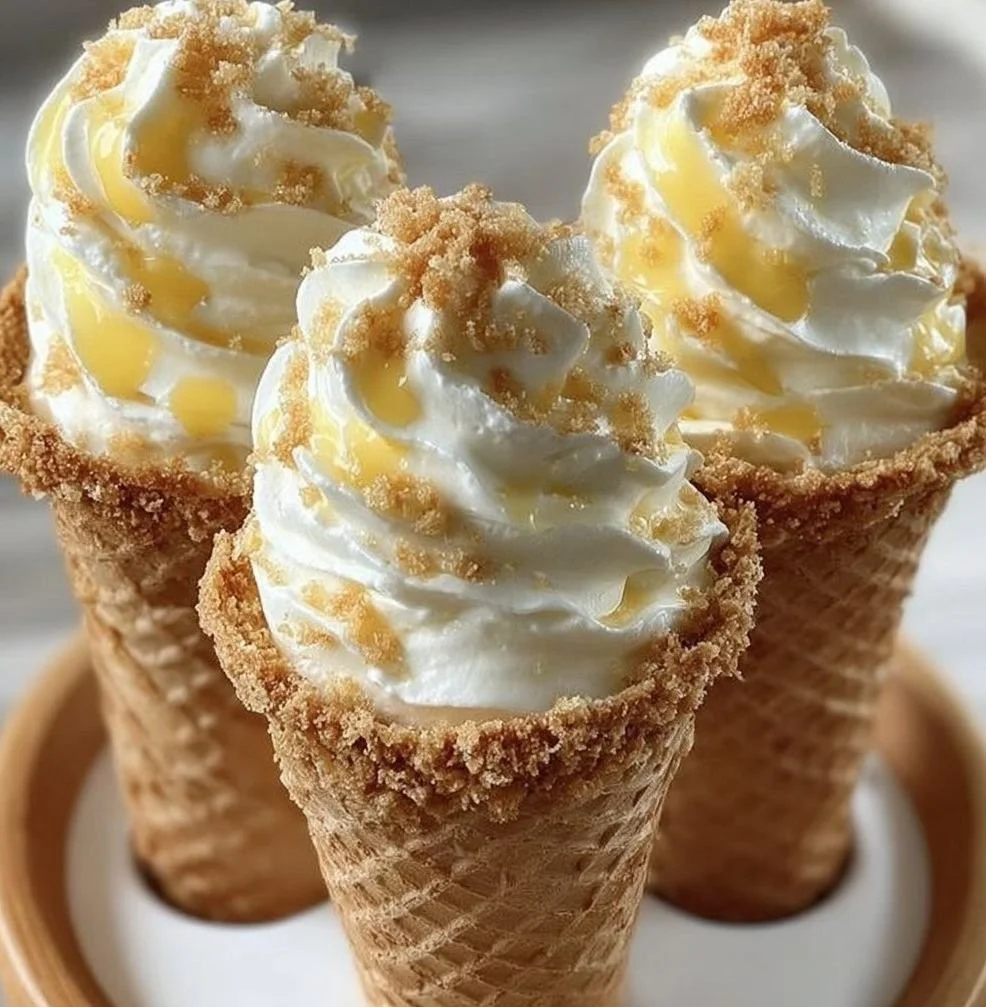
This recipe combines creamy cream cheese and instant banana pudding mix to create a rich, dreamy filling that tastes like banana pudding folded into cheesecake. It’s convenient because most of the work is mixing, chilling briefly, and filling cones—no baking required. That makes it great for home cooks and beginners who want an impressive dessert without complicated steps or special equipment. Scroll down to see the simple ingredient list and step-by-step photos (if you want), and find tips for making these portable, playful cones perfect for parties or a weeknight treat.
Ingredients You’ll Need for Banana Pudding Cheesecake Cones
Essentials
- 16 oz cream cheese, softened (room temperature is best so it blends smoothly)
- 1 cup powdered sugar (for sweetness and smooth texture)
- 1/2 cup heavy whipping cream (for richness and lightness)
- 1 tsp vanilla extract (pure if possible for best flavor)
- 1 package (3.4 oz) instant banana pudding mix (the instant kind mixes quickly with milk)
- 1 1/2 cups cold milk (to prepare the pudding mix; use whole milk for the creamiest result)
- 10–12 waffle cones or sugar cones (choose sturdy cones so they hold up to the filling)
- 1 cup crushed vanilla wafer cookies (Nilla wafers or similar; for the cone lining and crunch)
- 2 tbsp melted butter (to help the crushed wafers stick to the cones)
Optional add-ons
- Sliced fresh bananas (for topping or layering—add them just before serving so they don’t brown)
- Whipped cream dollop (for a lighter finish on top)
- Mini chocolate chips or chocolate shavings (for a little contrast)
- Caramel or dulce de leche drizzle (go light; a little goes a long way)
- Chopped toasted pecans or almonds (for extra crunch)
- Sprinkles or crushed banana chips (fun for kids or parties)
Substitutions and shortcuts
- Cream cheese: You can use Neufchâtel for a lower-fat version, though the filling will be slightly less rich.
- Powdered sugar: Substitute with granulated sugar that’s been blitzed in a blender to make it finer, or use a liquid sweetener (reduce heavy cream slightly).
- Heavy cream: If you don’t have heavy cream, you can replace it with an equal amount of full-fat Greek yogurt for a tangier texture (mix gently).
- Instant banana pudding mix: If you have banana-flavored pie filling, you can use about 1 cup mixed into the filling for a shortcut—reduce the milk in the recipe to keep texture stable.
- Crushed cookies: Use store-bought graham cracker crumbs, cookie crumbs, or crushed shortbread if you don’t have vanilla wafers.
- Melted butter: Coconut oil works as a dairy-free substitute and helps the crumbs stick to cones.
- To speed up chilling: Pop the mixture in the freezer for 15 minutes, stirring every 5 minutes so it chills evenly without freezing solid.
How to Make Banana Pudding Cheesecake Cones Step-by-Step
I love how quick this comes together. Below I break each step down so a beginner can follow along easily.
Prep your tools and ingredients
- Take the cream cheese out of the fridge about 30–60 minutes before you start so it softens. If you forget, microwave it in 5–8 second bursts until slightly softened but not melted.
- Measure the powdered sugar, heavy cream, and vanilla so they’re ready.
- Have a medium bowl for mixing the pudding and a larger bowl (or stand mixer) for the cream cheese mixture.
- Place the melted butter and crushed vanilla wafers in a small bowl for lining the cones.
Beat the cream cheese until smooth
- Place the softened cream cheese in a large mixing bowl.
- Using a hand mixer or stand mixer fitted with the paddle attachment, beat the cream cheese on medium speed for 1–2 minutes until it’s completely smooth and no lumps remain.
- Scrape down the sides of the bowl with a spatula to ensure even texture.
Mix in powdered sugar, heavy cream, and vanilla until combined
- Add the powdered sugar to the bowl in two additions, beating briefly after each addition so it dissolves into the cream cheese.
- Pour in the heavy whipping cream and the vanilla extract.
- Beat on medium speed until the mixture becomes lighter and slightly fluffy—this usually takes 1–2 minutes. Don’t overbeat into butter; you want a creamy, scoopable consistency.
Stir in banana pudding mix and cold milk until smooth
- In a separate bowl, whisk the instant banana pudding mix with the 1 1/2 cups cold milk until it thickens according to the package instructions. Instant pudding thickens quickly—usually within a minute or two.
- Once the pudding sets, gently fold it into the cream cheese mixture using a spatula. Fold with a figure-eight motion to keep the airy texture—don’t whip it aggressively.
- Taste the filling and adjust sweetness if needed (add a tablespoon of powdered sugar at a time).
Chill the filling for 30 minutes
- Cover the bowl with plastic wrap and refrigerate for at least 30 minutes. Chilling helps the filling firm up so it holds shape when piped or scooped into cones.
- If you’re short on time, 15 minutes in the freezer will help, but keep an eye on it.
Combine crushed vanilla wafers with melted butter
- Put approximately 1 cup of crushed vanilla wafers into a small bowl and stir in 2 tablespoons of melted butter until the mixture resembles wet sand.
- The butter helps the crumbs adhere to the cone walls and adds a subtle buttery flavor.
Line the cones with the cookie mixture
- Working with one cone at a time, spoon a tablespoon or two of the crumb mixture into each cone and gently press it against the bottom and sides. A small wooden spoon or the handle of a wooden spatula works well to push crumbs into place.
- If you prefer, you can carefully coat the inside of the cones with a thin layer of melted chocolate first, chill for a few minutes, and then add the crumbs for a chocolate-lined version.
- Set lined cones upright in a cone holder or a makeshift holder (a cup filled with sugar works great) while you fill them.
Fill cones with cheesecake filling
- Transfer the chilled filling to a piping bag fitted with a large round tip (or simply use a zip-top bag with a corner snipped off).
- Pipe the filling into each cone until it reaches the top, then gently swirl the top for a pretty finish.
- If you don’t have a piping bag, use a spoon to fill the cones, tamping gently to remove air pockets.
Add finishing touches and serve
- Sprinkle extra crushed vanilla wafers on top for crunch, or add a small slice of banana and a dollop of whipped cream.
- Serve immediately if you like a crisp cone. If you need to store them, cover and keep refrigerated for up to 24 hours; note that cones can soften over time.
- If making ahead, consider storing filling separately and filling the cones just before serving for the best texture.
Tips for transport and make-ahead prep
- If you’re bringing these to a picnic, freeze the filled cones solid for 20–30 minutes, then pack them in an insulated cooler. They’ll thaw to perfect creaminess by dessert time.
- Alternatively, keep the filling chilled in an airtight container and the lined cones in a resealable bag; fill on location.
Common Mistakes to Avoid
Even simple recipes have small pitfalls. A few common mistakes can make a big difference in texture and presentation.
Mistake 1: Using cold cream cheese
If the cream cheese is too cold, it will clump and leave lumps in your filling. Always let it soften at room temperature—about 30–60 minutes—or soften in very short microwave bursts. Smooth cream cheese equals silky filling.
Mistake 2: Over-whipping the cream cheese mixture
It’s easy to get carried away with the mixer. Over-whipping can cause the cream to break and turn grainy or even buttery. Beat until smooth and slightly fluffy, then stop. Folding the pudding in gently will keep the texture light.
Mistake 3: Lining cones too late
Waiting to line the cones until right before serving is okay, but if you line them and then sit on them for a long party, the crumbs may become soggy from moisture in the filling. If you need them to stay crisp, line them shortly before filling, or keep the crumb-lined cones in a cool, dry place until you fill them.
Serving Suggestions for Banana Pudding Cheesecake Cones
These cones are playful and portable, and they lend themselves to lots of serving ideas. Here are a few simple ways I like to present them.
Dessert table star
Arrange the cones upright in a shallow box lined with parchment or in a vase of granulated sugar so they stand tall and look like little bouquets. Add a few extra crushed wafers on a small plate nearby for guests to sprinkle.
Pairings
Serve with hot coffee or a pot of herbal tea for a cozy afternoon treat. For a summertime spread, pair with iced tea and fresh fruit—berries or sliced mango complement the banana flavor nicely.
Presentation tips
Garnish each cone with a tiny banana slice, a sprinkle of crushed wafer crumbs, and a dab of whipped cream. For a more sophisticated look, shave a little dark chocolate over the top for contrast.
Conclusion
I love how these Banana Pudding Cheesecake Cones come together—rich, creamy filling tucked into a crunchy cone makes dessert feel fun and a little nostalgic. They’re easier than they look, fully customizable, and perfect for anyone who’s a beginner in the kitchen. If you want a slightly different take or inspiration from another home cook, I also like the fresh spin on banana and cheesecake treats found at Banana Cheesecake Cones | Two Pink Peonies. Give this recipe a try, and if you make them, tell me how you dressed them up — I love swapping cozy tweaks and family-friendly ideas.
FAQs About Banana Pudding Cheesecake Cones
Q1: How long do Banana Pudding Cheesecake Cones last in the fridge?
A1: Filled Banana Pudding Cheesecake Cones are best eaten within 24 hours if kept refrigerated because the cones will start to soften. If you want to make them earlier, store the filling separately and fill the cones just before serving for the best texture.
Q2: Can I make Banana Pudding Cheesecake Cones without heavy cream?
A2: Yes — for a lighter or dairy-alternative option, you can use full-fat Greek yogurt instead of heavy cream. The texture will be a bit tangier and less airy but still delicious. Another shortcut is using whipped topping (like thawed Cool Whip) folded into the filling.
Q3: Are Banana Pudding Cheesecake Cones kid-friendly?
A3: Absolutely. These Banana Pudding Cheesecake Cones are a fun, no-bake dessert that kids can help assemble—lining the cones and adding toppings is a great activity. Just slice fresh banana at serving time to avoid browning.
Q4: Can I make Banana Pudding Cheesecake Cones ahead for a party?
A4: You can prep most parts ahead: make the filling and refrigerate, crush the wafers and mix with butter, and have cones ready. For the crispest cones, line and fill them an hour or so before the party, or fill them on-site if possible.
Q5: How can I make Banana Pudding Cheesecake Cones nut-free?
A5: This recipe is naturally nut-free if you avoid adding nuts as a topping. Use plain crushed vanilla wafers and be mindful of any store-bought toppings or cones that may have been processed in facilities that handle nuts—check labels if you have severe allergies.

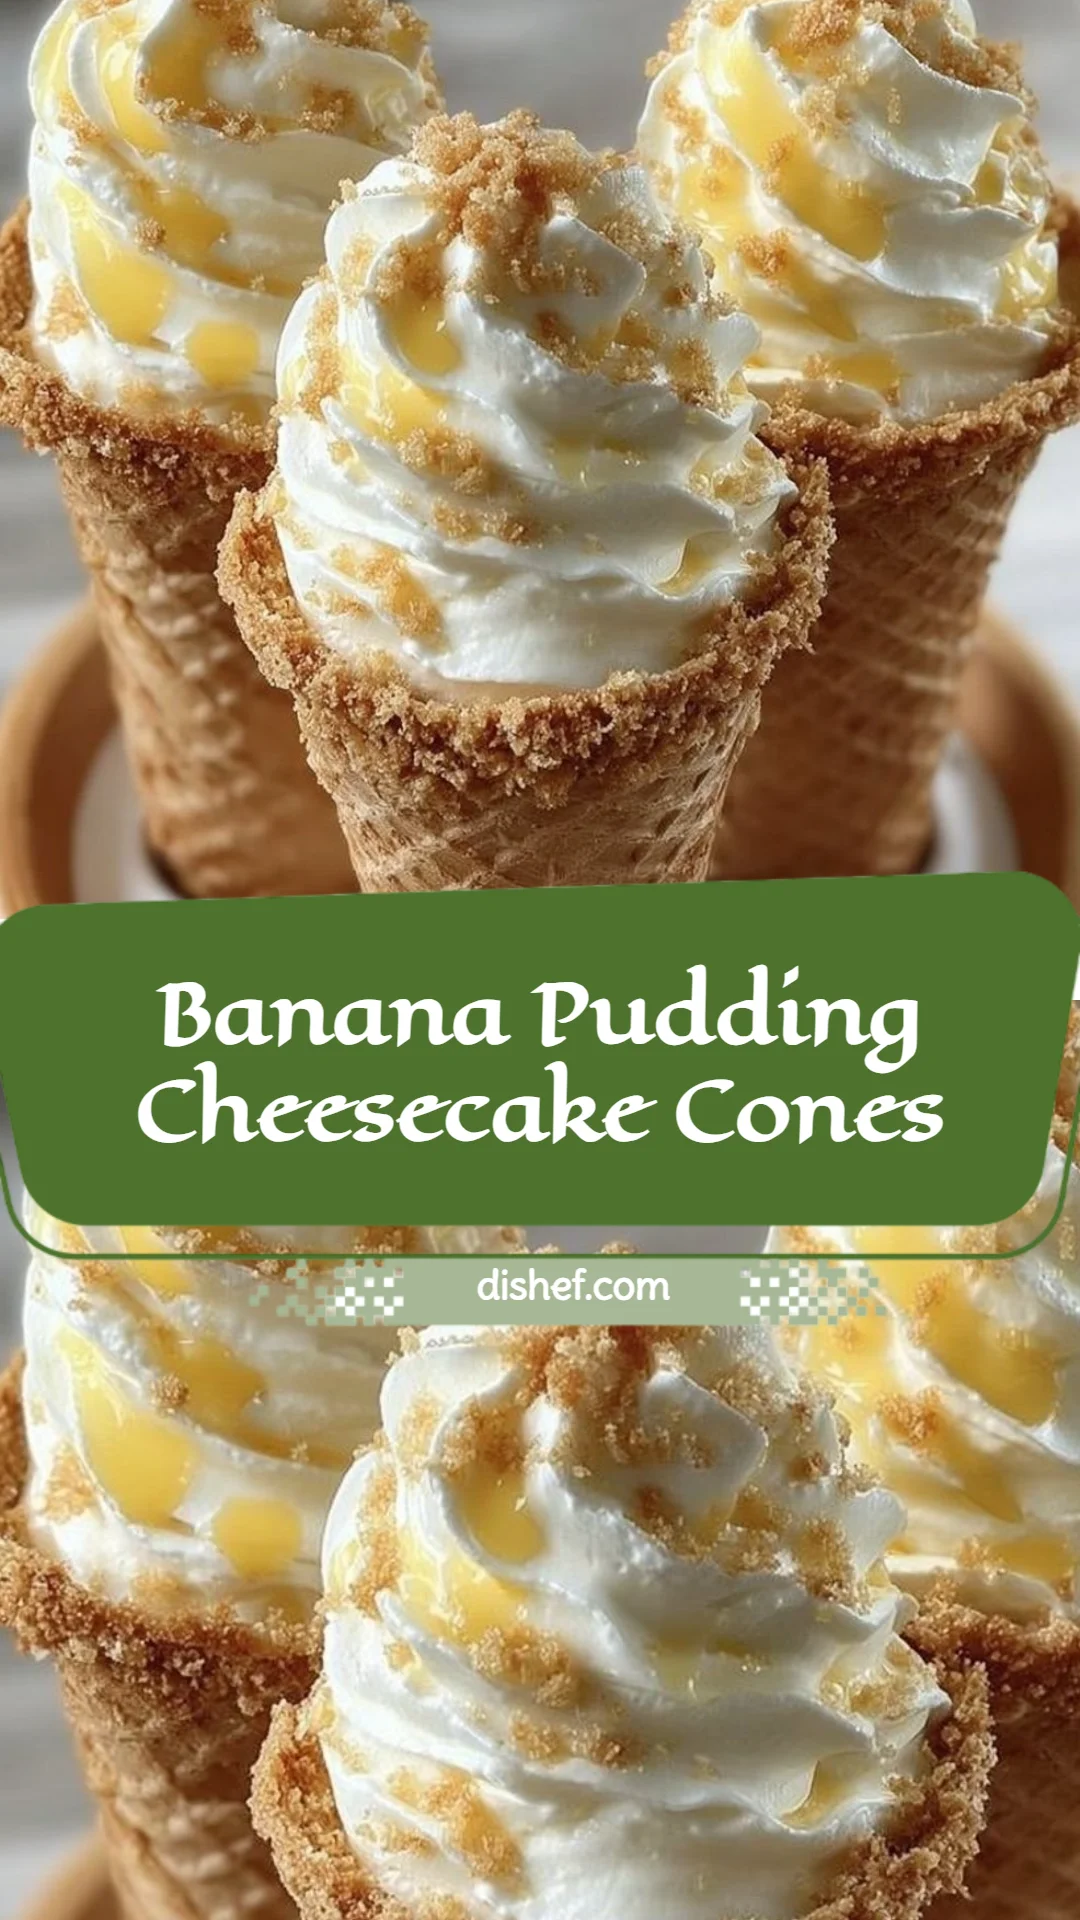
Banana Pudding Cheesecake Cones
- Total Time: 45 minutes
- Yield: 10 servings 1x
- Diet: Vegetarian
Description
A playful, no-bake dessert with creamy cheesecake filling and crunchy cones, perfect for summer picnics.
Ingredients
- 16 oz cream cheese, softened
- 1 cup powdered sugar
- 1/2 cup heavy whipping cream
- 1 tsp vanilla extract
- 1 package (3.4 oz) instant banana pudding mix
- 1 1/2 cups cold milk
- 10–12 waffle cones or sugar cones
- 1 cup crushed vanilla wafer cookies
- 2 tbsp melted butter
- Sliced fresh bananas (optional)
- Whipped cream dollop (optional)
- Mini chocolate chips or chocolate shavings (optional)
- Caramel or dulce de leche drizzle (optional)
- Chopped toasted pecans or almonds (optional)
- Sprinkles or crushed banana chips (optional)
Instructions
- Take the cream cheese out of the fridge about 30–60 minutes before starting to soften.
- Beat the cream cheese until smooth using a mixer.
- Mix in powdered sugar, heavy cream, and vanilla until combined.
- Stir in banana pudding mix and cold milk until smooth.
- Chill the filling for 30 minutes.
- Combine crushed vanilla wafers with melted butter.
- Line the cones with the cookie mixture.
- Fill cones with cheesecake filling using a piping bag.
- Add finishing touches and serve immediately.
Notes
For best results, fill the cones just before serving to maintain their crispness.
- Prep Time: 15 minutes
- Cook Time: 0 minutes
- Category: Dessert
- Method: No-Bake
- Cuisine: American
Nutrition
- Serving Size: 1 cone
- Calories: 250
- Sugar: 20g
- Sodium: 200mg
- Fat: 15g
- Saturated Fat: 9g
- Unsaturated Fat: 5g
- Trans Fat: 0g
- Carbohydrates: 30g
- Fiber: 1g
- Protein: 4g
- Cholesterol: 40mg
Keywords: banana pudding, cheesecake, dessert, summer, no-bake