Last updated on June 9, 2025
Banana pudding is a classic dessert that brings back sweet memories for many. Whether it’s a summertime picnic or a family gathering, this creamy treat is a favorite for all ages. With layers of fluffy pudding, ripe bananas, and whipped cream, it’s a dish that never goes out of style. If you’ve been searching for a recipe that combines simplicity and deliciousness, look no further. Let’s dive into what makes banana pudding so special!
Table of Contents

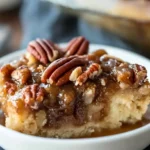
Banana Pudding
- Total Time: 20 mins active + 2‑4 hr chilling
- Yield: Serves 12 1x
- Diet: Vegetarian
Description
A luscious, no-bake layered banana pudding with sweet vanilla pudding, whipped cream, banana slices, and vanilla wafers.
Ingredients
- 1¾ cups cold milk (1–2% fat)
- 2 tsp vanilla extract
- 1 (5.1 oz) package instant vanilla pudding mix
- 1 (14 oz) can sweetened condensed milk
- 16 oz whipped topping, thawed (~2 tubs of 8 oz)
- 1 (11 oz) box vanilla wafers (reserve some for garnish)
- 5 medium slightly ripe bananas, sliced
Instructions
- Let whipped topping thaw at room temperature (~1–2 hr).
- In a large bowl, whisk milk, vanilla, and pudding mix until smooth and thickened (~2 min).
- Whisk in condensed milk until combined.
- Gently fold in whipped topping in increments, preserving fluffiness.
- In a trifle bowl or serving dish, layer pudding mixture, wafers, and banana slices (divide into 3 layers).
- Reserve about 1 cup pudding topping; chill assembled dessert for 2–4 hr.
- Just before serving, garnish with sliced bananas and crushed wafers.
Notes
- Thaw whipped topping thoroughly so it’s soft and spreads easily.
- Layer wisely: about 2 cups filling, 1.5 bananas, and 20–30 wafers per layer.
- Chill at least 2 hr to soften wafers and meld flavors.
- Best eaten within 3 days; fresh bananas on top prevent browning.
- Prep Time: 20 mins (plus thaw time)
- Cook Time: 0 mins
- Category: Dessert
- Method: No‑bake, layering
- Cuisine: American/Southern
Nutrition
- Serving Size: 1 cup
- Calories: ≈320 kcal
- Sugar: ≈35 g
- Sodium: ≈150 mg
- Fat: ≈10 g
- Saturated Fat: ≈6 g
- Unsaturated Fat: ≈3 g
- Trans Fat: 0 g
- Carbohydrates: ≈50 g
- Fiber: ≈2 g
- Protein: ≈5 g
Keywords: banana pudding, no‑bake dessert, vanilla wafers, whipped topping
Why You’ll Love This Banana Pudding
Banana pudding is the perfect combination of flavors and textures. The smooth pudding pairs beautifully with the soft, sweet bananas and the light, airy whipped cream. This dish is not only easy to make but it’s also incredibly versatile; you can add a twist by including your favorite cookies or toppings. Plus, it’s a fantastic make-ahead dessert that allows you to save time when entertaining guests. Once you try this recipe, you’ll want to make it again and again!
Ingredients You’ll Need
To create your own delicious banana pudding, gather the following ingredients:
Essential Ingredients:
- 1 package instant banana pudding
- 1 can sweetened condensed milk
- 1 cup whipped cream
- 3 ripe bananas, mashed
Optional Add-Ons:
- 1 box vanilla wafers or graham crackers
- 1/2 cup chopped nuts (like pecans or walnuts)
- Extra sliced bananas for garnish
- Chocolate shavings or cocoa powder for a touch of elegance
These ingredients are easily accessible, making it simple to whip up this delightful dessert right at home!
How to Make Banana Pudding: A Step-by-Step Guide
Creating your banana pudding is an enjoyable process. Follow these detailed steps to ensure your pudding turns out perfectly creamy and delicious:
Prepare Your Mixing Bowl:
Begin by taking a large mixing bowl. Make sure it’s clean and dry for the best results.Mix the Pudding and Condensed Milk:
Pour the package of instant banana pudding into the bowl. Next, add the can of sweetened condensed milk. Use a whisk to mix them together until the mixture is smooth and free of lumps. This step is crucial for the texture, so take your time!Fold in the Whipped Cream:
Once the pudding and condensed milk are well combined, gently fold in the whipped cream. Use a spatula and a light hand to mix everything together. This keeps the whipped cream airy and light, contributing to the dreamy consistency of your pudding.Add the Mashed Bananas:
Now, take your three ripe bananas and mash them well in a separate bowl. You want them to be creamy, not too chunky. Gently fold the mashed bananas into the pudding mixture. Again, be careful not to over-mix to preserve that fluffy texture.Refrigerate:
Cover the bowl with plastic wrap or a lid. Place it in the refrigerator for at least 2 hours. This chilling time allows the flavors to meld together beautifully, so don’t skip this step!Serve and Enjoy:
Once chilled, give your banana pudding a good stir before serving. You can layer it in individual cups or dish it out into a large serving bowl. If you like, add extra sliced bananas or whipped cream on top for an appealing presentation.
Serving Suggestions
Banana pudding can be served in various ways to impress your guests:
- Individual Servings: Use small cups or jars for single servings—perfect for parties!
- Layered Delight: Create layers with vanilla wafers between the pudding. It adds texture and a delightful crunch.
- Garnish: Top each serving with a dollop of whipped cream and a slice of banana for a cheerful look. You can also sprinkle some chocolate shavings for a gourmet touch.
Pro Tips
Choose Ripe Bananas: Make sure your bananas are ripe for the sweetest flavor. Yellow with a few brown spots is just right.
Quality Ingredients Matter: Using high-quality whipped cream and sweetened condensed milk makes a noticeable difference in taste.
Don’t Rush the Chilling: Allowing your banana pudding to chill for longer than 2 hours can improve the flavor even more. Consider preparing it the night before!
Layer Wisely: If using cookies, layer them in between the pudding to maintain their crunch longer.
Taste as You Go: Always taste your mixture before you refrigerate it. If you think it needs more sweetness, feel free to add a drizzle of honey or additional condensed milk.
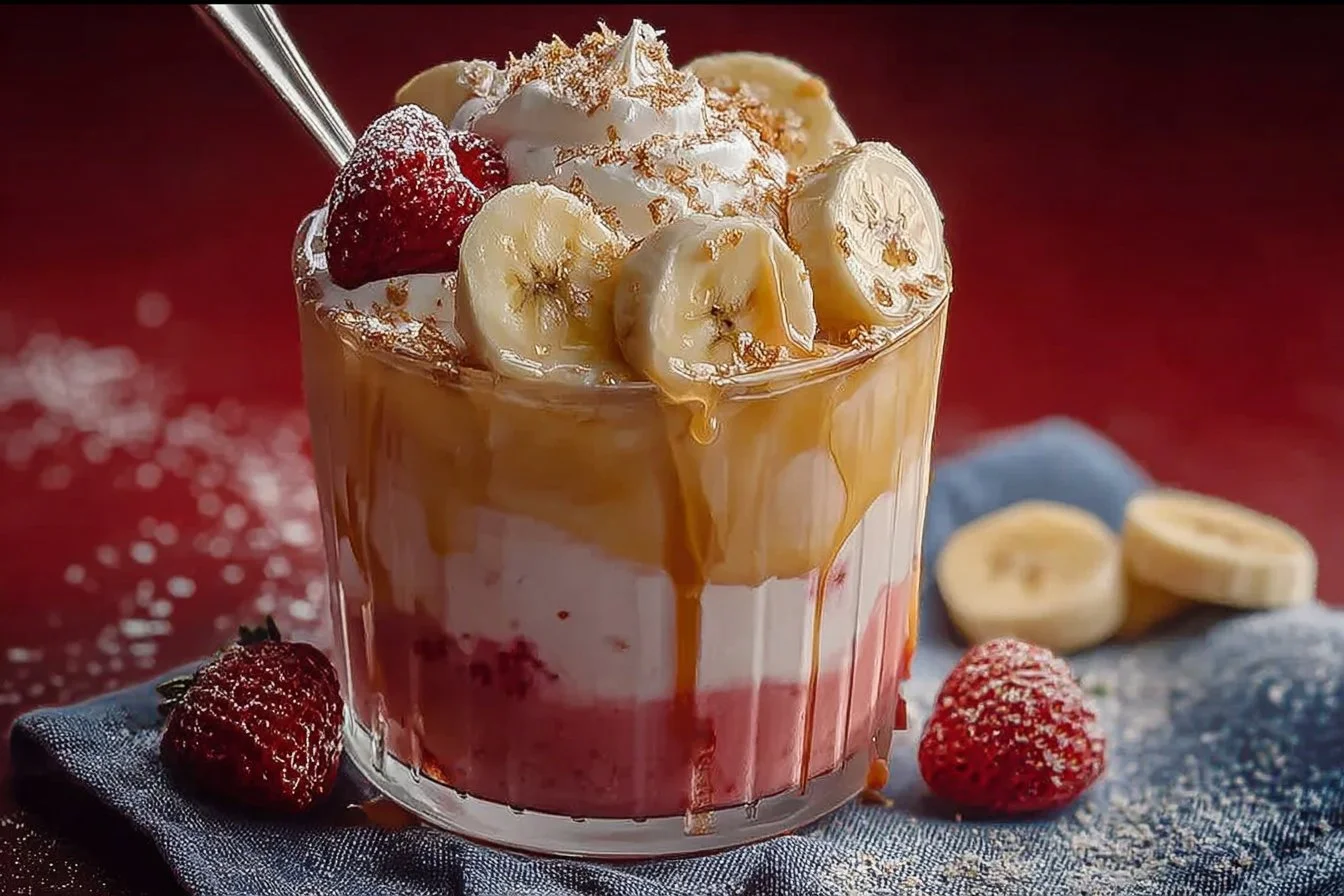
Easy Variations
While the classic banana pudding is wonderful, you can experiment with easy twists to make it even more exciting:
Chocolate Banana Pudding: Use chocolate pudding mix instead of banana for a decadent chocolate version.
Caramel Swirl: Drizzle caramel sauce into your banana pudding for a sweet, sticky surprise.
Coconut Banana Pudding: Add shredded coconut to the mixture for a tropical flavor.
Peanut Butter Banana Pudding: Mix in some creamy peanut butter for a nutty, delightful taste.
Storage Tips to Store Banana Pudding
Banana pudding is best enjoyed fresh, but you can store leftovers if you have any!
Refrigerate Leftovers: Place any leftovers in an airtight container to keep them fresh. It’s best consumed within 3 days due to the bananas’ tendency to brown.
Avoid Freezing: Freezing banana pudding is not recommended as it can change the texture of the ingredients.
Conclusion
Banana pudding is a timeless dessert that brings joy with each delicious bite. By following this simple recipe, you can create a homemade treat that will impress family and friends. Whether you stick to the classic version or try out some variations, this dessert will surely be a hit! So, gather your ingredients, roll up your sleeves, and make this creamy delight today!
FAQs
Can I use fresh whipped cream instead of store-bought?
Yes! Fresh whipped cream will give your banana pudding a rich, homemade taste. Just be sure to whip it until stiff peaks form.
How long can I store banana pudding in the refrigerator?
You can store banana pudding in the refrigerator for up to 3 days. However, it’s best enjoyed fresh, as bananas may brown after a few days.
What other fruits can I add to banana pudding?
You can try adding diced strawberries, blueberries, or even peaches for a fruity twist.
Can I make banana pudding vegan?
Yes! Use almond milk or coconut milk for the pudding and a suitable vegan whipped cream option. Switch out the sweetened condensed milk with a dairy-free version.
Is banana pudding safe to eat if the bananas look brown?
Some browning is normal, but if the bananas are overly mushy or have an off smell, it’s best to discard them to ensure safety.
Now that you have all the details about making banana pudding, you’re ready to create this classic dessert! Happy cooking!