Last updated on March 3, 2026
##Introduction
Do you ever crave something sweet that feels like a little hug—simple, nostalgic, and just a bit silly? I remember making tiny candy animals with my mom as a kid and giggling when our creations looked more like blobs than bunnies. If you’re a beginner who’s worried about melty chocolate or uneven balls, don’t be: I promise this is one of the easiest no-bake treats you can make at home. If you like bite-sized snacks, you might also enjoy my savory twist on small bites like cheese-stuffed meatballs, but today we’re all about sweet, cuddly Bunny Oreo Balls.
A Quick Look at This Bunny Oreo Balls Recipe
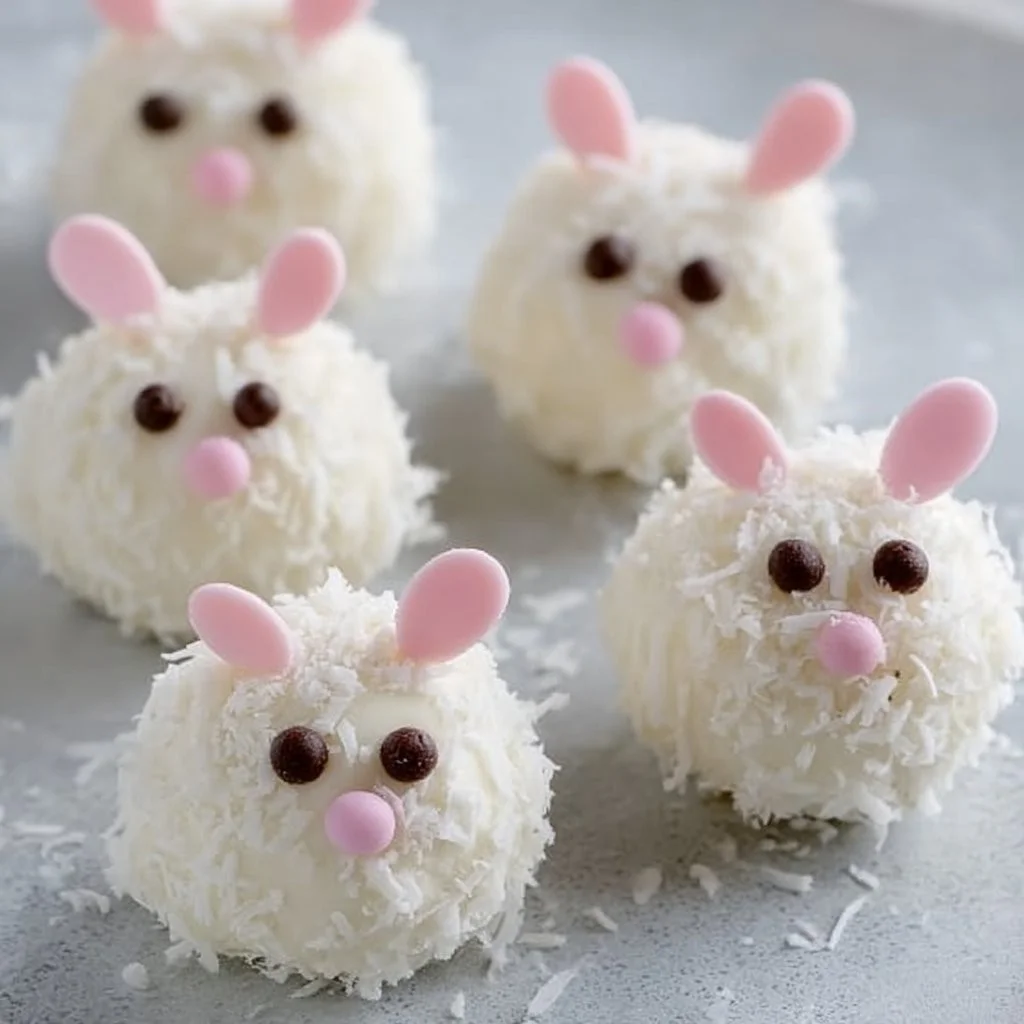
This Bunny Oreo Balls recipe uses crushed Oreo cookies and softened cream cheese as the base, then gets a white chocolate coating for a bright, festive finish. It’s a comfort dessert that’s quick to make and perfect for last-minute gatherings or a cozy afternoon snack. Great for home cooks and beginners because there’s no baking and the steps are forgiving. Stick around — I’ll share tips to make the cutest bunnies, storage tricks, and ways to simplify the process if you’re short on time.
Ingredients You’ll Need for Bunny Oreo Balls
Essentials
- 1 package (about 36 cookies) Oreo cookies — the classic original ones work best for that rich chocolate flavor.
- 8 oz cream cheese, softened — full-fat gives the creamiest texture and holds the mixture together.
- 1 cup white chocolate chips — for coating; you can also use melting wafers for a thinner shell.
- Candy eyes — the tiny ones make the bunnies instantly adorable.
- Sprinkles for decoration — pastel or spring-themed sprinkles add charm and color.
Optional add-ons
- Mini chocolate chips — perfect for a tiny nose if you don’t want to use a different candy.
- Food coloring — gel food coloring works best if you want pastel-dyed chocolate for ears or accents.
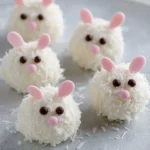
- Shredded coconut — toss the finished balls lightly in coconut for a fluffy “fur” effect.
- Pretzel sticks or almond slivers — these are great for making little feet or ears if you prefer a crunchy touch.
- A pinch of salt or a dash of vanilla extract — enhances flavor; add to the cookie-cream cheese mix for depth.
Substitutions and shortcuts
- Cookie substitute: If you can’t find Oreos, any chocolate sandwich cookie will work. For a slightly lighter flavor, try chocolate graham crackers crushed with a little sugar.
- Cream cheese swaps: Neufchâtel cheese (lower-fat) can be used, but expect a softer mixture. If you’re in a pinch, a firm mascarpone will also work and adds richness.
- Chocolate alternatives: White chocolate chips are traditional, but candy melts or compound coating wafers melt smoothly and set faster. If you prefer dark contrast, dip only partially in white chocolate and finish with a dark drizzle.
- Speed shortcut: Use a food processor to crush cookies and blend with cream cheese — it’s faster and gives a consistent texture. You can also freeze the rolled balls for 10 minutes if you’re short on time rather than the full 30.
- Make-ahead: The cookie-cream cheese mixture can be formed and frozen in a single layer on the tray, then dipped straight from frozen. That saves time when you’re ready to coat.
How to Make Bunny Oreo Balls Step-by-Step
I’ll walk you through each step like I’m standing beside you in the kitchen. These are friendly, precise instructions so your bunnies come out charming even on your first try.
Get your workspace ready
- Line a baking sheet with parchment paper or a silicone mat. This makes cleanup easy and prevents the balls from sticking when they chill.
- Set out a small bowl for the melted chocolate, a fork or dipping tool, and the candy eyes and sprinkles in separate small bowls so they’re within reach.
Crush the Oreo cookies
- Remove the cookies from the package and pull apart if you want to scrape some filling — I usually leave the filling on; it adds sweetness and helps bind the mixture.
- In a food processor: Pulse the cookies until they are fine crumbs, almost powdery. If you don’t have a food processor, place the cookies in a heavy-duty zip-top bag and crush them with a rolling pin. Take your time to get even crumbs; big chunks make the balls lumpy.
- Tip: Wear an apron — crushed Oreos can be messy if the bag tears!
Combine with the cream cheese
- Soften the cream cheese to room temperature so it mixes easily. If it’s still cold, microwave the block for 5–10 seconds to soften, but don’t melt it.
- Transfer the cookie crumbs to a medium bowl, add a pinch of salt or a dash of vanilla extract if you like, then add the cream cheese.
- Use a spatula or your hands to mix until fully combined. I knead it with clean hands for 1–2 minutes — the warmth helps everything meld into a smooth, uniform dough.
Form the balls
- Use a small cookie scoop or a tablespoon to portion the mixture into even amounts (about 1 tablespoon each). Roll between your palms until you have smooth, round balls.
- Place each ball on the prepared baking sheet, leaving a little space between them so they don’t stick together later.
- Pro tip: If the mixture is too sticky to roll, chill it for 10 minutes and then try again. It’s easier to work with when slightly firm.
Chill until firm
- Pop the baking sheet into the freezer for about 30 minutes. This step firms the balls so they don’t fall apart during dipping.
- If you’re in a hurry, 10–15 minutes in the freezer will help, but I prefer the full 30 for stability.
Melt the white chocolate
- Pour the white chocolate chips into a microwave-safe bowl. Microwave on medium power in 20- to 30-second bursts, stirring between each burst, until smooth and glossy.
- If the chocolate looks grainy, keep stirring — residual heat will finish melting it. Avoid overheating; white chocolate burns easily.
- Optional: Add a small amount of vegetable oil or coconut oil (1/2 tsp) for a thinner, glossier coating.
Dip the chilled balls
- Working with a few balls at a time, use a fork or dipping tool to submerge each ball in the melted chocolate. Tap the fork gently against the bowl to let excess chocolate drip off.
- Place the coated ball back onto the parchment-lined tray. If you want a fully coated bunny, cover the whole ball; if you prefer partial dipping for a “cape” look, dip halfway and let drip.
Decorate while chocolate is wet
- Before the coating sets, press candy eyes gently into place, add a mini chocolate chip or sprinkle for the nose, and scatter any sprinkles or coconut for fur.
- If you’re making little ears, dip small almond slivers or pretzel sticks into colored melted chocolate and place them at the top of the head while the coating is still soft.
- I like to work in batches: coat 4–6 balls, then decorate them before the chocolate sets. It keeps everything looking fresh.
Let the chocolate set
- Allow the Bunny Oreo Balls to set at room temperature until the chocolate is firm, or speed it up by placing the tray in the refrigerator for 10–15 minutes.
- Once the coating is set, they’re ready to serve.
Store or freeze
- Store finished Bunny Oreo Balls in an airtight container in the refrigerator for up to a week.
- For longer storage, freeze them in a single layer on a tray until solid, then transfer to a freezer-safe bag or container. Thaw in the fridge before serving.
- A reminder: If you’re transporting them to a party, keep them chilled in a cooler bag so the coating doesn’t get sticky.
Common Mistakes to Avoid
Making Bunny Oreo Balls is forgiving, but a few common missteps can lead to less-than-perfect results. I’ve made all of them at least once, so consider this your friendly heads-up.
Mistake 1: Using cold cream cheese
If your cream cheese is too cold, it won’t mix smoothly with the crushed cookies. That leads to a lumpy, crumbly mixture that’s hard to roll. Let it sit at room temperature for 30 minutes or microwave for just a few seconds to soften.
Mistake 2: Overheating the chocolate
White chocolate is sensitive and can seize (become grainy) if overheated. Heat in short bursts and stir often. If your chocolate does seize, try adding a small spoon of vegetable oil or shortening to smooth it out, but prevention is better — heat slowly.
Mistake 3: Decorating after the coating sets
Waiting until the chocolate is hard before adding eyes and noses means they won’t stick. Always add decorations while the coating is still wet so they bond to the surface. If something sets too fast, add a dab of melted chocolate as “glue” to affix decorations.
Serving Suggestions for Bunny Oreo Balls
These bite-sized treats are fun to serve and easy to pair. They fit in dessert boxes, on kid-friendly platters, and even next to coffee for a cozy gathering. Here are a few ideas to make them part of a special spread.
Spring dessert platter
Arrange Bunny Oreo Balls on a shallow tray with pastel sprinkles, small marshmallows, and mini cupcakes. Add edible flowers or fresh fruit for color and balance the sweetness with berries on the side.
Party favors and dessert table
Place 2–3 balls in clear cellophane bags tied with pastel ribbon. They make charming favors for baby showers, Easter brunches, or birthday parties, and they’re easy for guests to carry home.
Pairings with drinks and snacks
Serve with coffee, iced tea, or a warm cup of cocoa for a cozy coffee break. For a savory-sweet contrast, offer small bowls of toasted nuts or pretzel sticks — those crunchy bites offset the creamy sweetness perfectly.
Conclusion
I’ve found that Bunny Oreo Balls are one of those recipes that look fancy but are incredibly simple — perfect for a beginner-friendly baking (or rather, no-bake) project. They’re fully customizable: swap coatings, play with decorations, or hide little surprises inside for kids. If you want a quick demonstration or another version to compare, check out this Bunny Oreo Balls Recipe | Food Network Kitchen for more visual inspiration. Happy decorating — I can’t wait to hear how your bunnies turn out!
FAQs About Bunny Oreo Balls
Q1: How long do Bunny Oreo Balls last in the fridge?
A1: Bunny Oreo Balls will keep fresh in an airtight container in the fridge for up to a week. I recommend placing parchment between layers to prevent sticking and keeping them toward the back of the fridge where the temperature is most stable.
Q2: Can I freeze Bunny Oreo Balls, and how should I thaw them?
A2: Yes — Bunny Oreo Balls freeze very well. Freeze them in a single layer until firm, then transfer to a freezer-safe bag or container. Thaw overnight in the refrigerator before serving to keep the chocolate shell from sweating.
Q3: Are Bunny Oreo Balls suitable for kids to make?
A3: Absolutely. Bunny Oreo Balls are a kid-friendly recipe because there’s no stove or oven involved. I suggest letting kids do the rolling and decorating parts while an adult handles the melting chocolate to avoid burns.
Q4: Can I make Bunny Oreo Balls without a food processor?
A4: Yes, you can. Put the Oreos in a sturdy zip-top bag and crush them with a rolling pin until they’re fine crumbs. It takes a bit longer than a processor, but you’ll get the same delicious result.
Q5: How can I prevent Bunny Oreo Balls from getting soggy if I add coconut or other toppings?
A5: To avoid sogginess, add shredded coconut or delicate toppings right before serving, especially if the coconut is fresh or moist. For longer storage, keep additional toppings separate and add them when you’re ready to present the treats.
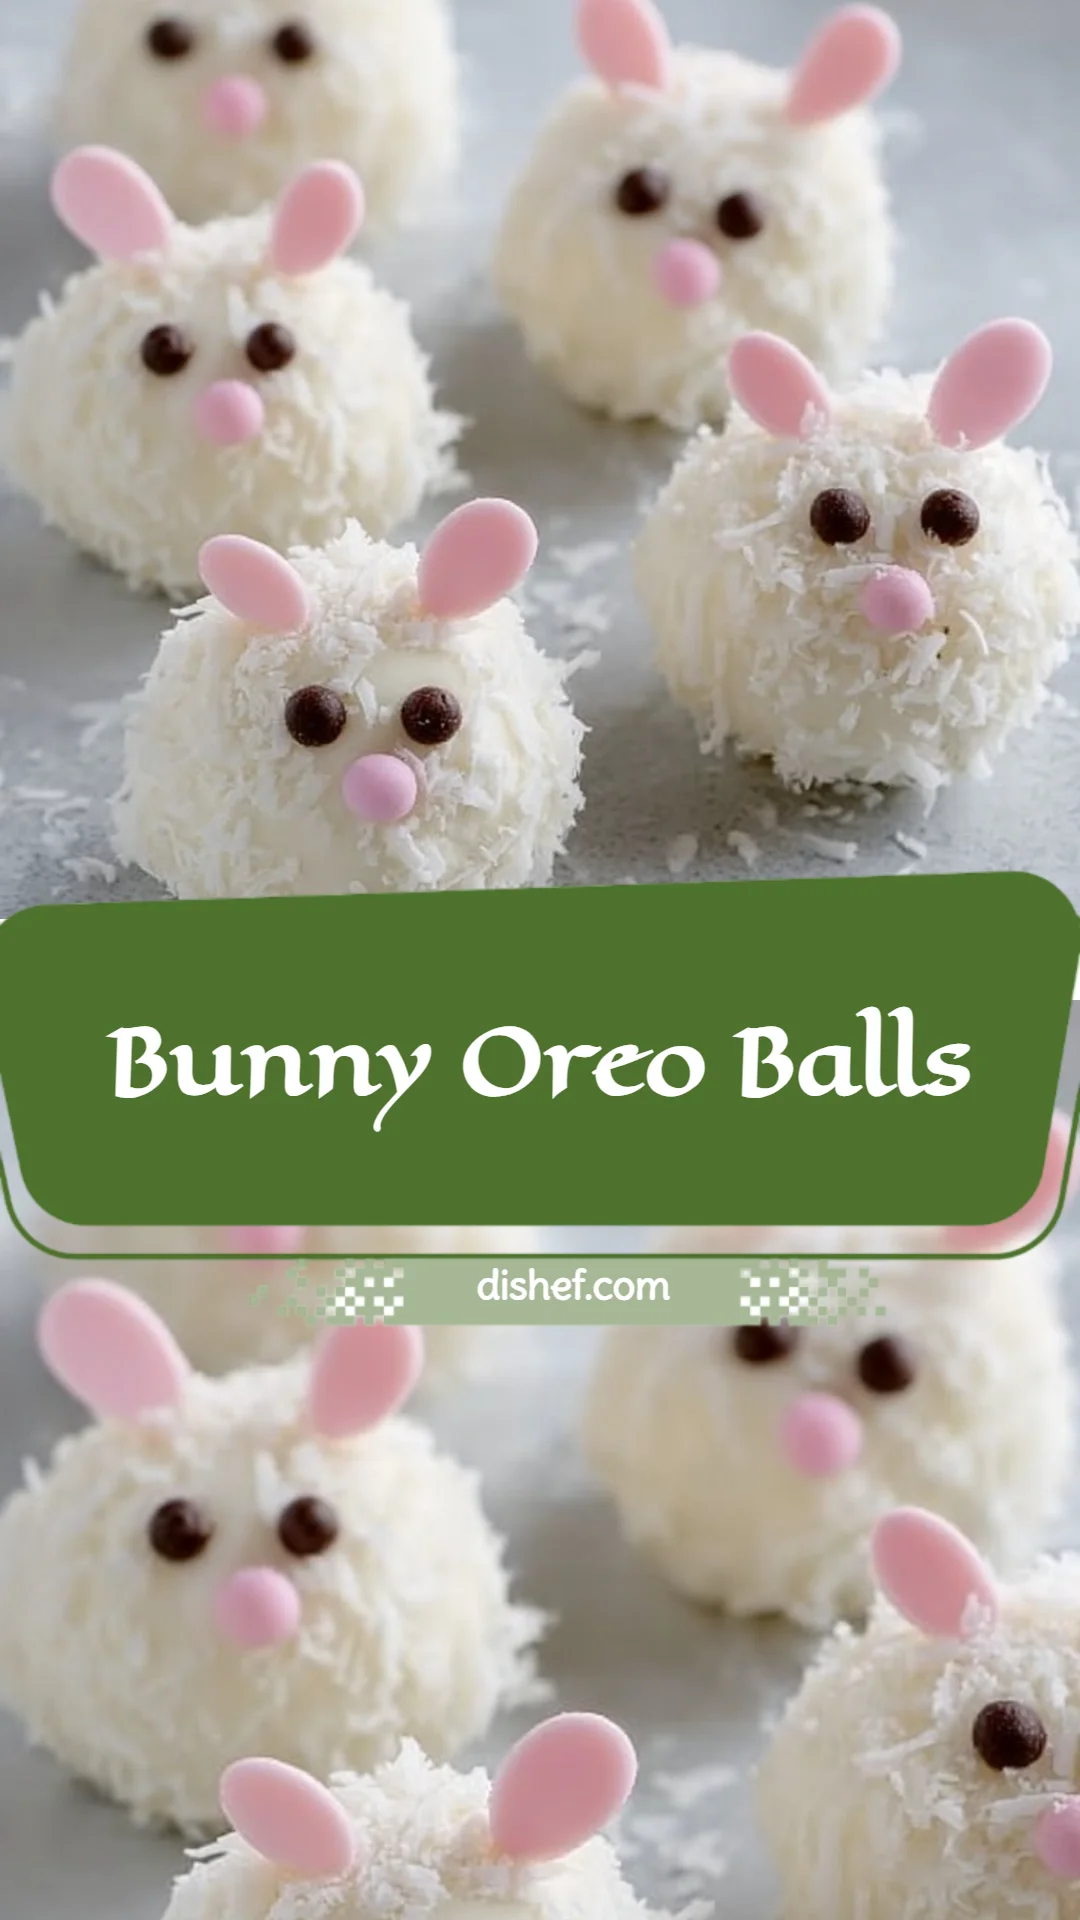
Bunny Oreo Balls
- Total Time: 45 minutes
- Yield: 24 servings 1x
- Diet: Vegetarian
Description
A quick and easy no-bake dessert featuring crushed Oreo cookies, cream cheese, and a white chocolate coating, perfect for gatherings or a cozy snack.
Ingredients
- 1 package (about 36 cookies) Oreo cookies
- 8 oz cream cheese, softened
- 1 cup white chocolate chips
- Candy eyes
- Sprinkles for decoration
- Mini chocolate chips (optional)
- Food coloring (optional)
- Shredded coconut (optional)
- Pretzel sticks or almond slivers (optional)
- A pinch of salt or a dash of vanilla extract (optional)
Instructions
- Prepare your workspace by lining a baking sheet with parchment paper.
- Crush the Oreo cookies in a food processor or zip-top bag until fine crumbs form.
- Combine the cookie crumbs with softened cream cheese in a medium bowl.
- Form the mixture into balls using a cookie scoop or tablespoon.
- Chill the balls in the freezer for about 30 minutes until firm.
- Melt the white chocolate chips in the microwave until smooth.
- Dip each chilled ball in the melted chocolate and place back on the parchment-lined tray.
- Decorate each ball with candy eyes, sprinkles, and any other desired toppings while the chocolate is still wet.
- Let the chocolate set at room temperature or in the fridge for 10-15 minutes.
Notes
Store finished Bunny Oreo Balls in an airtight container in the fridge for up to a week.
- Prep Time: 15 minutes
- Cook Time: 30 minutes
- Category: Dessert
- Method: No-Bake
- Cuisine: American
Nutrition
- Serving Size: 1 ball
- Calories: 150
- Sugar: 12g
- Sodium: 100mg
- Fat: 7g
- Saturated Fat: 4g
- Unsaturated Fat: 2g
- Trans Fat: 0g
- Carbohydrates: 17g
- Fiber: 1g
- Protein: 2g
- Cholesterol: 20mg
Keywords: no-bake dessert, Oreo balls, kid-friendly snacks, Easter treats, chocolate desserts