Last updated on March 3, 2026
A Little Note Before We Start
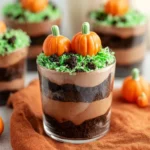
Do you remember sneaking a marshmallow off a holiday tray as a kid and promising yourself you’d make something even more fun as an adult? I love that goofy, cozy memory — and I also know that beginners sometimes panic at recipes that seem “decorator-level.” If you’re worried about complicated steps or fancy tools, take a deep breath: this Easter Dirt Cups recipe is forgiving, quick, and perfect for anyone who wants a cute dessert without stress. If you like easy, themed treats, you might also enjoy this playful pumpkin patch twist on dirt cups I found that’s great for seasonal parties: easy pumpkin patch dirt cups.
A Quick Look at This Easter Dirt Cups Recipe
This recipe centers on two main ingredients: creamy chocolate pudding and crushed Oreo cookies, which together create that classic “dirt” texture kids love. It’s comfort food at its simplest — quick to assemble and great for making ahead. Home cooks and beginners will appreciate that no baking or special equipment is required, just a few household items and a little creativity. Keep reading if you want simple layering tips, easy decoration ideas, and ways to adapt these cups for dietary needs.
Ingredients You’ll Need for Easter Dirt Cups
Below I break everything into what you really need, fun extras you can add, and easy substitutions or shortcuts if you’re short on time.
Essentials
- 2 cups prepared chocolate pudding (homemade or instant) — smooth, rich chocolate pudding is the foundation here.
- 1 package crushed Oreo cookies (about 14–15 cookies) — use the whole cookie, filling and all, for that classic dirt flavor.
- Plastic cups for serving — clear cups look cute and show off the layers; you can also use small mason jars or dessert glasses.
- Peeps bunny marshmallows (as desired) — these give the dessert a playful Easter look.
- Candy eggs (as desired) — mini chocolate eggs or speckled candy eggs make the top festive and colorful.
Optional add-ons
- Whipped cream for topping — adds a light, airy contrast to the dense pudding.
- Mini chocolate chips or chocolate shavings — sprinkle a few for texture and extra chocolate punch.
- Sprinkles or edible glitter — for more color and sparkle, especially fun for kids.
- Fresh mint leaves — a small sprig brightens the presentation and adds a fresh scent.
- Crushed graham crackers or golden vanilla cookies — use alone or blended with Oreos for a lighter “dirt” color.
- Raspberry or strawberry jam — a small dollop between layers adds a tart surprise and pretty color.
Substitutions and shortcuts
- Pudding: If you want a dairy-free or lighter option, use coconut or almond milk pudding mixes or make a refrigerator chocolate custard with plant-based milk. You can also use instant pudding mix to skip stovetop cooking.
- Cookies: No Oreos? Use any chocolate sandwich cookie, chocolate wafers, or even crushed chocolate graham crackers. For gluten-free, choose certified gluten-free chocolate sandwich cookies.
- Serving vessels: No plastic cups? Paper muffin liners, ramekins, or small bowls work fine. If you’re short on single-serve containers, assemble in a larger dish and scoop into bowls.
- Peeps and candy eggs: If you can’t find Peeps or want fewer marshmallow sweets, use jelly beans, gummy bunnies, or small fondant shapes.
- Speed hack: Buy ready-made pudding and use a food processor to pulse cookies into an even crumb quickly. Mix pudding until silky and spoon directly — no piping bag necessary.
How to Make Easter Dirt Cups Step-by-Step
I like to think of this as a calm, layer-by-layer craft session that doubles as a dessert. I’ll walk you through every detail so even a complete beginner feels confident.
Step 1 — Make and chill the pudding
- If you’re using instant pudding mix, prepare it according to the package directions using cold milk. Whisk until smooth, then let it sit a few minutes to thicken.
- If you’re making pudding from scratch, follow your favorite stovetop recipe. Once cooked, transfer to a bowl, place a piece of plastic wrap directly on the surface to prevent a skin from forming, and refrigerate until cool.
- Chill time: If the pudding is warm, let it cool and chill for about 10–15 minutes before assembling. Cold pudding firms up slightly and holds layers better.
Step 2 — Crush the Oreos for the “dirt”
- Place the Oreo cookies into a large zip-top bag. Squeeze out excess air and seal the top.
- Use a rolling pin, meat mallet, or the bottom of a heavy pan to crush the cookies. I aim for a mix of fine crumbs and a few small chunks so the texture feels like real dirt. Don’t over-process into dust unless you prefer that look.
- Tip: If you want a lighter “dirt” color or extra crunch, mix in a handful of crushed golden cookies or graham crackers.
Step 3 — Set up your assembly station
- Clear a workspace and line up your plastic cups, a bowl of pudding, the crushed Oreos, and any toppings. I like to place the pudding in a wide bowl so it’s easy to spoon, and the crumbs in a shallow dish for dipping layers.
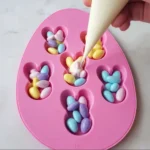
- Optional: Fit a sandwich bag with a corner snipped off or use a piping bag to add neater pudding layers, especially if serving children or at a party.
Step 4 — Start layering with a pudding base
- Spoon about 1–2 tablespoons of chocolate pudding into the bottom of each cup. This initial layer helps the first layer of crumbs stick and creates a pretty contrast at the bottom. For smaller cups, stick to 1 tablespoon; for larger cups, use 2 or 3 tablespoons.
Step 5 — Add the first “dirt” layer
- Sprinkle a thin layer of crushed Oreos over the pudding base. Press lightly with the back of a spoon so the crumbs sit evenly, but don’t compact them into a paste. The slight variation in height makes the cups look homemade and charming.
Step 6 — Repeat layers until the cup is filled
- Continue alternating pudding and Oreo layers until the cups reach your desired height. Generally, two to three pudding layers and an equal number of crumb layers look best. Finish with a final covering of Oreo crumbs so the top looks like a fresh pot of earth.
Step 7 — Decorate the tops
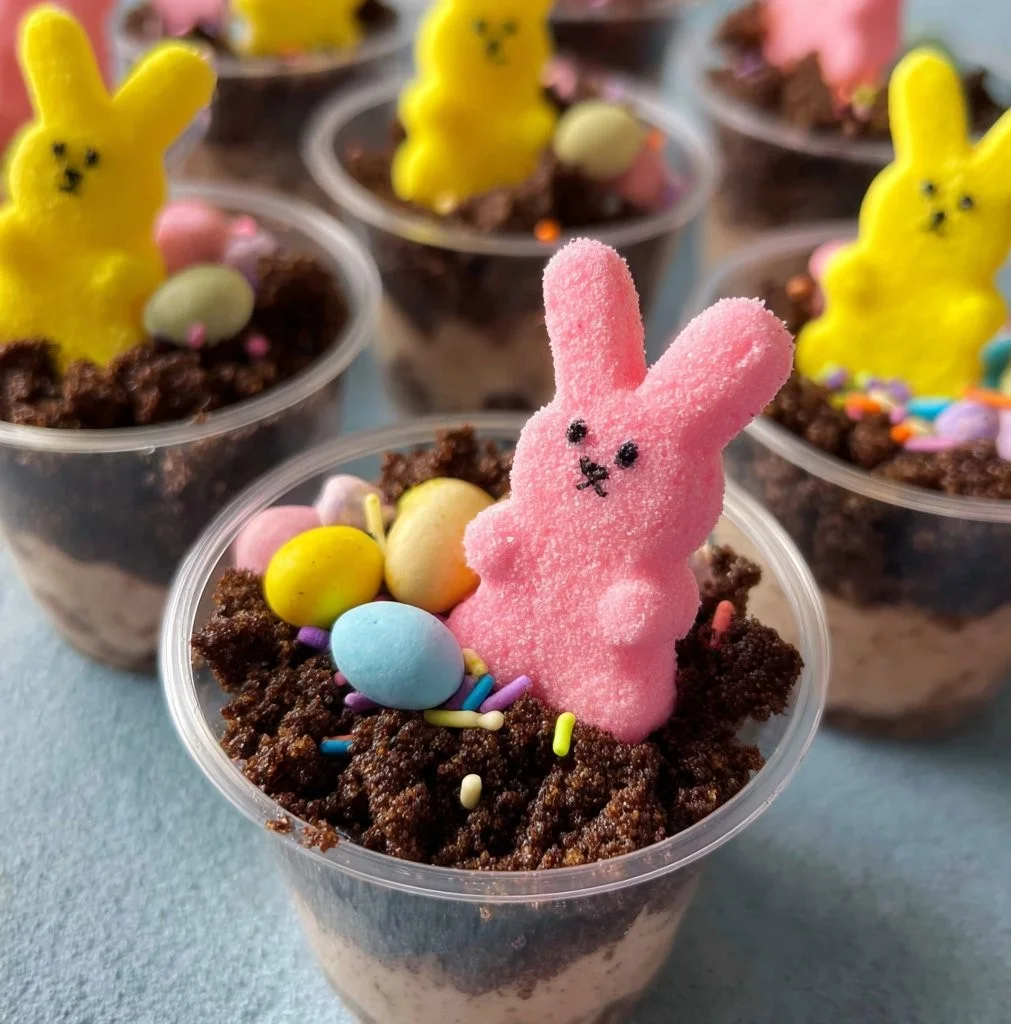
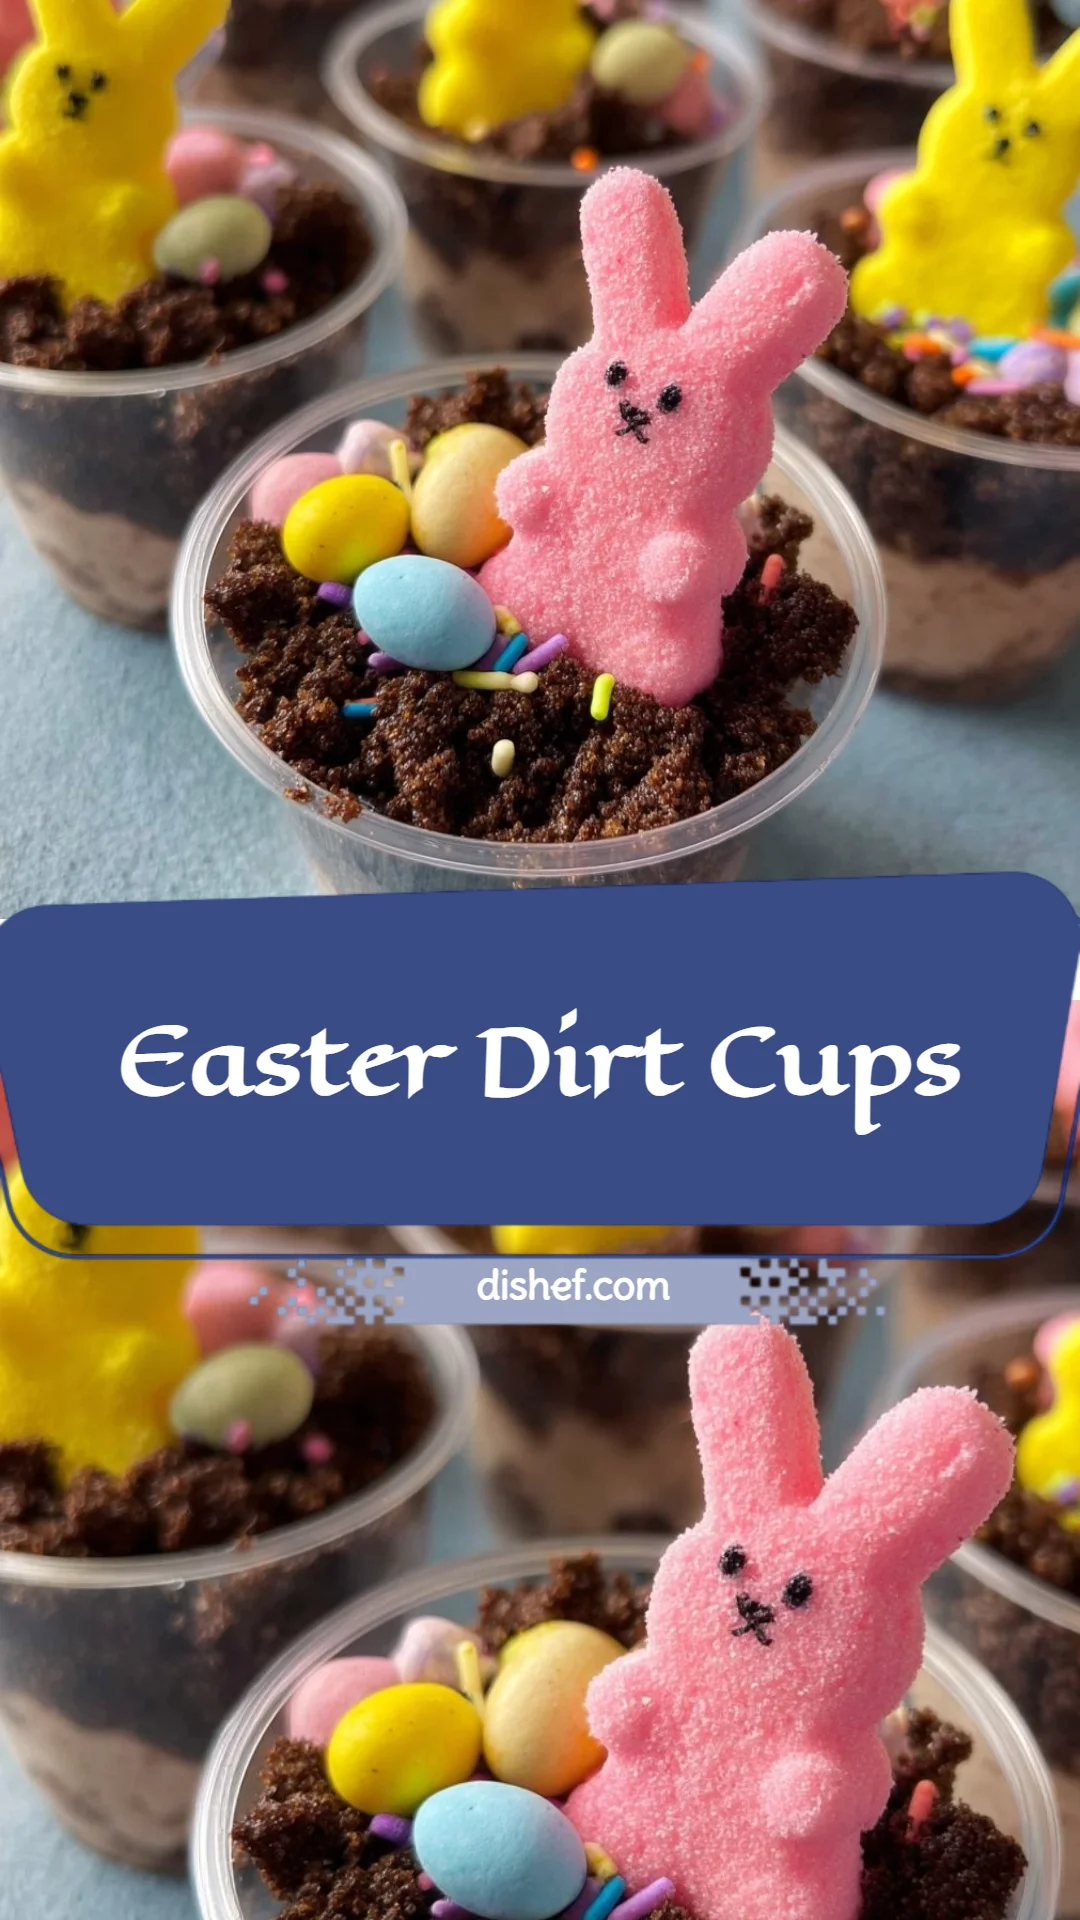
- Add Peeps bunnies to each cup and nestle candy eggs into the crumbs. If you’re using whipped cream, pipe a small dollop and then place the Peeps and eggs on top so they’re secure.
- For a polished look, add a sprinkle of mini chocolate chips, edible glitter, or a tiny mint leaf to brighten the top. A small spoonful of raspberry jam between layers gives a fun berry surprise and a pop of color when the cup is slightly transparent.
Step 8 — Chill and serve
- Refrigerate the assembled cups for at least 30 minutes to let layers set and flavors meld. If you plan to serve later the same day, refrigerate up to 4–6 hours for best texture.
- Just before serving, add any final garnishes that might wilt or lose shape over time, like mint leaves or delicate sprinkles.
Extra tips from my kitchen
- Make them ahead: These hold well in the fridge for several hours and are perfect for entertaining. Keep Peeps and fragile toppings off until the last minute to avoid sogginess.
- Transporting: If you need to take these to a party, place them in a shallow container and cover gently with plastic wrap. Carry them flat to avoid tipping.
- Scaling up: Multiply the recipe as needed — pudding and cookie packets are easy to scale, and assembly stays quick if you line everything up assembly-line style.
Common Mistakes to Avoid
Even small missteps can change the texture or presentation of these cups. Here are a few things I’ve learned the hard way, explained so you don’t repeat them.
Mistake 1: Using warm pudding
Warm pudding looks tempting to spoon right away, but it can make the cookie crumbs soggy and cause layers to slide. Always cool your pudding until slightly chilled before layering.
Mistake 2: Crushing cookies too finely or not enough
If you over-process the Oreos into dust, you lose the satisfying chunkiness that mimics soil. Conversely, leaving huge cookie pieces can make spooning difficult. Aim for a mix of fine crumbs and small chunks.
Mistake 3: Decorating too early
Marshmallows and whipped cream can melt, sweat, or become soggy if added too soon. Keep delicate toppings off until just before serving for the best look and texture.
Serving Suggestions for Easter Dirt Cups
These cups are playful and flexible. Whether you’re serving kids, neighbors, or hosting a casual brunch, a few presentation tweaks can make them feel extra special.
- For a kid-friendly dessert table: Place the cups on a bed of green Easter grass in a shallow tray to simulate a bunny meadow. Add extra candy eggs around the cups for easy snacking.
- For an adult gathering: Choose clear glass cups, add a mint leaf and a sprinkle of fine chocolate shavings on top, and serve alongside coffee or espresso. The cups still feel festive but a bit more refined.
- For a make-your-own dessert bar: Set out bowls of mini eggs, Peeps, whipped cream, crushed cookies, and fresh berries so guests can personalize their cups.
Kid-friendly presentation ideas
Use colorful paper straws and small spoons, and consider labeling stations with fun names like “Bunny Burrows” or “Mini Mud Pies.” Kids love assembling their own cups.
Elegant adult-style plating
Serve in stemmed dessert glasses, add a thin ribbon around each cup, and finish with a tiny edible gold sprinkle for a subtle, grown-up sparkle.
Party buffet tips
Keep extras of whipped cream and cookie crumbs in serving bowls so guests can refresh their cups. Arrange cups in rows and use varying heights on the table for visual interest.
Conclusion
I promise — Easter Dirt Cups are much easier than they look, and they’re one of those desserts that makes people smile instantly. The basic combination of chocolate pudding and crushed cookies is deeply comforting and totally customizable, whether you’re sending a playful cup to your child’s school party or bringing a tray to a family get-together. If you want a few more creative variations and inspiration from another home cook, I’ve also enjoyed seeing different takes on the same idea over at Easter Dirt Cups – A Pumpkin And A Princess. Ready to make a batch? Gather your ingredients, invite a kitchen helper, and have fun with the decorating — you’ll be surprised how satisfying these tiny cups of joy can be.
FAQs About Easter Dirt Cups
Q1: How long do Easter Dirt Cups keep in the fridge?
A1: Easter Dirt Cups will keep well in the refrigerator for about 24 hours, though they’re best eaten within 4–6 hours for the freshest texture. If you plan to store longer, keep marshmallow Peeps or delicate toppings separate and add them just before serving.
Q2: Can I make Easter Dirt Cups gluten-free?
A2: Yes — to make Easter Dirt Cups gluten-free, swap the Oreo cookies for a certified gluten-free chocolate sandwich cookie or gluten-free chocolate wafer crumbs. Ensure any candy eggs or marshmallows you use are also labeled gluten-free.
Q3: Are there dairy-free versions of Easter Dirt Cups?
A3: Absolutely. Use dairy-free chocolate pudding made with almond, oat, or coconut milk, and pick dairy-free whipped topping if you plan to garnish. Many cookie brands offer dairy-free chocolate cookies as well.
Q4: Can I assemble Easter Dirt Cups ahead of time for a party?
A4: You can assemble these cups a few hours in advance and refrigerate them. For best results, add Peeps, fresh mint, or sprinkles right before serving so they stay fresh and vibrant.
Q5: How do I scale the recipe for a large group?
A5: Scaling Easter Dirt Cups is easy. Multiply the pudding and cookie quantities and set up an assembly line: pudding, cookie crumbs, cups, and toppings. Working in batches keeps things organized and fast — I often enlist a friend or family member to help when I’m making a dozen or more.
Easter Dirt Cups
- Total Time: 45 minutes
- Yield: 4 servings 1x
- Diet: Vegetarian
Description
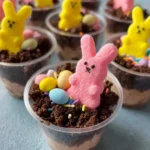
A fun and playful dessert made with layers of creamy chocolate pudding and crushed Oreo cookies, perfect for Easter celebrations.
Ingredients
- 2 cups prepared chocolate pudding (homemade or instant)
- 1 package crushed Oreo cookies (about 14–15 cookies)
- Plastic cups for serving
- Peeps bunny marshmallows (as desired)
- Candy eggs (as desired)
- Whipped cream for topping (optional)
- Mini chocolate chips or chocolate shavings (optional)
- Sprinkles or edible glitter (optional)
- Fresh mint leaves (optional)
- Crushed graham crackers or golden vanilla cookies (optional)
- Raspberry or strawberry jam (optional)
Instructions
- Make and chill the pudding: Prepare instant pudding according to package directions or make from scratch, then refrigerate until cool.
- Crush the Oreos: Place Oreos in a zip-top bag and crush until you have a mix of fine crumbs and small chunks.
- Set up your assembly station: Line up plastic cups, pudding, crushed Oreos, and toppings.
- Start layering with a pudding base: Spoon 1-2 tablespoons of pudding into the bottom of each cup.
- Add the first “dirt” layer: Sprinkle crushed Oreos over the pudding base and press lightly.
- Repeat layers until the cup is filled: Alternate pudding and Oreo layers, finishing with Oreo crumbs on top.
- Decorate the tops: Add Peeps and candy eggs, and pipe whipped cream if using.
- Chill and serve: Refrigerate for at least 30 minutes before serving.
Notes
Make ahead and store in the fridge for up to 24 hours; add fragile toppings just before serving.
- Prep Time: 15 minutes
- Cook Time: 0 minutes
- Category: Dessert
- Method: No-Bake
- Cuisine: American
Nutrition
- Serving Size: 1 serving
- Calories: 350
- Sugar: 25g
- Sodium: 350mg
- Fat: 15g
- Saturated Fat: 7g
- Unsaturated Fat: 5g
- Trans Fat: 0g
- Carbohydrates: 45g
- Fiber: 2g
- Protein: 5g
- Cholesterol: 10mg
Keywords: Easter dessert, dirt cups, chocolate pudding, fun dessert, kids dessert