Last updated on February 12, 2025
Imagine biting into a warm, fresh loaf of gluten free sourdough bread. Feel the soft texture and enjoy the slightly sour taste. You can make this delicious bread at home with the right ingredients and a bit of guidance. Many people have successfully baked gluten-free sourdough bread, making it a healthy and tasty option.
Making gluten free sourdough bread at home is fun and rewarding. You can try different ingredients and techniques to find your favorite loaf. Whether you’re new to baking or have experience, gluten free sourdough is a great choice. It offers a unique flavor and texture that’s perfect for those looking for a healthier bread option.
Key Takeaways
- You can make delicious gluten free sourdough bread at home with the right ingredients and techniques.
- Gluten free sourdough starters should double in size after feeding, and the recommended feeding ratio is 1:1:1 (starter:flour:water).
- The proofing time for gluten-free sourdough bread can range from 3 hours to overnight, depending on ambient temperature.
- The oven should be preheated to 425°F (218°C) for baking gluten-free sourdough bread.
- Gluten free sourdough bread takes approximately 3-4 hours for bulk fermentation, and the preparation time is about 10 minutes.
- A mature gluten free sourdough starter requires at least 10 days to establish, depending on temperature and conditions.
- Using heat-activated baking powder can improve oven spring, and a Dutch oven is recommended for baking.
Understanding Gluten Free Sourdough Basics
To make tasty gluten-free sourdough, you must know the basics. A sourdough starter is a mix of wild yeast and bacteria. It ferments the dough’s sugars, making it sour. Gluten-free starters work quicker, needing to be fed every 4-6 hours.
Creating a sourdough starter is key in gluten-free recipes. You mix yeast water with flour and water every 12 hours. This takes about six days. After that, you can make many gluten-free sourdough breads.
Gluten-free sourdough has many benefits. For example:
- It proofs faster, in just 1-2 hours.
- It’s cheaper, costing much less than store-bought gluten-free bread.
- It’s healthier, with more nutrients and fewer additives.
The science behind sourdough is fascinating. It’s about wild yeast and bacteria breaking down sugars. This makes sourdough unique and delicious.
Essential Equipment for Your Gluten Free Sourdough Journey
To start a gluten free diet and bake tasty homemade sourdough bread, you need the right tools. A digital kitchen scale is key for measuring ingredients accurately. This ensures your bread turns out right every time.
A large glass bowl, holding about 9-10 cups, is great for mixing dough. For baking, a 4-quart Dutch oven or a 5-quart Lodge Cast Iron Pan works best.
You’ll also need a proofing basket, like an 8-inch round banneton, and heavy-duty parchment paper. A proofing box, like the Brod and Taylor Folding Proofer, is helpful but not essential. Organic cotton or linen towels are best for covering dough and wrapping bread.
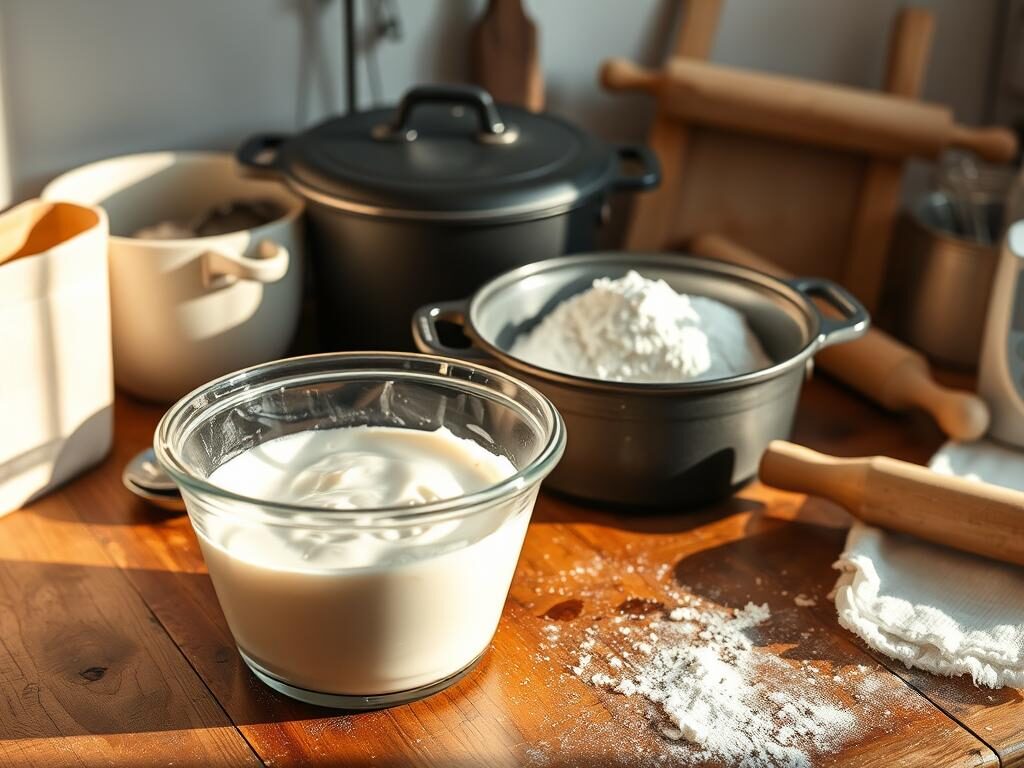
With these tools and the right techniques, you’ll make delicious gluten-free sourdough bread. It will be perfect for your gluten free diet and satisfy your homemade sourdough cravings.
Choosing the Right Gluten Free Flours
When making gluten free sourdough bread, picking the right flours is key. You need flours that give your bread the best texture and taste. You can use rice flour, almond flour, and coconut flour for this.
For a tasty and healthy gluten free sourdough, mix different grains. For instance, rice flour and almond flour make a light, airy loaf. Organic, whole-grain flours often have more yeast, which helps your bread rise better.
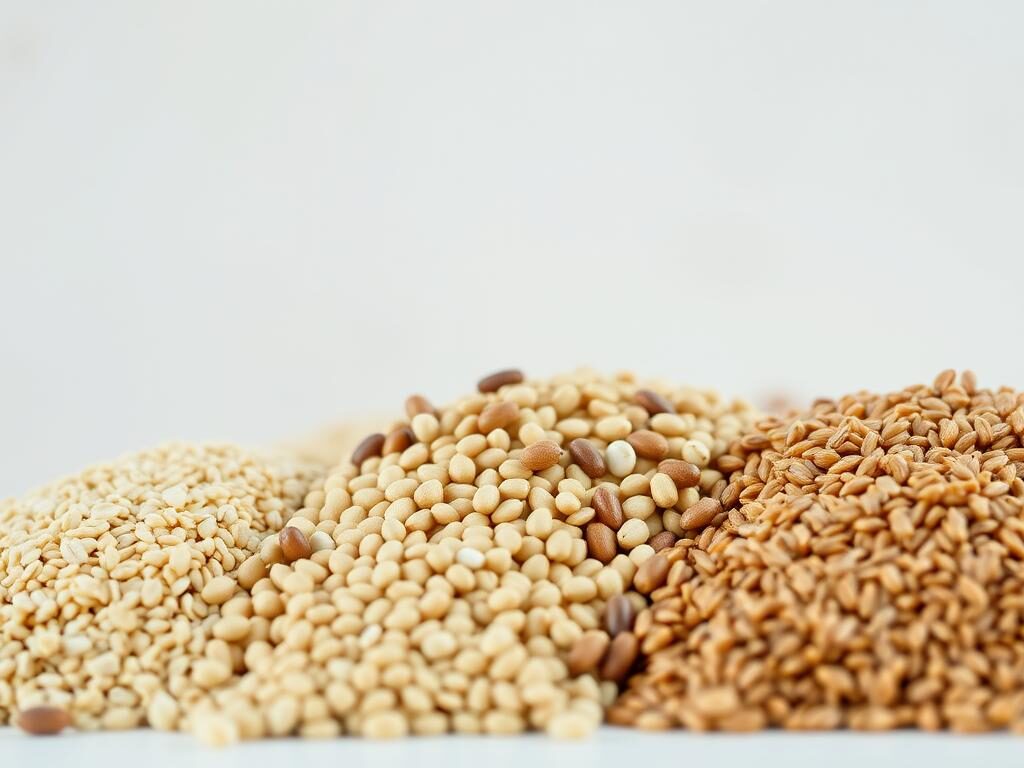
Remember, gluten free flours soak up liquid differently. You might need to add more liquid to avoid a dry loaf.
By picking the right gluten free grains and mixing them well, you can make a delicious, healthy gluten free sourdough. It will be just what you want and need.
Creating Your Gluten Free Sourdough Starter
To start a gluten free sourdough starter, mix 50 grams of gluten free flour with 60 grams of water on Day 1. On Day 2, add 30 grams of gluten free flour and 40 grams of water. Keep this feeding ratio for a few more days.
When making your gluten free sourdough starter, remember a few important things:
- Choose the right gluten free flour, like sorghum or brown rice.
- Stick to a regular feeding schedule.
- Get rid of extra starter to make the mix stronger.
By following these steps and using the right ingredients, you can make a healthy sourdough starter. It will be great for making tasty gluten free recipes. Keep your starter in the fridge if you’re not baking every day. Feed it once a week to keep it lively.
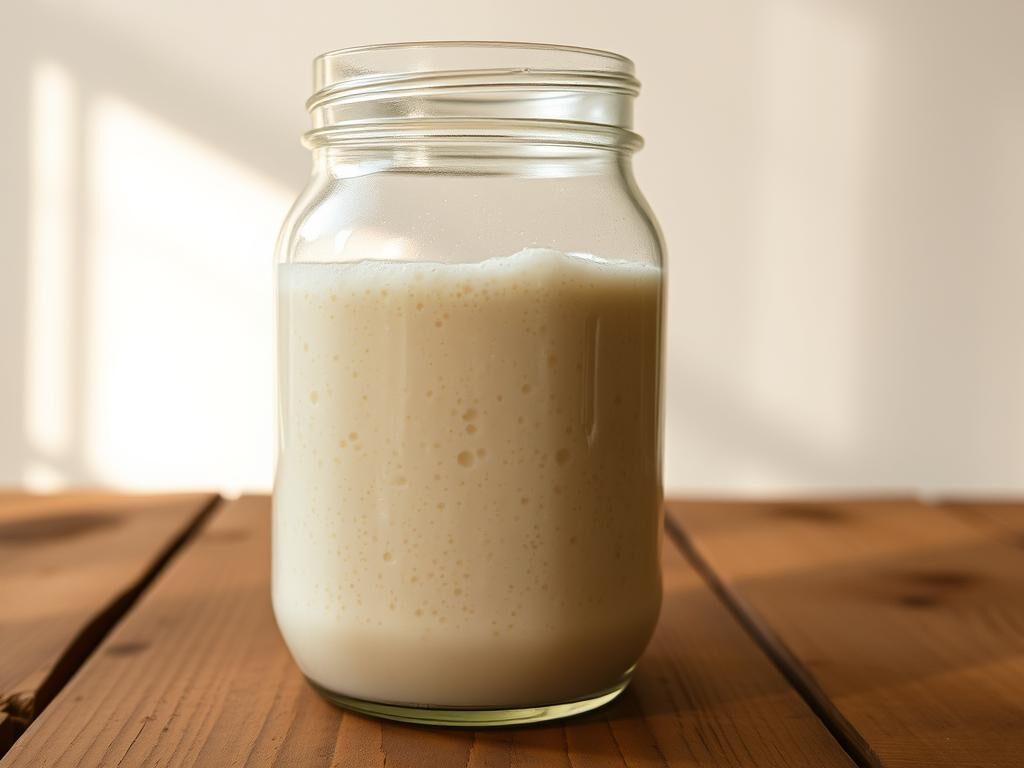
Mastering the Perfect Dough Consistency
Gluten-free baking requires perfecting the dough consistency for a tasty loaf. Sourdough fermentation is key, breaking down starches and adding flavor. To get it right, focus on hydration, mixing, and temperature.
Using a digital kitchen scale is a good start. Aim for a hydration ratio of 90-100% water per 100 grams of flour. Mixing gluten-free flours like buckwheat, brown rice, and oat flour can also enhance flavor.
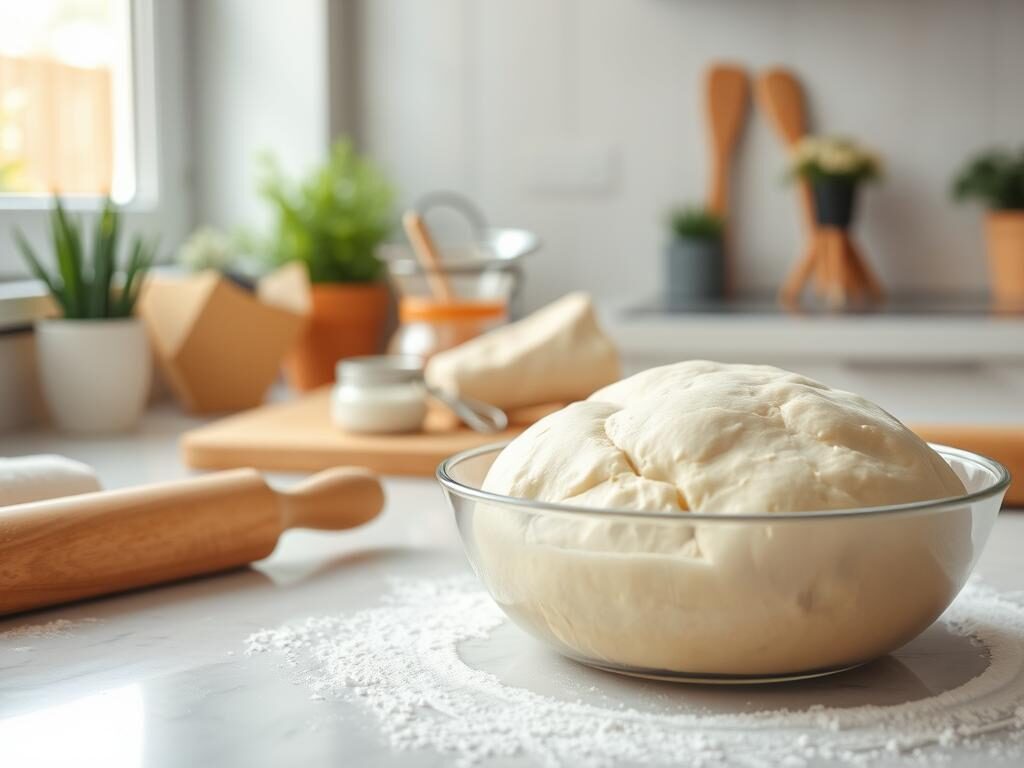
Mixing should be gentle to avoid overworking the dough. This keeps the gluten-free flours tender. Also, keep the environment warm and draft-free for sourdough to ferment well.
Here are some tips for mastering the perfect dough consistency:
- Use a digital kitchen scale to measure ingredients accurately
- Pay attention to hydration levels and adjust as needed
- Use a gentle folding motion to combine ingredients
- Control temperature to optimize sourdough fermentation
Shaping and Proofing Your Bread
When making gluten free sourdough, shaping and proofing are key steps. After preshaping, the dough relaxes to about 30% before being shaped. A tight outer skin is vital for keeping the dough’s shape until baking.
To shape your sourdough bread, you can use a bench scraper or your hands. For small buns or rolls, hands work best for a tight skin. Larger loaves, like baguettes or boules, might need a mix of techniques for the right shape.
Proofing comes next, where the dough rises before baking. Proofing time and temperature depend on the dough type and desired result. Warm proofing takes 1.5 to 3 hours, while cold proofing can last 8 to 16 hours.
Here are some general guidelines for proofing gluten free sourdough:
- Warm proofing (75-80°F): 1-2 hours
- Cool proofing (40-50°F): 8-16 hours
- Cold proofing (39°F): 10-16 hours
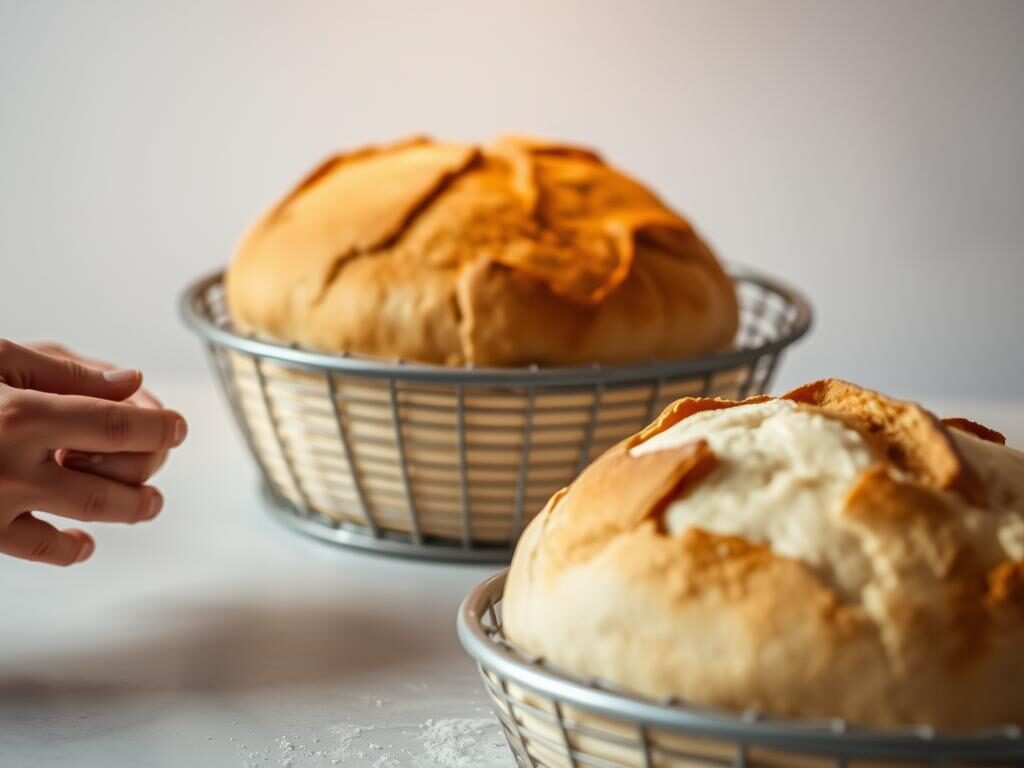
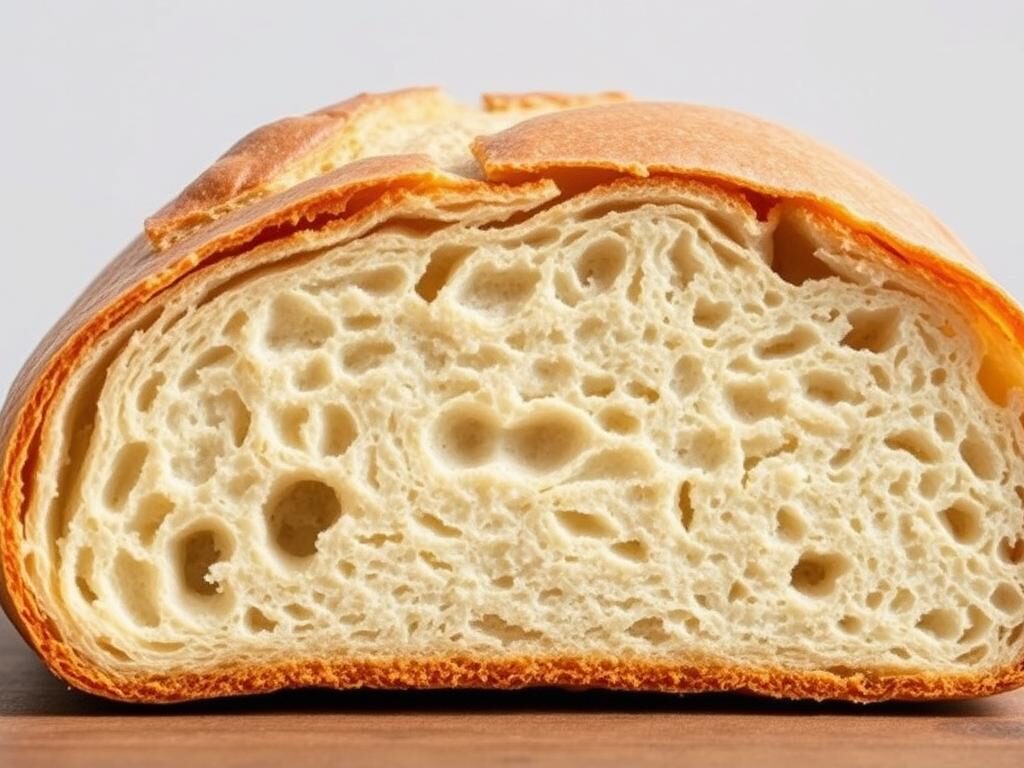
Properly proofed sourdough bread should look tall and have a delicate structure. This shows it fermented well. But, overproofed dough can be dense or flat. By following these tips and focusing on shaping and proofing, you can make delicious gluten free sourdough at home.
Baking Techniques for the Perfect Crust
Gluten-free baking can be tricky, but sourdough fermentation helps a lot. To start, heat your oven to 500°F. Then, lower it to 450°F after putting in the dough. This trick makes the crust crispy and the inside soft.
Steam is key for a great crust. You can use a Dutch oven or a steam injector. Bake for 45 to 50 minutes, or until it’s 209°F inside.
Here are some key factors to consider when baking gluten-free sourdough bread:
- Temperature settings: Preheat to 500°F, then reduce to 450°F
- Steam methods: Use a Dutch oven or steam injector
- Baking times: 45 to 50 minutes, or until internal temperature reaches 209°F
Mastering these techniques will help you make a tasty, crusty gluten-free sourdough bread. Don’t be afraid to try different flours and sourdough methods to find what works best for you.
Storing and Maintaining Your Gluten Free Sourdough
To keep your gluten free sourdough bread fresh, proper storage is key. You can store it at room temperature for up to 3 days. Or, freeze it for later use. When freezing, wrap the bread tightly in plastic wrap or aluminum foil to avoid freezer burn.
Keeping your gluten free sourdough starter alive is vital for making more bread. Store it in the fridge and feed it once a week. The starter needs 1 part starter, 5 parts flour, and 5 parts water (1:5:5) for feeding. You can tweak this ratio to fit your needs.
Here are some tips for maintaining your gluten free sourdough starter:
- Feed your starter once a week if it’s stored in the refrigerator.
- Use a digital kitchen scale to measure the ingredients accurately.
- Discard half of the starter during feedings to maintain its health and activity.
By following these tips, you can keep your gluten free sourdough bread fresh. And your starter healthy. This way, you can enjoy delicious gluten free sourdough bread made with gluten free grains whenever you want.
Conclusion: Your Journey to Perfect Gluten Free Sourdough
Mastering gluten free sourdough at home is a rewarding journey. It may seem daunting at first, but with patience and practice, you can bake amazing bread. Each loaf is unique, shaped by your baking environment and personal touch.
Stay curious and try different flour blends. Don’t be afraid to adjust recipes to your liking. As you get better, baking will become easier. Let your sourdough starter’s rhythm guide you to perfection.
Sharing homemade gluten free sourdough with family and friends will surely delight them. Keep baking and learning. The journey to perfect gluten free sourdough is exciting and rewarding.
FAQ
What makes sourdough different from regular bread?
Sourdough bread uses a fermented dough starter. This gives it a tangy flavor and chewy texture. Regular bread, made with commercial yeast, is different.
What are the benefits of making gluten-free sourdough bread at home?
Gluten-free sourdough is easier to digest and lasts longer than regular gluten-free bread. Making it at home lets you choose the ingredients and flavor.
What equipment is essential for making gluten-free sourdough bread?
You’ll need a digital kitchen scale, a Dutch oven, and mixing tools. These help get the dough right and bake it perfectly.
What are the best gluten-free flours for making sourdough bread?
Brown rice, sorghum, and buckwheat flours are great for gluten-free sourdough. You can also mix flours to get the right texture and protein.
How do I create a gluten-free sourdough starter?
Mix gluten-free flours and water to start a sourdough starter. Keep it fed and in the right environment for a healthy starter.
How do I achieve the perfect dough consistency for gluten-free sourdough?
Right hydration, mixing, and temperature are key for the perfect dough. Knowing how these affect your bread is important for success.
What are the best shaping and proofing techniques for gluten-free sourdough?
Gluten-free sourdough needs special shaping and proofing. The right techniques help it develop the right structure and crumb.
How do I bake the perfect gluten-free sourdough loaf?
Baking gluten-free sourdough requires careful temperature, steam, and time. Mastering these can give you a beautifully baked loaf.
How do I store and maintain my gluten-free sourdough bread and starter?
Storing and maintaining your gluten-free bread and starter is key. This includes how to keep bread fresh, freeze it, and care for your starter.



1 thought on “Enjoy Tasty Gluten Free Sourdough at Home”
Comments are closed.