Last updated on June 13, 2025
Imagine biting into a warm, fluffy, and deliciously soft gluten-free pita bread, straight from the oven. For those with gluten intolerance or sensitivity, finding a tasty and reliable recipe is a big challenge. That’s why we’re excited to share our ultimate recipe for gluten-free pita bread. It’s made with healthy ingredients and tips for the perfect texture and flavor.
Gluten-free diets are becoming more popular, making a reliable pita bread recipe essential. Our best gluten-free pita recipe combines gluten-free flours and offers step-by-step instructions. It’s perfect for both seasoned bakers and beginners, ensuring delicious results every time.
Key Takeaways
- Our gluten-free pita bread recipe uses a combination of healthy ingredients
- The recipe provides step-by-step instructions for achieving the perfect texture and flavor
- We’ll share tips for making the best gluten-free pita bread at home
- This recipe is simple to follow and delivers consistently delicious results.
- You’ll learn how to make a delicious and healthy pita bread alternative
- Our ultimate recipe is perfect for those with gluten intolerance or sensitivity
Understanding Gluten-Free Pita Bread
Wondering what makes homemade pita bread different from its gluten-free version? Traditional pita uses wheat flour, water, yeast, and salt. It gets its chewy texture and soft pocket from fermentation and baking. But, for those with gluten issues, a gluten-free option is needed.
A gluten-free bread recipe can be just as tasty as the traditional one. With the right ingredients and methods, you can make an easy gluten-free pita that’s just as good. Gluten-free flours like rice, almond, or coconut, mixed with starches like tapioca or potato, are key.
What Makes Traditional Pita Different
Traditional pita bread’s unique texture and flavor come from wheat flour and fermentation. The gluten in wheat flour makes it chewy and helps it rise. Gluten-free pita, on the other hand, uses other ingredients to mimic these qualities.
Benefits of Gluten-Free Alternatives
Gluten-free pita bread is easier to digest for those with gluten issues. It’s also a good choice for those cutting down on gluten or following a paleo or low-carb diet. With the right ingredients and techniques, gluten-free pita can be just as tasty as traditional pita.
Key Components for Success
To make a great gluten-free pita, mix gluten-free flours and starches with gluten-free yeast and the right liquid. You might need to adjust the rising time and temperature. With practice and patience, you can make a delicious gluten-free pita bread perfect for sandwiches, dips, and snacks.
Essential Equipment for Perfect Pitas
To make great gluten-free flatbread, you need the right tools. A stand mixer is key for the dense dough. A dough whisk helps mix well, and a baking stone gives the crust a perfect texture. These tools make gluten-free pita bread easy to make.
The flour you choose is very important in gluten-free baking. High-quality gluten-free flour blends make your flatbread light and fluffy. Brands like Bob’s Red Mill and King Arthur Flour are good choices. With the right tools and ingredients, you’ll make perfect gluten-free pita bread.
Here are some essential equipment and ingredients to get you started:
- Stand mixer
- Dough whisk
- Baking stone
- Gluten-free flour blend
- Thickening and binding agents like xanthan gum or guar gum
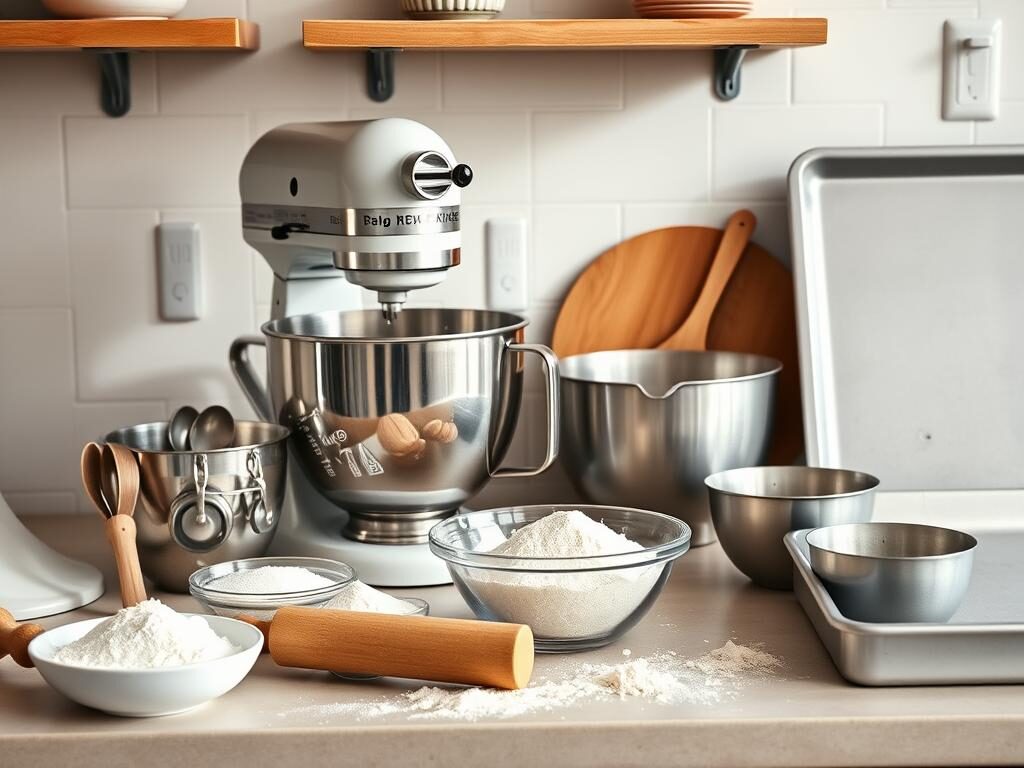
Using the right equipment and ingredients is key. Gluten-free flatbread is great for those who can’t eat gluten. With the right tools and ingredients, you can make delicious and healthy gluten-free pita bread. It’s perfect for sandwiches, snacks, or as a side dish.
| Equipment | Importance |
|---|---|
| Stand mixer | Handles dense dough with ease |
| Dough whisk | Ensures thorough mixing |
| Baking stone | Achieves perfect crust |
Ingredient List and Substitutions
Making a pita bread alternative needs the right ingredients. You’ll need gluten-free flours, binding agents, and more. The flour type is key for texture and taste.
A good recipe uses rice flour, almond flour, and coconut flour. These flours give structure and flavor. You can try other flours like cassava or teff for a different taste.
Flour Blend Components
The flour blend is the base of a great gluten-free pita. Use 2-3 flours for the right texture and taste. Here are some common ones:
- Rice flour: makes it light and tender
- Almond flour: adds a nutty flavor
- Coconut flour: helps with structure
Binding Agents
Binding agents keep the gluten-free pita together. Common ones are:
- Xanthan gum: for texture and structure
- Guar gum: for elasticity
- Eggs: bind and add moisture
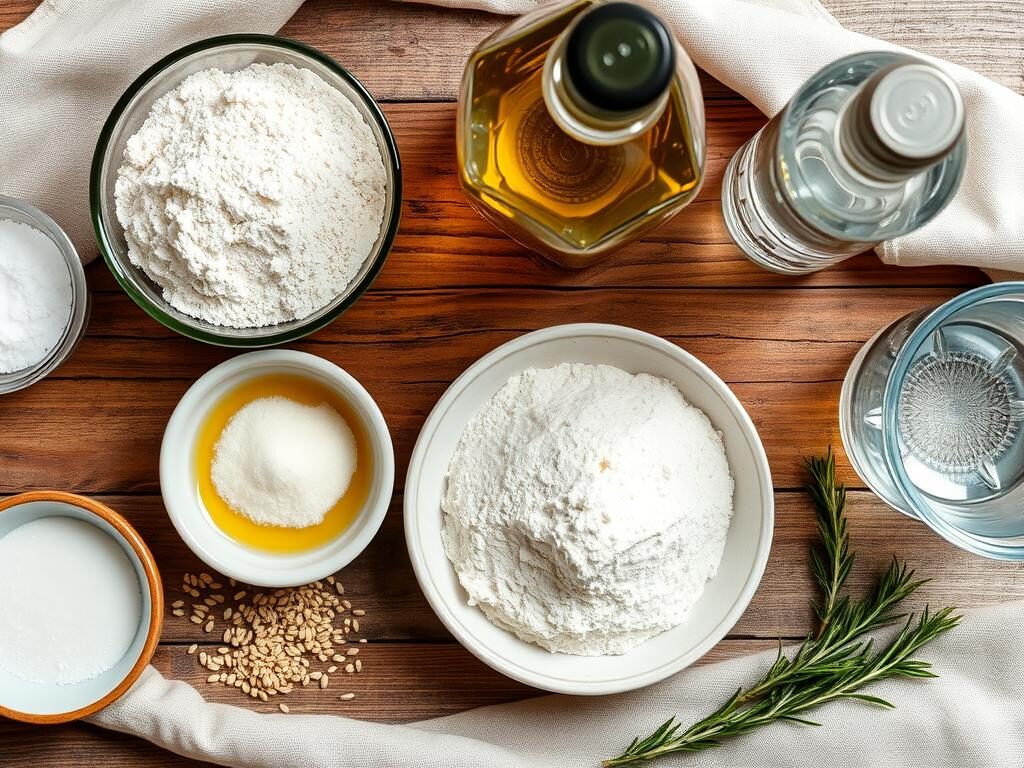
Additional Ingredients
You’ll also need other ingredients for flavor and texture. These include:
- Salt: for flavor and yeast growth
- Sugar: for yeast and browning
- Yeast: for rising and light texture
With the right ingredients and a good recipe, you can make a tasty gluten-free pita. It’s great for sandwiches, snacks, or as a side.
Mastering the Mixing Process
To make an easy gluten-free pita, you need to master the mixing process. This involves using the right equipment, such as a stand mixer, and the right techniques. You want a smooth and elastic dough. It’s key to mix the ingredients in the right order and for the right amount of time.
The mixing process starts with combining dry ingredients like flour, salt, and sugar in a large bowl. Then, you add wet ingredients like water, oil, and yeast. Mix until a shaggy dough forms. After that, knead the dough until it’s smooth and elastic. The amount of time required for mixing will vary based on the type of mixer you are using and the temperature of the ingredients.
Here are some tips to help you master the mixing process:
- Use a stand mixer with a dough hook attachment to make the mixing process easier and more efficient.
- Use a dough whisk to mix the ingredients by hand, if you don’t have a stand mixer.
- Mix the ingredients in the right order, starting with the dry ingredients and then adding the wet ingredients.
- Don’t overmix the dough, as this can lead to a dense and tough pita bread.
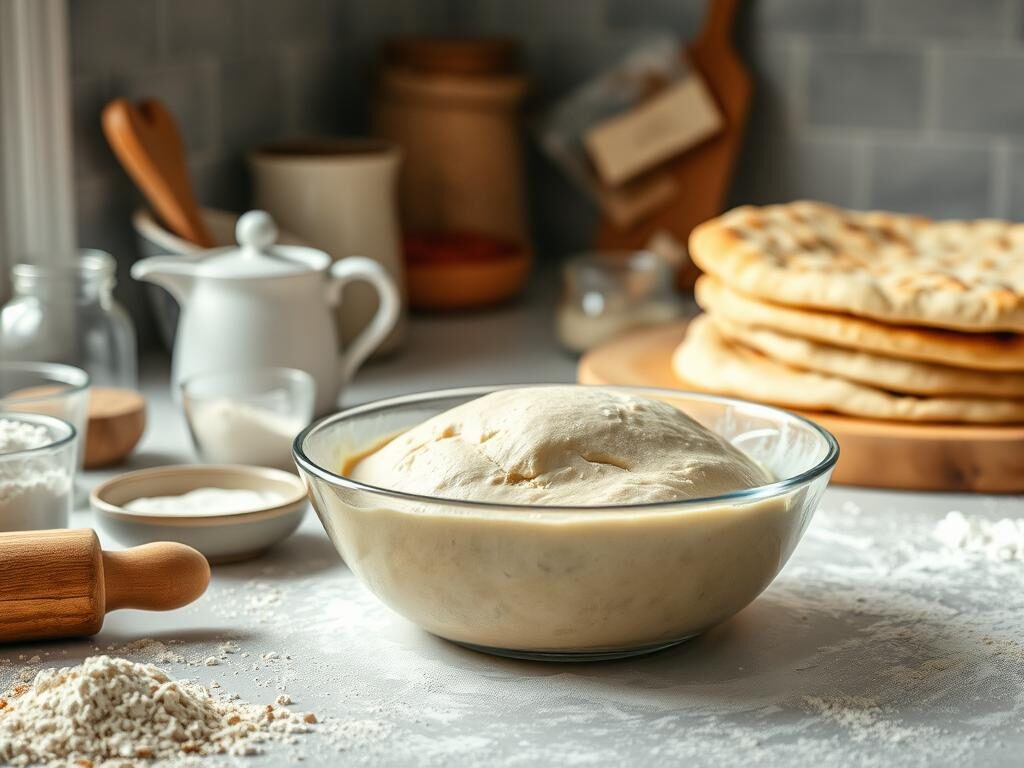
By following these tips and mastering the mixing process, you’ll be able to make delicious and easy gluten-free pita bread at home. Always use high-quality ingredients and follow the recipe carefully to get the best results.
The Art of Gluten-Free Dough Development
Gluten-free baking starts with developing the dough. It’s key to knead, rest, and rise the dough right. This ensures your gluten-free bread turns out delicious.
Gluten-free baking can be challenging. But, with the right techniques and ingredients, you can make a tasty gluten-free bread. Begin by kneading the dough for about 10 minutes. This helps develop the flours and gives the dough a smooth texture.
Proper Kneading Techniques
To knead, use a stand mixer or do it by hand for 10 minutes. The dough should become smooth and elastic. Alternatively, you can knead the dough using a food processor equipped with a dough blade attachment.
Resting Time Guidelines
Resting time is vital in gluten-free baking. It lets the dough relax and rise. Let the dough rest for at least 30 minutes to an hour before shaping.
Temperature Considerations
Temperature plays a big role in gluten-free baking. It affects the bread’s rise and texture. Keep the dough in a warm, draft-free spot, around 75-80°F, to help it rise.
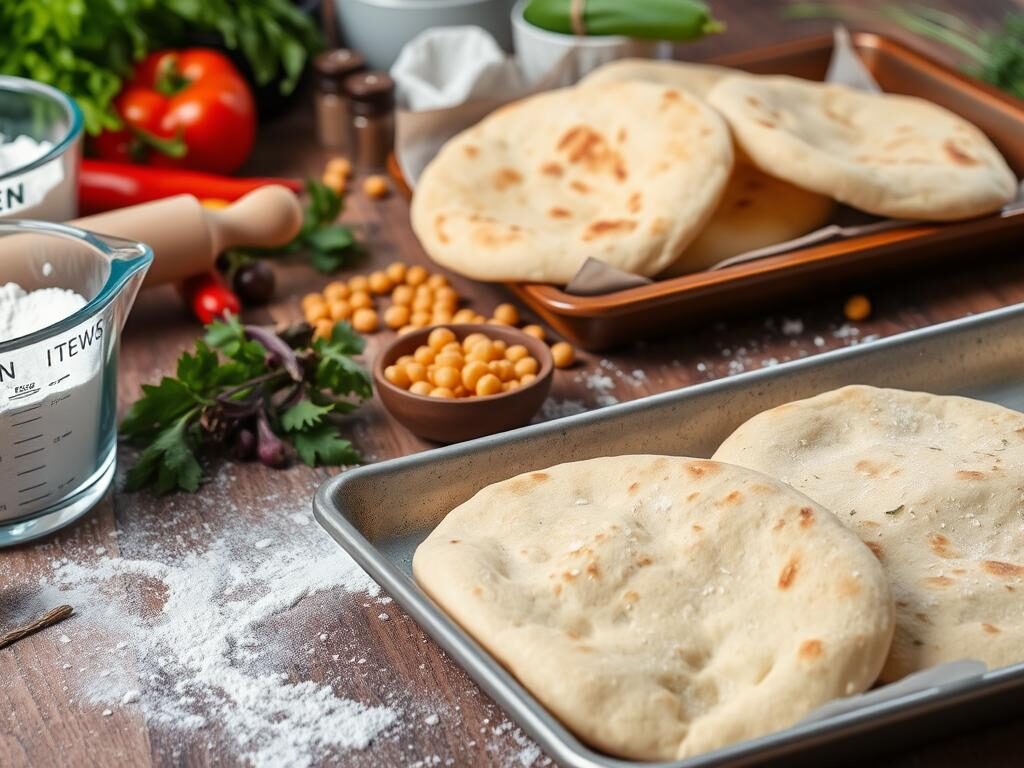
By following these tips, you can make a tasty gluten-free bread. This is perfect for making sandwiches, toasting, or simply savoring on its own. Happy gluten-free baking!
| Gluten-Free Flour | Ratio | Resting Time |
|---|---|---|
| Almond flour | 1:1 | 30 minutes |
| Coconut flour | 1:2 | 1 hour |
| Rice flour | 1:1 | 30 minutes |
Shaping Your Perfect Pitas
To make your gluten-free pita bread just right, you need the right flour. Mixing different gluten-free flours can give you the perfect texture. Try using rice flour, almond flour, and coconut flour for a tasty and healthy pita bread.
Here are some tips for shaping your pita bread:
- Ensure that the dough has reached room temperature before proceeding with shaping.
- Use a gentle touch to shape the dough into a circle.
- Use a rolling pin to flatten the dough to your desired thickness.
By following these tips, you can make a delicious gluten-free pita bread. It’s great with your favorite dips and fillings. For optimal flavor and texture, always opt for fresh, high-quality ingredients.
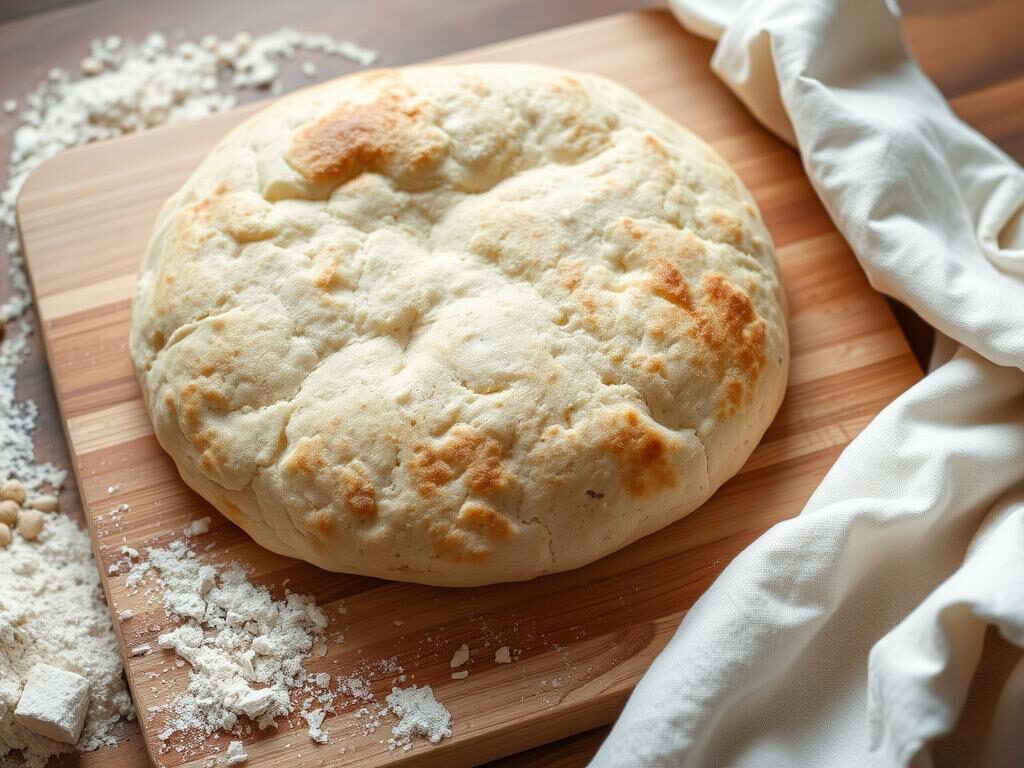
Baking Techniques for Optimal Results
To make the best gluten-free pita, you need to get good at baking. Start by heating your oven to the right temperature. This is key for a crispy outside and a soft inside. Using a baking stone can also improve your gluten-free flatbread’s texture and taste.
The type of oven you use matters a lot. You can use a conventional or convection oven. However, you will need to adjust the temperature and time. For a crispy crust, bake at a higher temperature for a shorter time.
Oven Temperature Settings
The oven temperature is very important for baking the perfect gluten-free pita. Aim for a temperature between 425°F and 475°F. Using a pizza stone in the oven can make the crust even crisper.
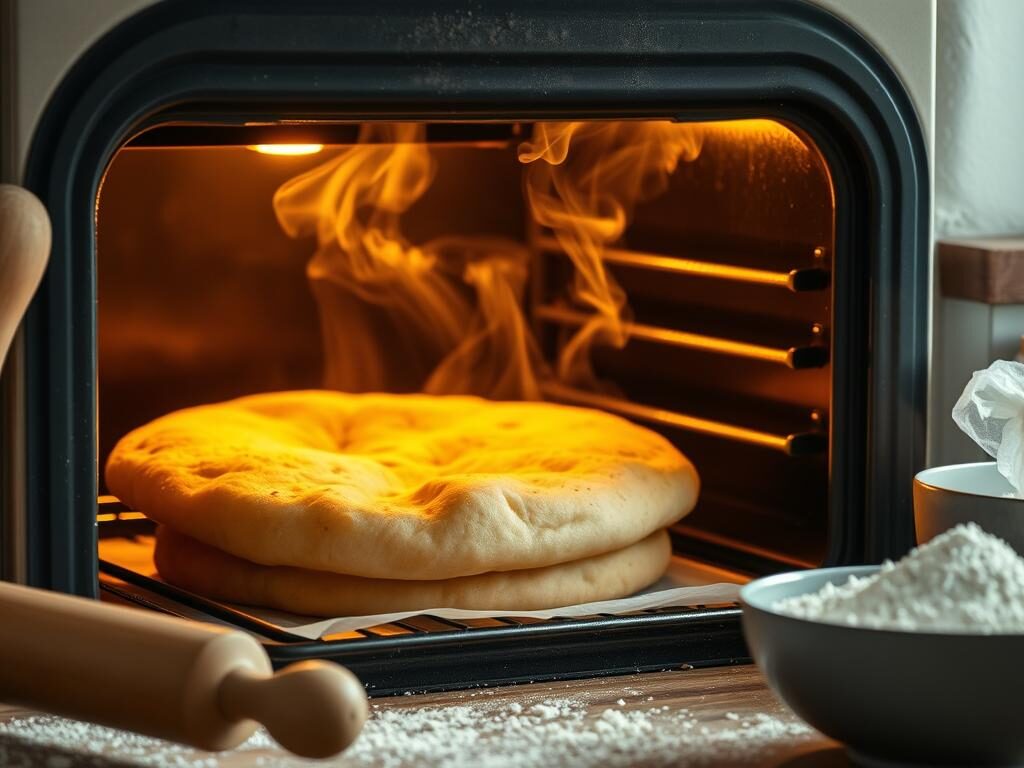
Creating the Perfect Pocket
Getting the perfect pocket in your gluten-free pita is key. Bake it for a shorter time to prevent it from puffing up too much. You can also poke a few holes in the dough before baking. This lets steam out, making the inside softer.
Reheating your gluten-free pita is also important. Try reheating it in the oven or on the stovetop, wrapped in a damp cloth. This keeps it moist and ensures the best texture and flavor.
Storage and Preservation Methods
Storing your gluten-free pita bread right is key to keeping it fresh. Store it in an airtight container at room temperature, where it will stay fresh for up to 3 days. This keeps it soft and fresh.
For longer storage, freezing is a good option. Just put the bread in a freezer-safe bag or container. You can keep it in the freezer for up to 2 months.
To thaw frozen gluten-free pita bread, leave it at room temperature for a few hours. Or, reheat it in the oven or microwave. Here are some tips for storing and preserving your gluten-free pita bread:
- Store in an airtight container to maintain freshness
- For extended storage, place it in the freezer, where it will keep well for up to 2 month
- Thaw frozen bread at room temperature or reheat in the oven or microwave
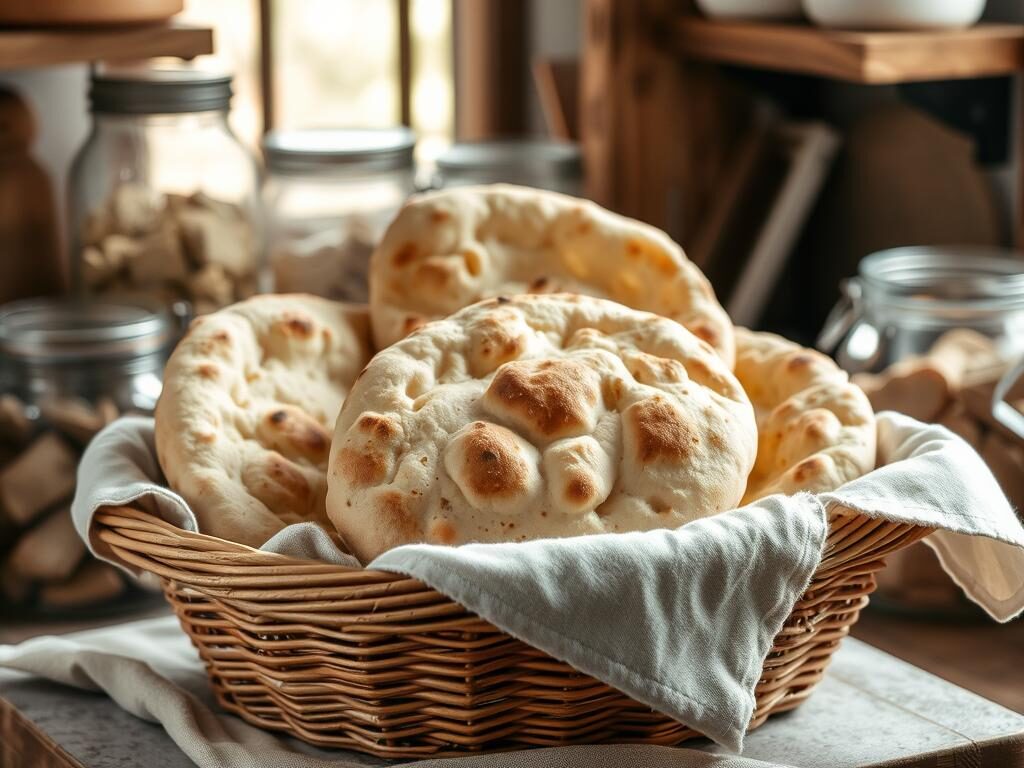
By following these tips, you can enjoy your gluten-free pita bread for longer. Whether it’s for a special occasion or a quick snack, proper storage is essential. With these methods, your gluten-free pita bread will stay fresh and delicious for days.
Serving Suggestions and Pairings
There are countless ways to serve your gluten-free pita bread. It can be enjoyed on its own or paired with various dips and spreads for added flavor. For a Mediterranean touch, pair it with hummus, tabbouleh, or feta cheese. The goal is to mix flavors and textures, so feel free to experiment.
In gluten-free baking, trying new flavors is key. Add fresh herbs or spices to your flatbread for more taste. Pair it with grilled meats or veggies for a filling meal. The possibilities are endless, and creativity can lead to amazing meals.
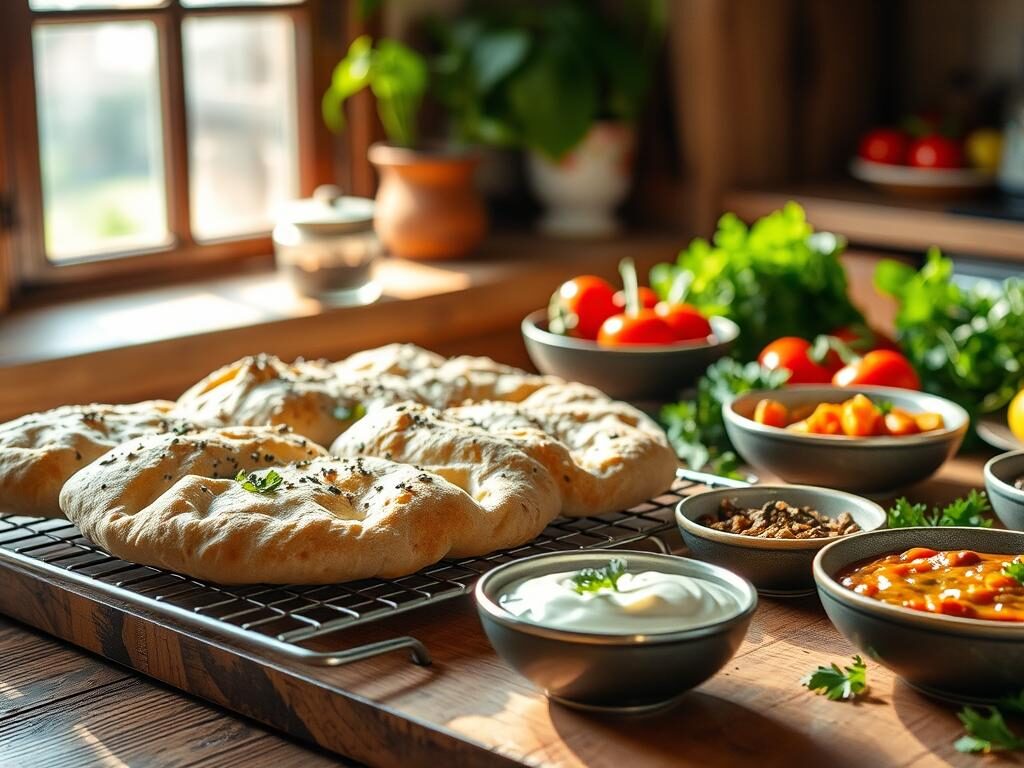
- Grilled chicken or steak with a side of roasted vegetables
- A Mediterranean platter with hummus, tabbouleh, and feta cheese
- A gluten-free flatbread pizza with your favorite toppings
Most importantly, have fun and be creative with gluten-free baking. Don’t hesitate to try new flavors and ingredients. With practice, you’ll soon master making delicious gluten-free pita bread.
| Pairing | Description |
|---|---|
| Hummus and tabbouleh | A classic Mediterranean combination that’s perfect for dipping gluten-free flatbread |
| Grilled chicken and roasted vegetables | A hearty and satisfying meal that’s perfect for a weeknight dinner |
| Gluten-free flatbread pizza | A fun and easy twist on traditional pizza that’s perfect for a quick lunch or dinner |
Troubleshooting Common Issues
When making gluten-free pita bread, you might face some common problems. These can affect the bread’s texture, taste, and quality. We’ll talk about these issues and offer tips to fix them.
Creating gluten-free pita can be tricky. But, with the right ingredients and techniques, you can make it delicious. One big issue is texture problems. These can happen if you use the wrong flour or not enough liquid.
Texture Problems
To fix texture issues, mix different gluten-free flours. Try using rice flour, almond flour, and coconut flour. Adding xanthan gum or guar gum can also help improve the bread’s texture and structure.
Rising Challenges
Rising problems are common too. To solve this, use the right yeast and keep the dough at the right temperature. A bit more sugar in the dough can also help the yeast.
Pocket Formation Issues
Not enough steam or cooking time can cause pocket issues. To fix this, bake in a steamy oven or cook a bit longer. This helps create the perfect pocket.
By following these tips and using the right ingredients, you can make tasty gluten-free pita bread. It’s great for sandwiches, salads, or just as a snack. Don’t be afraid to try different ingredients and techniques to find what works best for you.
| Issue | Solution |
|---|---|
| Texture Problems | Use a combination of gluten-free flours and add xanthan gum or guar gum |
| Rising Challenges | Use the right type of yeast and add a little more sugar to the dough |
| Pocket Formation Issues | Bake the bread in a steamy oven or cook it for a few minutes longer |
Recipe Variations and Adaptations
Once you get the hang of making gluten-free bread, you can try new things. You can make a pita bread alternative by using different flours. Try almond or coconut flour for a unique taste and texture.
Here are some ideas for changing up your recipe:
- Add herbs and spices like oregano or cumin for a Mediterranean flavor
- Use almond or soy milk for a dairy-free option
- Throw in nuts or seeds like walnuts or sesame seeds for extra texture and nutrition
When making gluten-free bread for special diets, look for gluten-free certification. This ensures the ingredients are safe. You can also mix and match different gluten-free bread recipe ingredients to find your favorite.
Remember, the secret to a great pita bread alternative is to have fun and try new things. With a bit of practice and patience, you can make a delicious gluten-free bread that you’ll love.
Conclusion: Your Journey to Perfect Gluten-Free Pita Bread
Creating delicious gluten-free pita bread is now within your reach. You’ve learned the key techniques and ingredients. This means you can make the best gluten-free pita just like the traditional ones.
Don’t be afraid to try new things and learn more. Experiment with different flours, kneading styles, and baking temperatures. This way, you can create a pita that’s not only beautiful but also tastes amazing.
Enjoy every step of the baking process and share your creations. The gluten-free pita bread you make will impress everyone. Happy baking!
FAQ
What makes traditional pita bread different from gluten-free pita bread?
Traditional pita bread has gluten, a protein in wheat, barley, and rye. This gluten makes the bread chewy and forms a pocket. Gluten-free pita, on the other hand, uses gluten-free flours to mimic these qualities without gluten.
What are the benefits of gluten-free pita bread?
Gluten-free pita is great for those who can’t eat gluten. It’s a safe and tasty choice for enjoying pita bread without gluten’s health issues. It’s also often made with whole-grain ingredients, making it a healthier option.
What are the key components for success in making gluten-free pita bread?
Making gluten-free pita bread requires the right gluten-free flours and binding agents. The dough must be kneaded well and allowed to rise. Balancing ingredients and following the right mixing and baking techniques are key to getting the perfect texture and pocket.
Can I substitute the tapioca starch with another starch in the recipe?
Yes, you can swap tapioca starch with arrowroot or potato starch. Adjust the starch ratio to get the right texture and pocket. Experimenting with different starches can help you find the best one for your taste and dietary needs.
How can I tell if the dough has risen enough?
Check if the dough has risen by gently poking it with your finger. If it springs back slowly, it’s ready. Look for the dough to have doubled in size and feel light. Paying attention to rising time and temperature is important for the perfect texture.
What is the best way to reheat gluten-free pita bread?
To reheat gluten-free pita, wrap it in foil or a plastic bag and bake at 350°F (175°C) for 5-10 minutes. Avoid microwaving to prevent a gummy texture. For a crisp exterior, lightly toast the pita before serving.
Where can I find more gluten-free bread recipes to try?
For more gluten-free bread recipes, check out our selection of homemade gluten-free flatbread and pita. We have a variety of recipes using different gluten-free flours and techniques for healthy and tasty options.
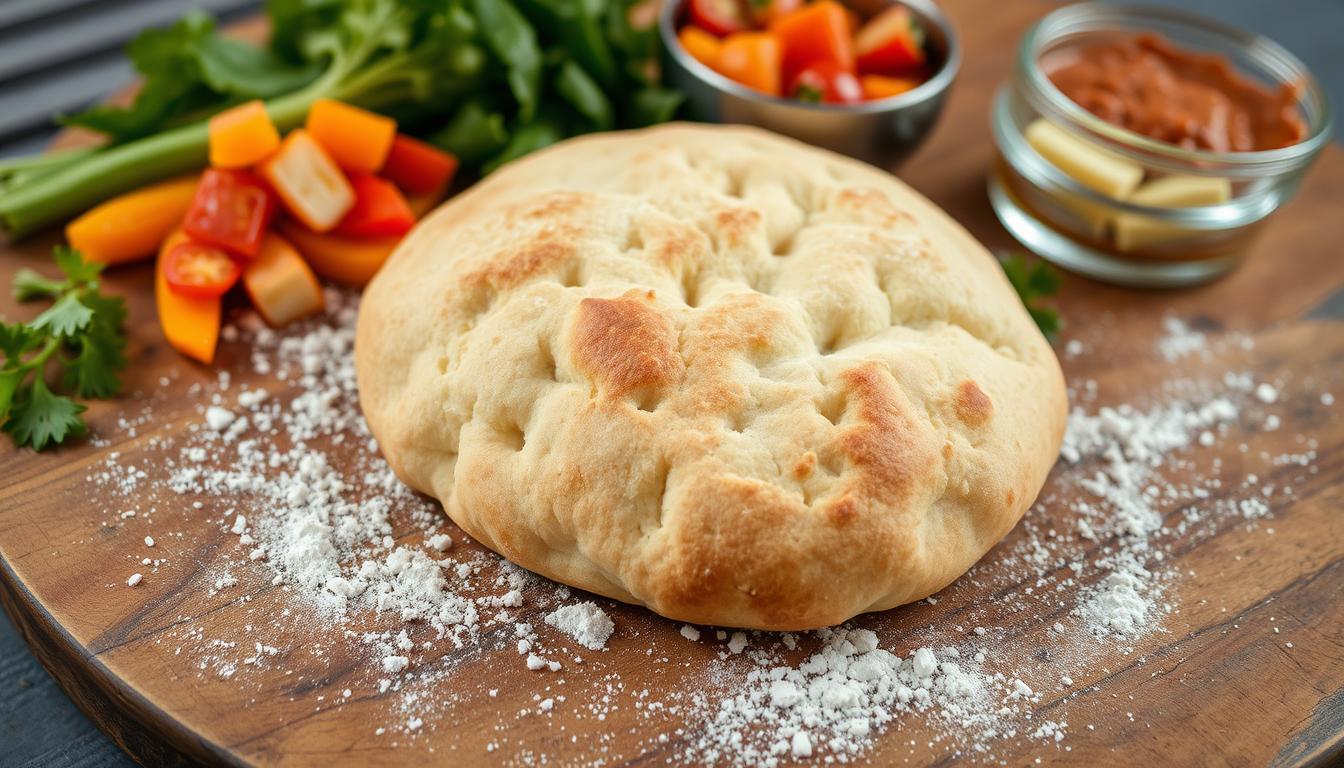
Gluten-Free Pita Bread
- Total Time: 1 hour 23 minutes
- Yield: 6–8 pita breads 1x
- Diet: Gluten Free
Description
Soft and chewy gluten-free pita bread made with a blend of rice, almond, and coconut flours, perfect for wraps, sandwiches, or dipping. This recipe includes binding agents and optional ingredients to improve texture and flavor.
Ingredients
- 1 cup white rice flour
- 1/2 cup almond flour
- 1/4 cup coconut flour
- 1 teaspoon xanthan gum
- 2 large eggs (or 2 flax eggs: 2 tbsp ground flaxseed + 6 tbsp water)
- 1 teaspoon salt
- 1 tablespoon sugar or honey
- 2 teaspoons active dry yeast
- 3/4 cup warm water (about 110°F / 43°C)
- 2 tablespoons olive oil
- 1 tablespoon psyllium husk (optional)
- 1 tablespoon apple cider vinegar (optional)
Instructions
- In a mixing bowl, combine the white rice flour, almond flour, coconut flour, xanthan gum, and salt.
- In a separate small bowl, mix warm water, sugar or honey, and yeast. Let it sit for 5–10 minutes until frothy.
- In another bowl, beat the eggs (or prepare flax eggs) and combine with olive oil, apple cider vinegar (if using), and psyllium husk (if using).
- Pour the yeast mixture and egg mixture into the flour blend and mix until a dough forms.
- Cover the dough with a towel and let it rise in a warm place for about 1 hour.
- Preheat oven to 450°F (232°C) and place a baking sheet or pizza stone inside to heat.
- Divide the dough into 6–8 equal portions. Roll each piece into a ball and then flatten into 1/4-inch thick rounds.
- Place the rounds onto the hot baking surface and bake for 6–8 minutes, flipping once halfway through if desired.
- Remove from oven and cool on a wire rack. Pitas may puff up while baking, creating a pocket.
Notes
- For vegan version, use flax eggs instead of regular eggs.
- Store cooled pita bread in an airtight container for up to 3 days or freeze for longer storage.
- Reheat before serving for best texture.
- Optional ingredients help improve chew and flavor but are not essential.
- Prep Time: 15 minutes
- Cook Time: 8 minutes
- Category: Bread
- Method: Baking
- Cuisine: Middle Eastern
Nutrition
- Serving Size: 1 pita bread
- Calories: 160
- Sugar: 2g
- Sodium: 190mg
- Fat: 7g
- Saturated Fat: 1g
- Unsaturated Fat: 5g
- Trans Fat: 0g
- Carbohydrates: 20g
- Fiber: 2g
- Protein: 4g
- Cholesterol: 30mg
Keywords: gluten-free pita bread, homemade pita, easy pita, rice flour pita, vegan pita option



1 thought on “Gluten-Free Pita Bread: The Ultimate Recipe”