Last updated on February 18, 2026
A Cozy Morning, A Simple Challenge
Have you ever woken up craving something warm and wholesome but stared at a crowded fridge and a too-busy morning and wondered how to make breakfast feel like a hug? I’ve been there — once I even tried to eat a bowl of cereal while answering emails and ended up spilling almond milk on my keyboard. If you’re a beginner in batch cooking or new to making snack bars, this recipe is one of the friendliest places to start: it uses one bowl, minimal measuring, and forgiving ingredients. I promise the process is easy and stress-free, and if you like to prep ahead, these bars are a dependable morning rescue — similar in spirit to other simple make-ahead breakfasts like my go-to coconut granola bars.
A Quick Look at This Healthy Breakfast Bars Recipe
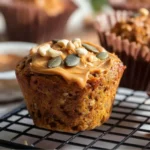
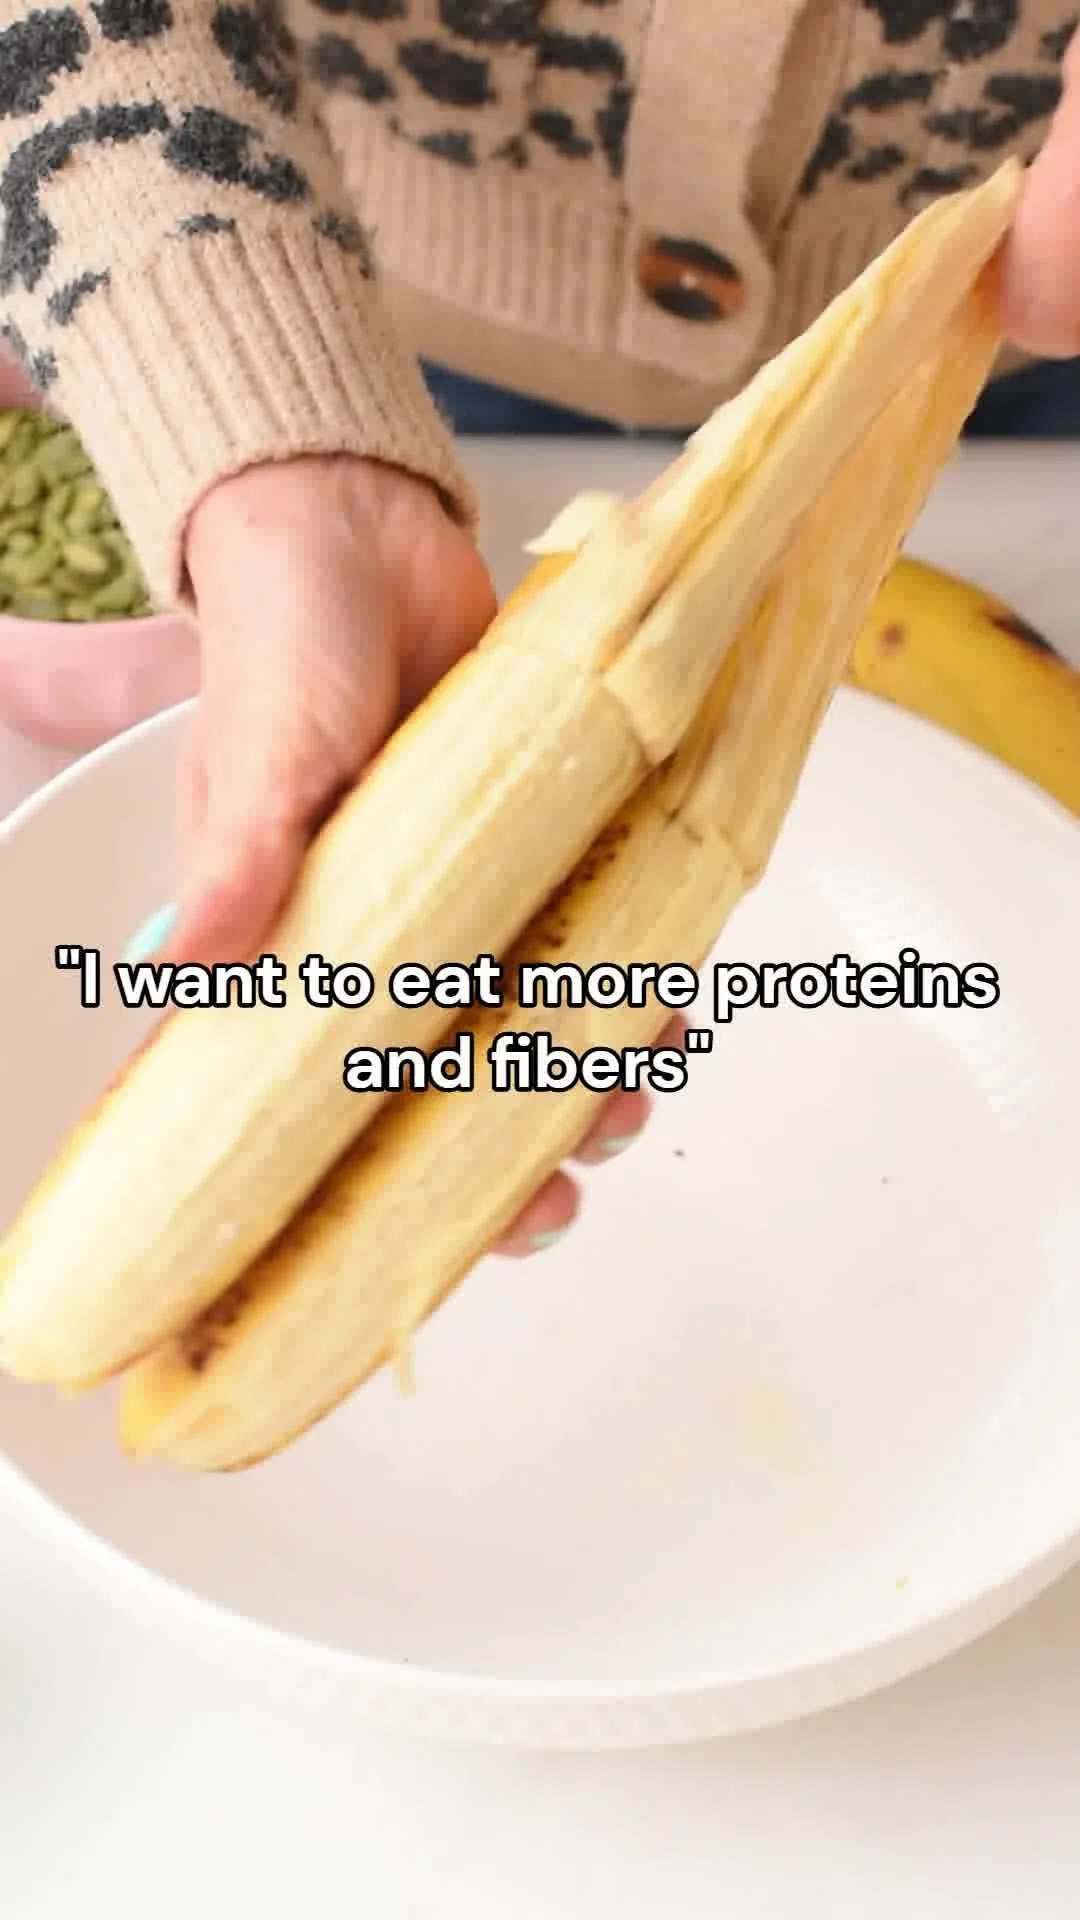
These Healthy Breakfast Bars are built on rolled oats and almond butter, both of which bring fiber and plant-based healthy fats to your morning. The mashed banana and a touch of maple syrup add natural sweetness with fewer refined sugars, while optional add-ins like chia seeds or protein powder can boost protein and omega-3s. Overall, this recipe is fiber-rich and naturally wholesome, making it a solid option for a balanced breakfast or an on-the-go snack. They’re especially useful for meal prep: bake once, and you’ve got several mornings covered with a satisfying, portionable option.
Ingredients You’ll Need for Healthy Breakfast Bars
Essentials
- 2 cups rolled oats — the base for texture and fiber; choose old-fashioned oats for the best chew.
- 1 cup unsweetened almond butter — provides healthy fats, creaminess, and a subtle nutty flavor.
- 1/4 cup maple syrup — natural sweetener that helps bind and lightly sweeten the bars.
- 1 medium banana, mashed — adds moisture, natural sweetness, and a bit of potassium.
- 1/2 teaspoon vanilla extract — lifts flavor; optional but I love the warm note it adds.
- 1/2 teaspoon ground cinnamon — comforting spice that complements banana and almond butter.
- 1/4 teaspoon salt — balances flavors and enhances sweetness.
- 1/4 cup dark chocolate chips or chopped nuts (optional) — for texture and a treat-like element.
Optional add-ons
- 2–3 tablespoons chia seeds — add omega-3s, extra fiber, and a little help with binding.
- Dried fruit (raisins, chopped dates, cranberries) — for chew and natural sweetness.
- Shredded coconut — adds a tropical note and chewy texture.
- Cocoa powder — for a chocolate-forward version; add 1–2 tablespoons and reduce chocolate chips.
- Orange or lemon zest — brightens flavors, especially with chocolate or coconut.
- Protein powder — 1/4 to 1/3 cup to increase protein; might require a splash more almond butter or banana to keep texture right.
- Nut pieces (walnuts, pecans, almonds) — extra crunch and healthy fats.
Substitutions and shortcuts
- Rolled oats: If you only have quick oats, you can use them, but the texture will be denser and softer. Steel-cut oats are not recommended.
- Almond butter: Swap with peanut butter, cashew butter, or sunflower seed butter (for nut-free). If your nut butter is very runny, chill briefly before mixing.
- Maple syrup: Honey or brown rice syrup can substitute, but note flavors change slightly. If using honey, this will not be vegan.
- Banana: If you don’t have a ripe banana, use 1/4 cup unsweetened applesauce as an alternative binder (texture will be slightly different).
- Sweetener-free: For lower added sugar, reduce maple syrup to 2 tablespoons and add a touch more mashed banana or a few chopped dates.
- Chocolate chips or nuts: If you skip them, add 2 tablespoons of extra oats or a tablespoon of ground flaxseed for texture.
- Shortcut: If you want to skip baking, press the mixture into a pan and refrigerate until firm for no-bake bars. They’ll be chewier and slightly softer than baked ones.
How to Make Healthy Breakfast Bars Step-by-Step
I like to keep this process simple and mindful — no rush, just steady mixing and an eye on texture. Here’s how I typically prepare them and a few helpful tips so you’ll get reliably good bars even on your first try.
Preheat and prepare: Preheat your oven to 350°F (175°C) and line an 8×8-inch baking dish with parchment paper. Lining the dish makes it easy to lift the whole slab out for clean cutting later. While the oven warms up, measure your ingredients so everything’s ready.
Mash and mix the wet ingredients: In a large bowl, mash the banana thoroughly with a fork until mostly smooth. Add the almond butter, maple syrup, and vanilla extract. I sometimes microwave the almond butter for 10–15 seconds if it’s very stiff; it makes mixing easier. Stir until the mixture is smooth and evenly combined.
- Technique tip: If you have a thick nut butter, a silicone spatula is great for scraping the sides and getting every bit mixed in. The banana and maple syrup help loosen things up.
Combine dry ingredients: Add rolled oats, cinnamon, and salt to the wet mixture. Stir until a thick dough forms. The mixture should be cohesive but not overly sticky — if it’s crumbling, add a teaspoon or two of water or a splash more almond butter; if it’s too wet, sprinkle in a few more oats.
- Nutrient preservation note: Oats and seeds are robust, but if you’re using delicate add-ins like flaxseed meal or protein powder, fold them in gently to avoid overworking the dough.
Fold in optional ingredients: Gently stir in dark chocolate chips, chopped nuts, chia seeds, dried fruit, or shredded coconut if using. Distribute evenly so every bar gets a bit of everything.
- Technique tip: Reserve a tablespoon of chocolate chips or nuts to scatter on top before baking — it makes the bars look a bit more attractive.
Press into the pan: Transfer the mixture to the prepared baking dish. I press it down firmly and evenly with the back of a spatula or a piece of parchment paper over the mixture. Getting an even thickness helps the bars bake uniformly.
- Technique tip: Pressing firmly helps the bars hold together after baking. If you want a crispier edge, press more firmly near the edges.
Bake: Bake for 20–25 minutes, until the edges turn golden brown. Ovens vary, so check at 18 minutes the first time you try this recipe. The center should be set and not jiggly. Overbaking can dry them out, so I prefer to err on the side of slightly underbaked if I plan to let them cool fully in the pan.
- Nutrient preservation note: Shorter bake times at a moderate temperature preserve some of the moistness and keep the texture pleasant without denaturing the small amounts of heat-sensitive nutrients in add-ins like chia seeds.
Cool completely: Allow to cool completely before cutting into bars. This helps them firm up and reduces crumbling. I usually let the slab cool at room temperature for at least an hour, or pop it in the fridge for 20–30 minutes if I’m impatient.
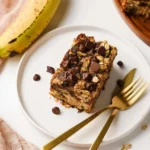
Slice and store: Lift the slab out with the parchment paper and cut into 9 or 12 bars, depending on your preferred size. Store in an airtight container for up to 3 days at room temperature, or refrigerate for up to a week. For longer storage, freeze individually wrapped bars for up to 2 months.
A few more practical notes I often share: if you’d like softer, chewier bars, cut them a bit thicker and pull them out of the oven a minute sooner. For firmer, more portable bars, press the dough thinner and bake a couple of minutes longer. And if you’re boosting protein with powder, watch texture — you might need an extra tablespoon of almond butter or banana to keep things balanced.
If you enjoy breakfast bars but want a cakier, muffin-style morning, try the flavor profile in these banana oat muffins for another hands-off option.
Common Mistakes to Avoid
Making snack bars is mostly forgiving, but a few small missteps can change texture or flavor. Below are three common mistakes I see and how to avoid them.
Mistake 1: Skipping the parchment paper or not pressing the dough firmly
If you skip lining the pan, the bars can stick and be a pain to remove, which increases crumbling. Pressing the mixture unevenly leads to uneven baking — thick spots that stay undercooked and thin edges that burn. Always line the pan and press firmly and evenly.
Mistake 2: Overbaking
Ovens vary, so relying strictly on the clock can lead to dry bars. Look for golden edges and a set center. It’s better to underbake slightly and allow the bars to firm up while cooling than to overbake and end up with dry, chalky pieces.
Mistake 3: Adding too much dry mix or too many dense add-ins without adjusting moisture
If you pack in lots of protein powder, ground flax, or extra oats without adding moisture, the texture becomes crumbly. When you add dry boosters, balance them with a little extra almond butter, banana, or a splash of plant milk to keep the dough cohesive.
Serving Suggestions for Healthy Breakfast Bars
These bars are versatile — I like them as an easy breakfast with a little something on the side, or as a snack tucked into a lunchbox. They pair well with both creamy and fresh accompaniments.
With yogurt and berries
Serve a bar alongside a small bowl of Greek yogurt (or plant-based yogurt) and a handful of fresh berries. The yogurt adds protein and creaminess while the berries bring bright acidity and vitamins.
Warmed with nut milk
Pop a bar in the microwave for 10–15 seconds and drizzle warm almond or oat milk over it. This makes a cozy, slightly porridge-like treat that’s gentle on the stomach and satisfying on cool mornings.
Crumbled as a topping
Crumble a bar over smoothie bowls, overnight oats, or even a hot bowl of cooked oats. It adds a chewy, crunchy element and stretches your batch farther while giving texture to breakfasts or desserts.

Conclusion
I love how these Healthy Breakfast Bars fit into busy mornings: they’re flexible, nourishing, and forgiving, and they make weekday breakfasts simple without sacrificing flavor or texture. Whether you keep them simple with oats and almond butter or customize with chia seeds, citrus zest, or a scoop of protein powder, they’re a practical recipe that supports a balanced routine. If you’d like another take on a one-bowl, wholesome breakfast idea, check out this related recipe for inspiration: Healthy Breakfast Bars Recipe – Beaming Baker. I’d love to hear how you customize yours — try a batch this weekend and tell me which add-ons you loved most.
FAQs About Healthy Breakfast Bars
Q1: How long do Healthy Breakfast Bars last in the fridge?
A1: Healthy Breakfast Bars will keep in an airtight container in the fridge for up to one week. If you want them to last longer, wrap individual bars and freeze them for up to two months; thaw at room temperature or warm gently.
Q2: Can I make Healthy Breakfast Bars without baking them?
A2: Yes — you can press the mixture into a pan and refrigerate until firm for an easy no-bake version. They’ll be chewier and softer than the baked version but still delicious and portable.
Q3: Are these Healthy Breakfast Bars suitable for meal prep?
A3: Absolutely. These Healthy Breakfast Bars are ideal for meal prep: make a batch on the weekend, slice, and portion them for the week. They hold up well in a lunchbox or a quick grab-and-go breakfast.
Q4: Can I make Healthy Breakfast Bars nut-free?
A4: Yes. To make nut-free Healthy Breakfast Bars, substitute almond butter with sunflower seed butter or tahini and use seed-based add-ins instead of nuts. Check labels to ensure ingredients are processed in nut-free facilities if needed.
Q5: How can I increase the protein in these Healthy Breakfast Bars?
A5: To boost protein in Healthy Breakfast Bars, stir in a scoop of your preferred protein powder (1/4–1/3 cup) or add extra nut butter and chia seeds. If adding protein powder, you may need a touch more moisture — a tablespoon of almond butter or a splash of plant milk — to maintain a good texture.
Healthy Breakfast Bars
- Total Time: 40 minutes
- Yield: 9-12 servings 1x
- Diet: Vegetarian
Description
A delicious, fiber-rich breakfast bar made with rolled oats, almond butter, and mashed banana, perfect for meal prep and healthy snacking.
Ingredients
- 2 cups rolled oats
- 1 cup unsweetened almond butter
- 1/4 cup maple syrup
- 1 medium banana, mashed
- 1/2 teaspoon vanilla extract
- 1/2 teaspoon ground cinnamon
- 1/4 teaspoon salt
- 1/4 cup dark chocolate chips or chopped nuts (optional)
- 2–3 tablespoons chia seeds (optional)
- Dried fruit (raisins, chopped dates, cranberries, optional)
- Shredded coconut (optional)
- Cocoa powder (optional)
- Orange or lemon zest (optional)
- Protein powder (1/4 to 1/3 cup, optional)
- Nut pieces (walnuts, pecans, almonds, optional)
Instructions
- Preheat your oven to 350°F (175°C) and line an 8×8-inch baking dish with parchment paper.
- Mash the banana in a large bowl until mostly smooth, then add almond butter, maple syrup, and vanilla extract. Stir until smooth.
- Add rolled oats, cinnamon, and salt to the wet mixture, stirring until a thick dough forms.
- Gently stir in dark chocolate chips, chopped nuts, chia seeds, dried fruit, or shredded coconut if using.
- Transfer the mixture to the prepared baking dish and press down firmly and evenly.
- Bake for 20–25 minutes until edges are golden brown; check at 18 minutes.
- Allow to cool completely before cutting into bars. Store in an airtight container for up to 3 days at room temperature or refrigerate for up to a week.
Notes
For softer bars, cut thicker and bake a minute less. For firmer bars, press thinner and bake a couple of minutes longer.
- Prep Time: 15 minutes
- Cook Time: 25 minutes
- Category: Breakfast
- Method: Baking
- Cuisine: American
Nutrition
- Serving Size: 1 bar
- Calories: 200
- Sugar: 10g
- Sodium: 150mg
- Fat: 9g
- Saturated Fat: 1g
- Unsaturated Fat: 7g
- Trans Fat: 0g
- Carbohydrates: 28g
- Fiber: 4g
- Protein: 5g
- Cholesterol: 0mg
Keywords: breakfast, snack, healthy bars, meal prep, fiber-rich