Last updated on May 4, 2026
A late workday, after-school chaos, or one kid asking for a snack while another refuses dinner—I’ve been there. When time and patience are thin, Healthy Chocolate Granola Bars are my go-to: fast to make, forgiving if you swap ingredients, and kid-approved for lunchboxes and after-school hunger. For a twist on texture or flavor, I sometimes pair them with a coconut version I love from another recipe I keep on hand: coconut granola bars — but these chocolate bars are the weeknight lifesaver.
A Quick Look at This Healthy Chocolate Granola Bars Recipe
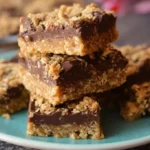
These Healthy Chocolate Granola Bars combine two family favorites—rolled oats and dark chocolate—in a chewy, chocolatey bar that both kids and grown-ups enjoy. They come together in under 30 minutes, require just one pan and a bowl, and are ready to slice after cooling. The recipe is make-ahead friendly and stores well for school lunches or snack stashes. If you want a reliable, flexible treat that survives picky eaters and busy schedules, this one delivers every time.
Ingredients You’ll Need for Healthy Chocolate Granola Bars
Essentials
- 2 cups rolled oats (old-fashioned) — the chewy, satisfying base kids and adults both like.
- 1/2 cup almond butter — binds the bars and adds healthy fat; use a smooth variety for easier mixing.
- 1/4 cup pure maple syrup — natural sweetness that helps set the bars without processed sugar.
- 1/4 cup unsweetened cocoa powder — gives rich chocolate flavor without extra sugar.
- 1/2 cup dairy-free dark chocolate chips — melts slightly inside the bars for gooey bites; choose dairy-free if needed.
- 1/2 teaspoon vanilla extract — rounds the chocolate, a little goes a long way.
- Pinch of salt — balances sweetness and enhances chocolate.
These are all common, easy-to-find grocery items that keep the pantry simple and the shopping list short.
Optional Add-ons
- 1/4 cup chopped nuts (almonds, walnuts, or pecans) — adds crunch and protein.
- Seeds: chia, flax, or hemp — boost fiber and omega-3s with no fuss.
- Dried fruit: chopped dates, dried cherries, or raisins — add natural sweetness and chew.
- Shredded coconut — for texture and a mild tropical note.
- Spices: cinnamon or a pinch of espresso powder — deepen the chocolate flavor.
- Vegan protein powder — for post-practice or protein-packed snacks.
These extras let you customize flavor and nutrition without changing the basic method. If the kids like peanut butter or a classic PB-chocolate combo, toss in a spoonful of peanut butter or swap the almond butter.
Also, if your household is into over-the-top chocolate-peanut-butter bars, you might want to try something gooey and decadent later: 7-layer Reeses bars for a treat day — but for everyday, these chocolate granola bars are my reliable pick.
Substitutions and Shortcuts
- Almond butter swap: use peanut butter, sunflower seed butter (nut-free), or tahini if you have allergies. Choose a creamy jar for easier mixing.
- Sweetener: honey can replace maple syrup for non-vegan households; agave is another alternative. Reduce slightly if your nut butter is sweetened.
- Oats: quick oats can be used in a pinch for a softer bar, but old-fashioned oats give the best chew.
- Chocolate: chop a favorite chocolate bar instead of chips for larger chocolate pockets.
- No-bake shortcut: if you’re in a rush, press the mixture into the pan and refrigerate until firm (about 1 hour) — skip baking and save time.
- Single-bowl cleanup: use the same mixing bowl for dry then wet ingredients to minimize dishes; mix the wet in a microwave-safe cup if you want fewer bowls.
These swaps save time and adapt to what you have on hand without derailing the recipe.
How to Make Healthy Chocolate Granola Bars Step-by-Step
I keep the method short and practical so you can get these going between homework, emails, or sports practice.
Heat and prep: Preheat the oven to 350°F (175°C). Line an 8×8-inch baking pan with parchment paper so bars lift out easily and cleanup is quick.
- Time-saver: Use a pan that already fits your parchment size or keep a few pre-cut parchment liners for busy nights.
Mix the dry base: In a large mixing bowl, stir together 2 cups rolled oats, 1/4 cup unsweetened cocoa powder, and a pinch of salt.
- Tip: A quick whisk gets the cocoa evenly distributed so you don’t get bitter clumps.
Combine the wet binds: In a separate bowl, whisk 1/2 cup almond butter, 1/4 cup pure maple syrup, and 1/2 teaspoon vanilla extract until shiny and smooth. If the almond butter is stiff, microwave 10–15 seconds to loosen.
- Dish-saving tip: If you want one bowl, add the dry ingredients to the bowl, make a well, and whisk the wet ingredients directly in the same bowl.
Bring it together: Pour the almond-butter mixture into the oats and cocoa, then stir until everything is combined and moistened. It should stick together when pressed.
- No-fuss reassurance: If it looks dry, add a teaspoon or two of maple syrup or a splash of non-dairy milk — exact measurements are flexible here.
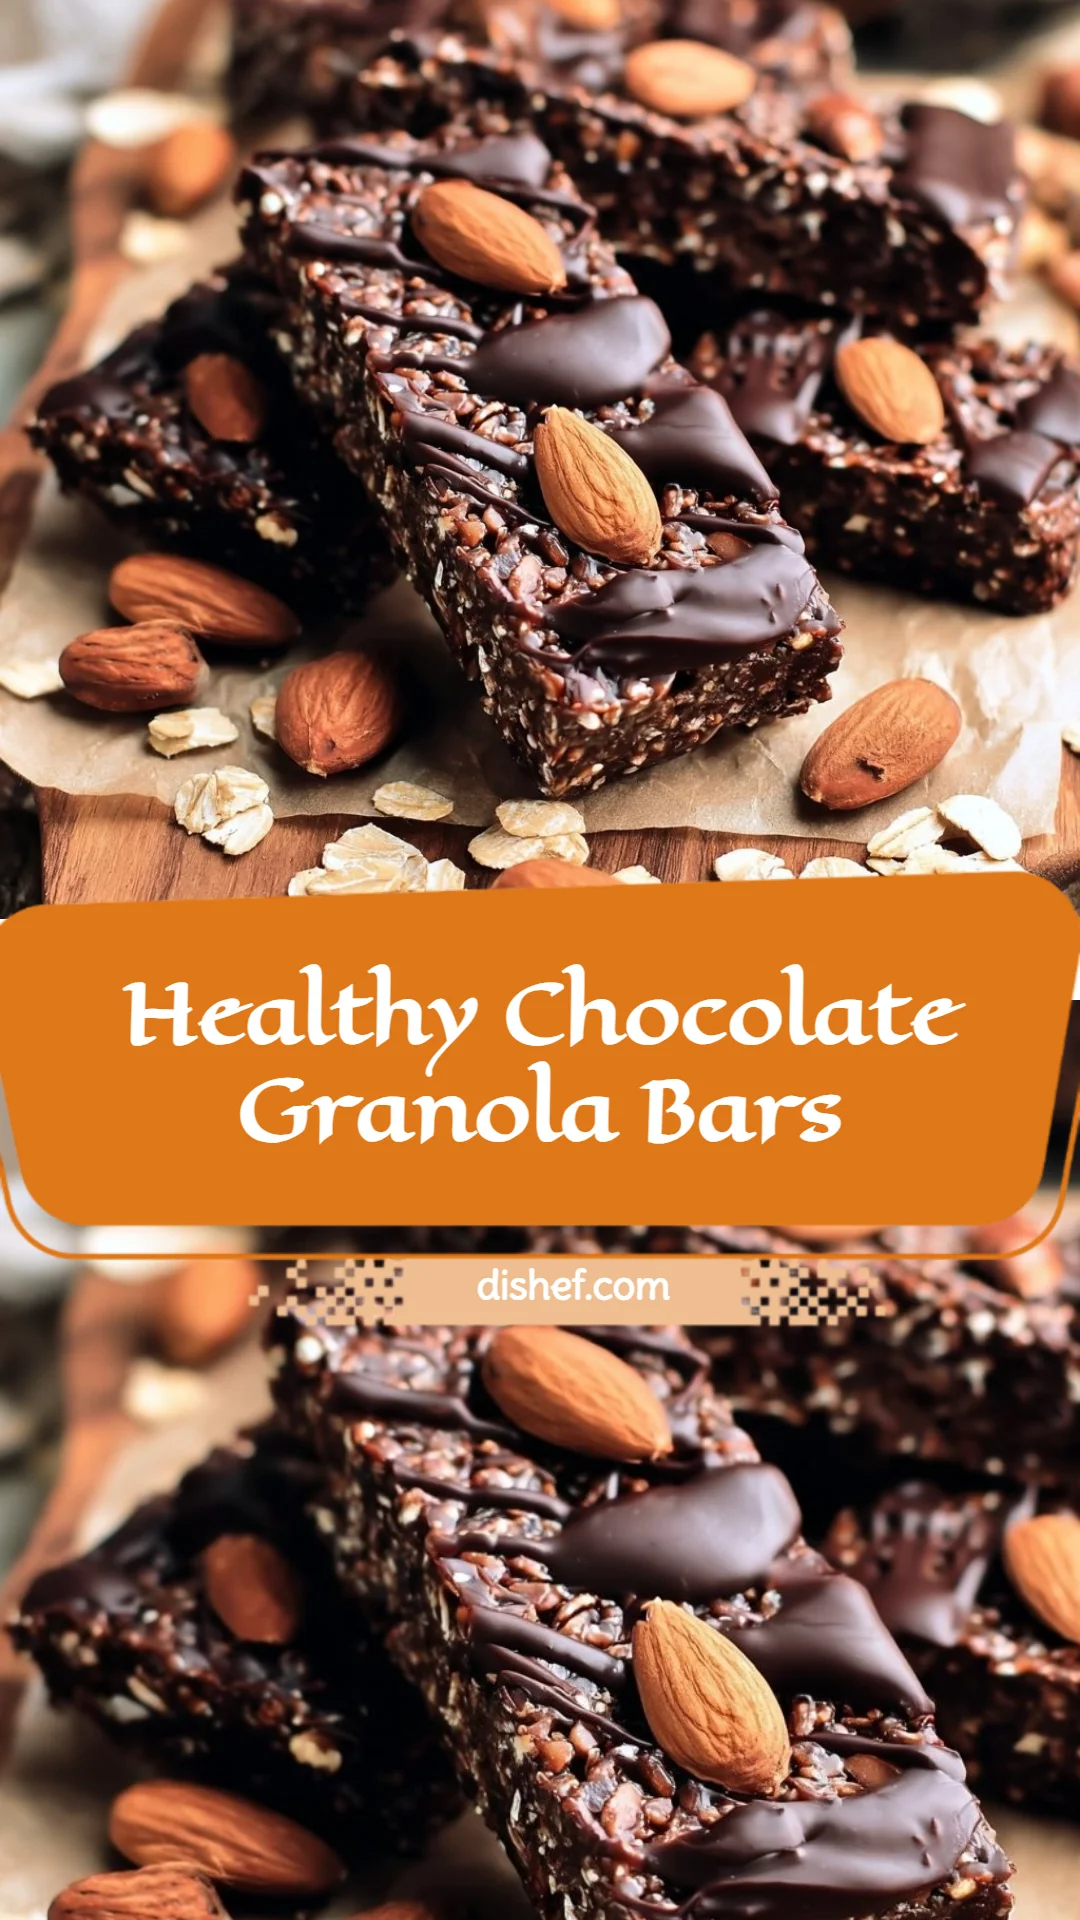
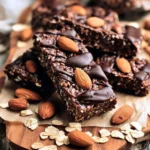
Fold in mix-ins: Fold in 1/2 cup dairy-free dark chocolate chips and 1/4 cup chopped nuts if using. Add any optional seeds, dried fruit, or coconut now.
- Kid-friendly tweak: Reserve some chocolate chips to sprinkle on top before baking so the kids see the chocolate gleaming on the finished bars.
Press and shape: Press the mixture firmly into the lined 8×8 pan. Use a spatula or the bottom of a measuring cup for an even surface. Firm packing helps the bars hold together after baking.
- Quick press tip: Dampening your hands keeps the mixture from sticking when you press.
Bake (or chill): Bake for 15–20 minutes until edges are slightly set and the top looks drier. For chewier bars, err on the shorter end. If skipping the oven, refrigerate until firm (about 1 hour).
- Oven note: Ovens vary — check at 15 minutes to avoid overbaking and dry bars.
Cool and cut: Let cool completely in the pan on a wire rack. Lift out using the parchment, transfer to a cutting board, and slice into 10–12 bars. Store in an airtight container.
- Make-ahead tip: These keep at room temperature for a day, in the fridge for up to a week, or freeze individually wrapped for longer storage.
I like to remind myself that these bars are forgiving — small timing or ingredient swaps won’t ruin them, they just change the texture slightly.
Common Mistakes to Avoid
A little planning prevents wasted time and cranky kids. The right prep keeps this simple, low-stress, and quick.
Mistake 1: Pressing too lightly into the pan
If you don’t compact the mixture well, bars can crumble when cut. Firm press ensures they hold together — use the bottom of a measuring cup for an even, compact surface.
Mistake 2: Overbaking for a crunchy, dry result
It’s easy to leave them in too long. Watch the edges and pull at 15 minutes if you like chewier bars. They’ll firm up more as they cool.
Mistake 3: Skipping the parchment or not cooling fully
Lifting bars out without parchment or slicing before fully cooled causes sticking and messy cuts. Parchment gives clean removal; cooling sets texture for neat slices.
Serving Suggestions for Healthy Chocolate Granola Bars
These bars are meant to simplify snack and breakfast routines, so I keep serving ideas minimal and family-friendly.
Start here for pairings that require almost no extra work and please most kids.
Kid-friendly sides
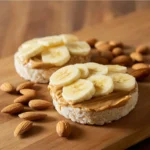
Serve a bar with a banana or apple slices and a small container of yogurt for a balanced, portable snack the kids can eat on the go.
Easy add-ons
Top a warmed bar with a smear of nut butter or a drizzle of almond milk for a quick breakfast treat. A quick sprinkle of extra chocolate chips or coconut keeps presentation fun with minimal effort.
Minimal prep
Pack bars as-is into lunchboxes, or cut them into smaller squares for snack trays. They’re ready to go—no reheating required—perfect for busy mornings or post-practice hunger.
Conclusion
I keep Healthy Chocolate Granola Bars in my rotation because they save time, adapt to what we have on hand, and satisfy both picky kids and adults who want a chocolate fix without an hour in the kitchen. They’re forgiving, make-ahead friendly, and perfect for school lunches, after-school snacks, or a quick breakfast with yogurt. If you like to experiment, there are fun variations to try next time, and if you want a different take on brownie-style bars, I often consult recipes like Healthy Brownie Granola Bars – Minimalist Baker for inspiration. Try these this week and see how they simplify your snack routine—then tweak to make them truly yours.
FAQs About Healthy Chocolate Granola Bars
Q1: How long do Healthy Chocolate Granola Bars take to make?
A1: The active prep time is about 10–15 minutes. Bake time is 15–20 minutes, plus cooling (20–30 minutes). If you skip baking and chill, prep is still around 10 minutes and chilling takes about an hour. I usually plan 40–60 minutes total so bars have time to firm for clean slicing.
Q2: How should I store leftover Healthy Chocolate Granola Bars?
A2: Store room-temperature for 1–2 days in an airtight container, or refrigerate for up to a week. For longer storage, wrap bars individually and freeze for up to 3 months; thaw at room temperature or pop in a lunchbox in the morning — they thaw quickly.
Q3: Can I make Healthy Chocolate Granola Bars nut-free for school snacks?
A3: Yes. Swap almond butter for sunflower seed butter and choose seed mix-ins instead of nuts. Use allergy-safe chocolate chips and double-check all labels. The bars hold together the same with seed butter as the binder.
Q4: How can I make Healthy Chocolate Granola Bars more filling for after sports practice?
A4: Add a scoop of vegan protein powder, mix in extra chopped nuts, or top a bar with Greek yogurt (if dairy is okay) and sliced banana. Those additions boost protein and energy while keeping prep minimal.
Q5: Are Healthy Chocolate Granola Bars okay for picky eaters who dislike texture?
A5: Absolutely. For kids who dislike crunch, use quick oats and skip the nuts for a softer, chewier bar. If they want more chocolate, fold in more chips or press a few on top before baking. Small tweaks make these bars very adaptable to picky preferences.
Healthy Chocolate Granola Bars
- Total Time: 40 minutes
- Yield: 10-12 servings 1x
- Diet: Vegan
Description
Easy, kid-approved granola bars made with rolled oats and dark chocolate, perfect for snacks or lunchboxes.
Ingredients
- 2 cups rolled oats (old-fashioned)
- 1/2 cup almond butter
- 1/4 cup pure maple syrup
- 1/4 cup unsweetened cocoa powder
- 1/2 cup dairy-free dark chocolate chips
- 1/2 teaspoon vanilla extract
- Pinch of salt
- Optional: 1/4 cup chopped nuts
- Optional: seeds (chia, flax, or hemp)
- Optional: dried fruit (chopped dates, dried cherries, or raisins)
- Optional: shredded coconut
- Optional: spices (cinnamon or espresso powder)
- Optional: vegan protein powder
Instructions
- Preheat the oven to 350°F (175°C) and line an 8×8-inch baking pan with parchment paper.
- Stir together rolled oats, cocoa powder, and salt in a large bowl.
- Whisk almond butter, maple syrup, and vanilla extract in a separate bowl until smooth.
- Pour the wet mixture into the dry ingredients and stir until combined.
- Fold in dark chocolate chips and optional nuts or seeds.
- Press the mixture firmly into the prepared baking pan.
- Bake for 15-20 minutes until edges are set and top looks drier.
- Cool completely, then lift out and slice into 10-12 bars.
Notes
Store in an airtight container; retains freshness at room temperature for 1-2 days, in the fridge for up to a week, or freeze for longer storage.
- Prep Time: 15 minutes
- Cook Time: 20 minutes
- Category: Snack
- Method: Baking
- Cuisine: American
Nutrition
- Serving Size: 1 bar
- Calories: 180
- Sugar: 8g
- Sodium: 50mg
- Fat: 8g
- Saturated Fat: 1g
- Unsaturated Fat: 7g
- Trans Fat: 0g
- Carbohydrates: 23g
- Fiber: 3g
- Protein: 5g
- Cholesterol: 0mg
Keywords: granola bars, chocolate snacks, healthy snacks, easy recipes, meal prep