Last updated on January 18, 2025
There’s something magical about bagels. The chewy texture, the slight crispness on the outside, and the versatility of toppings make them a breakfast favorite. But if you’re living gluten-free, finding a bagel that satisfies your craving can feel impossible. Store-bought options often fall flat, and you’re left yearning for the bagels you once knew. That’s why I’m so excited to share this guide with you. You’ll learn how to make perfect gluten-free bagels right in your own kitchen—chewy, golden, and utterly delicious.
I can clearly recall the first time I perfected this recipe. The aroma of freshly baked bagels filled my home, and biting into that warm, chewy perfection was nothing short of a triumph. I want you to experience that same joy, so let’s dive in!
Table of Contents
Essential Ingredients for Gluten-Free Bagels
Before we start mixing and kneading, let’s talk about what you’ll need. The ingredients play a crucial role in achieving the right texture and flavor.
Ingredients You’ll Need
| Ingredient | Quantity | Notes |
| Gluten-free flour mix | 3 cups | Use a blend with xanthan gum. |
| Active dry yeast | 1 packet (7g) | Essential for that perfect rise. |
| Warm water | 1 1/4 cups | Between 100–110°F. |
| Sugar | 2 tbsp | For activating the yeast. |
| Salt | 1 1/2 tsp | Balances flavor. |
| Baking soda | 2 tbsp | For the boiling step. |
| Optional toppings | As needed | Sesame seeds, poppy seeds, etc. |
Why Each Ingredient Matters
- Gluten-free flour mix: Bagels require a structured dough, and the right gluten-free flour blend ensures the right texture. A mix with xanthan gum or guar gum mimics the elasticity of gluten.
- Active dry yeast: This ingredient gives the bagels their airy and chewy interior. Yeast fermentation also contributes a subtle tang to the flavor.
- Warm water: Maintaining the correct temperature is essential for properly activating the yeast. Too hot, and you’ll kill the yeast; too cold, and it won’t activate.
- Sugar: It’s not just for sweetness; sugar feeds the yeast, kickstarting the fermentation process.
- Salt: Adding salt not only boosts the overall flavor of the dish but also plays a vital role in reinforcing the structure of the dough, contributing to its texture and stability.
- Baking soda: This is the secret to achieving a shiny crust when you boil the bagels.
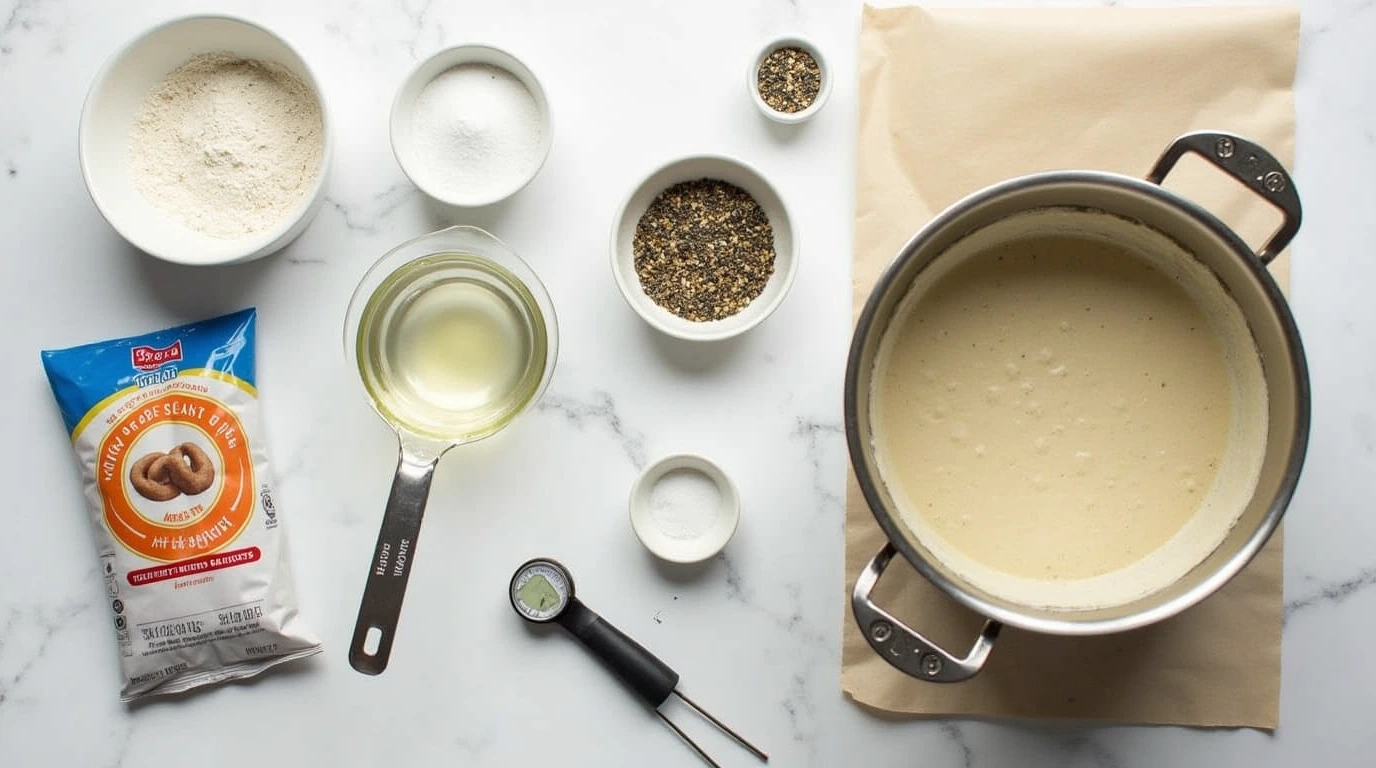
Tools You’ll Need
To streamline the cooking or baking process and ensure everything runs smoothly, it’s a good idea to assemble these essential tools ahead of time.:
- Baking sheet: Ensures even baking and prevents sticking.
- Parchment paper: Makes cleanup easier and prevents the dough from sticking to the sheet.
- Large pot: For boiling the bagels, which is a key step in creating their chewy texture.
- Slotted spoon: Allows you to easily remove bagels from boiling water without breaking them.
- Kitchen thermometer: Helps you achieve the perfect water temperature for yeast activation.
- Stand mixer: Speeds up the kneading process. If you don’t have one, you can knead the dough by hand.
Step-by-Step Guide to Making Gluten-Free Bagels
This guide breaks the process into manageable steps, ensuring you achieve bagel perfection.
Step 1: Activating the Yeast
Yeast activation is the foundation of a good bagel. Here’s how to get it right:
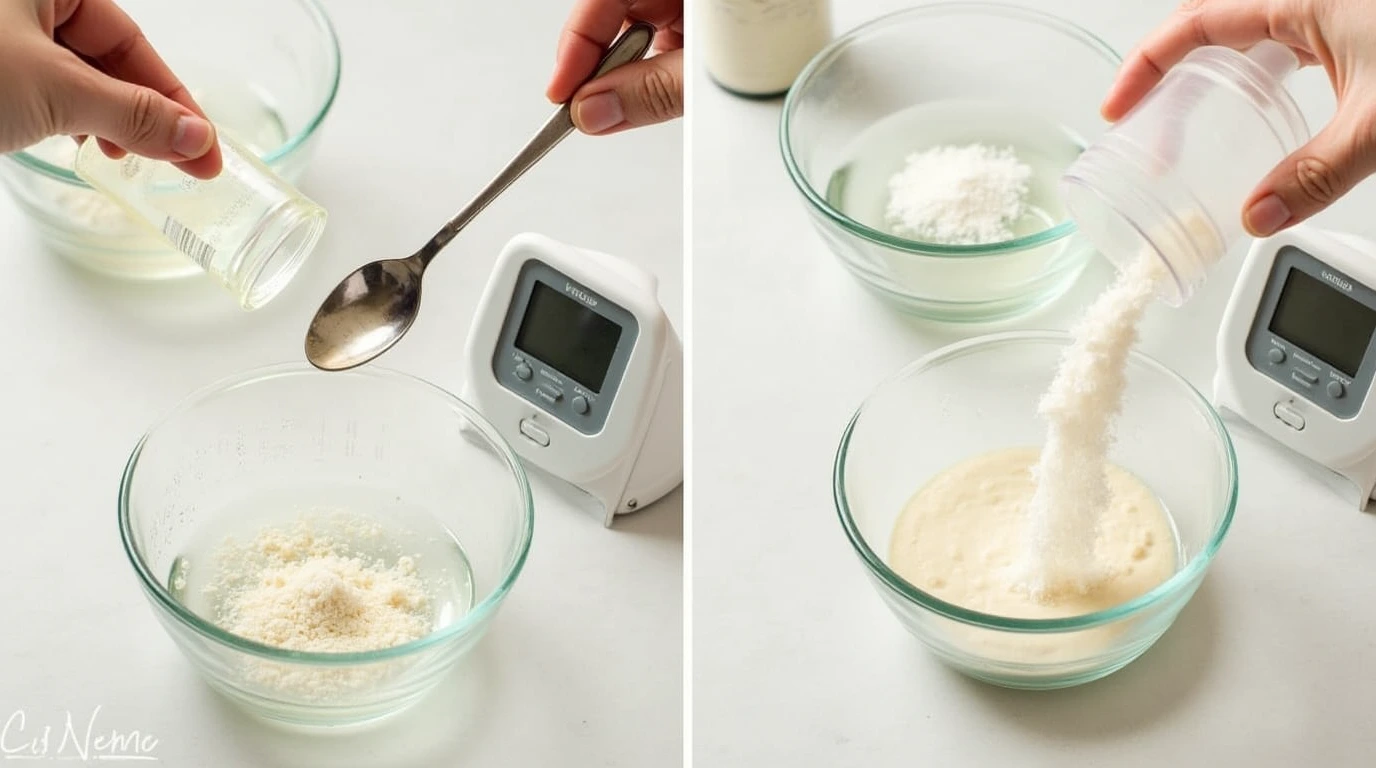
- Mix warm water and sugar: In a small bowl, combine warm water and sugar, stirring until the sugar is fully dissolved. Stir until the sugar dissolves. This step ensures the yeast has food to consume.
- Add the yeast: Sprinkle the yeast evenly over the warm water and allow it to sit undisturbed for 5 to 10 minutes, giving it time to activate and become bubbly. You’ll know it’s ready when the mixture becomes frothy and bubbly, indicating the yeast is activated.
Common Problems and Solutions
- Yeast doesn’t foam: This could mean the yeast is expired, or the water temperature was incorrect. Start over with fresh yeast and ensure the water is between 100–110°F.
- Bland flavor: If you’re looking for more depth, add a teaspoon of honey or molasses to the mixture.
Pro Tip: Always use fresh, high-quality yeast for the best results.
Step 2: Preparing the Dough
This step determines the texture and structure of your bagels.
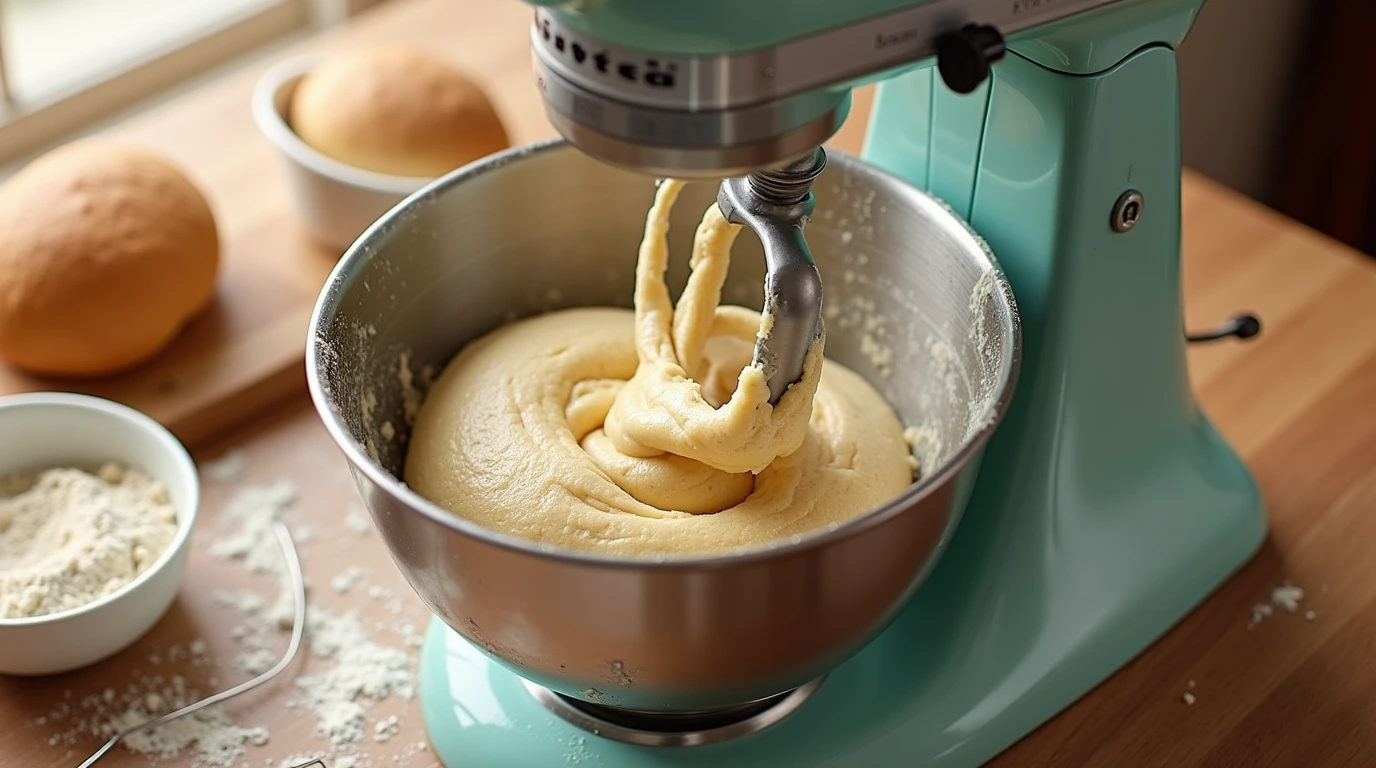
- Combine dry ingredients: In the bowl of your stand mixer, whisk together the gluten-free flour and salt. This ensures the salt is evenly distributed.
- Add wet ingredients: Slowly pour in the activated yeast mixture while the mixer is running on low speed. For optimal results, it’s best to use the dough hook attachment when mixing the dough.
- Mix until a sticky dough forms: Set the mixer to medium speed and knead the dough for about 5 minutes, until it forms a sticky consistency. The dough should have a soft texture and a slight stickiness, but it should not be overly wet.
Adjusting the Dough
- If the dough feels too sticky, gradually add more gluten-free flour, one tablespoon at a time, until it reaches the desired consistency.
- If the dough is too dry, add a teaspoon of warm water at a time.
Pro Tip: Gluten-free dough doesn’t behave like traditional dough, so don’t expect it to be elastic. It should hold together but remain soft.
Step 3: Shaping the Bagels
Here’s where your bagels take form:
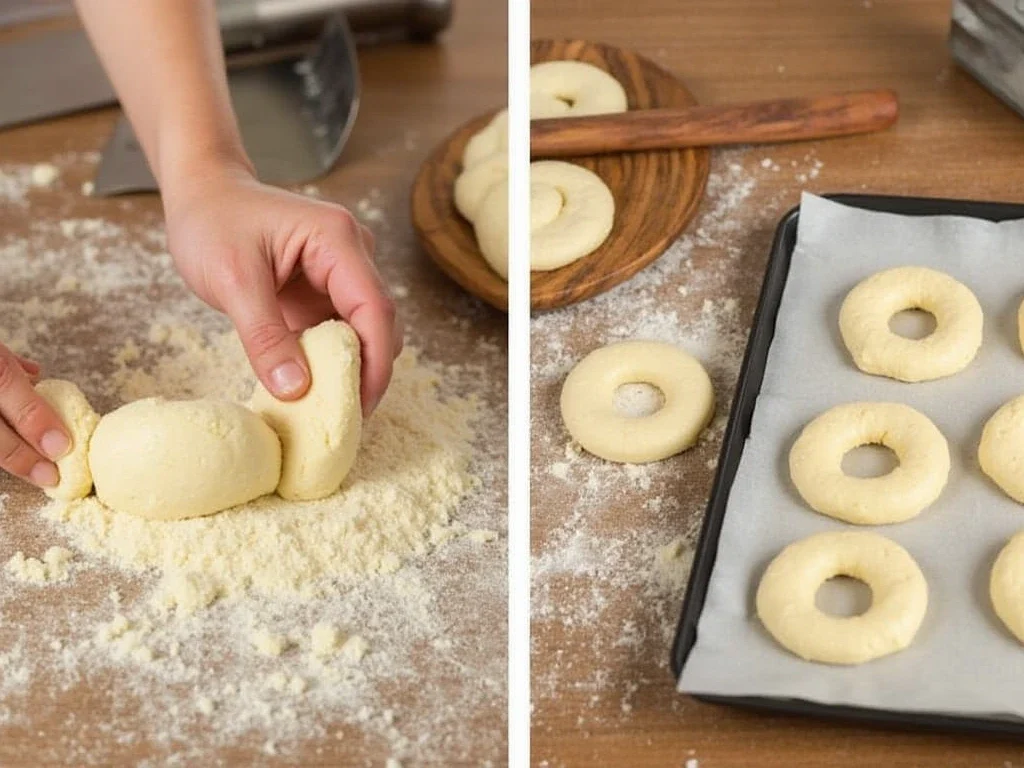
- Divide the dough: Doing this by transferring it onto a surface that has been lightly dusted with flour. Use a bench scraper or knife to divide it into 8–10 equal portions. Weighing each portion ensures uniformity.
- Shape each bagel: Shape each portion of dough by rolling it into a smooth ball. Flatten it slightly, then use your thumb to poke a hole in the center. Carefully stretch the hole in the center of each dough ball until it reaches a diameter of about 1–2 inches.
Tips for Shaping Success
- Flour your hands: This prevents the dough from sticking as you shape.
- Keep the holes large: The dough will expand during boiling and baking, so start with a larger hole.
Pro Tip: Place shaped bagels on a parchment-lined baking sheet to prevent sticking while you prepare the rest.
Step 4: Boiling the Bagels
Boiling is the secret to achieving that chewy texture and shiny crust.
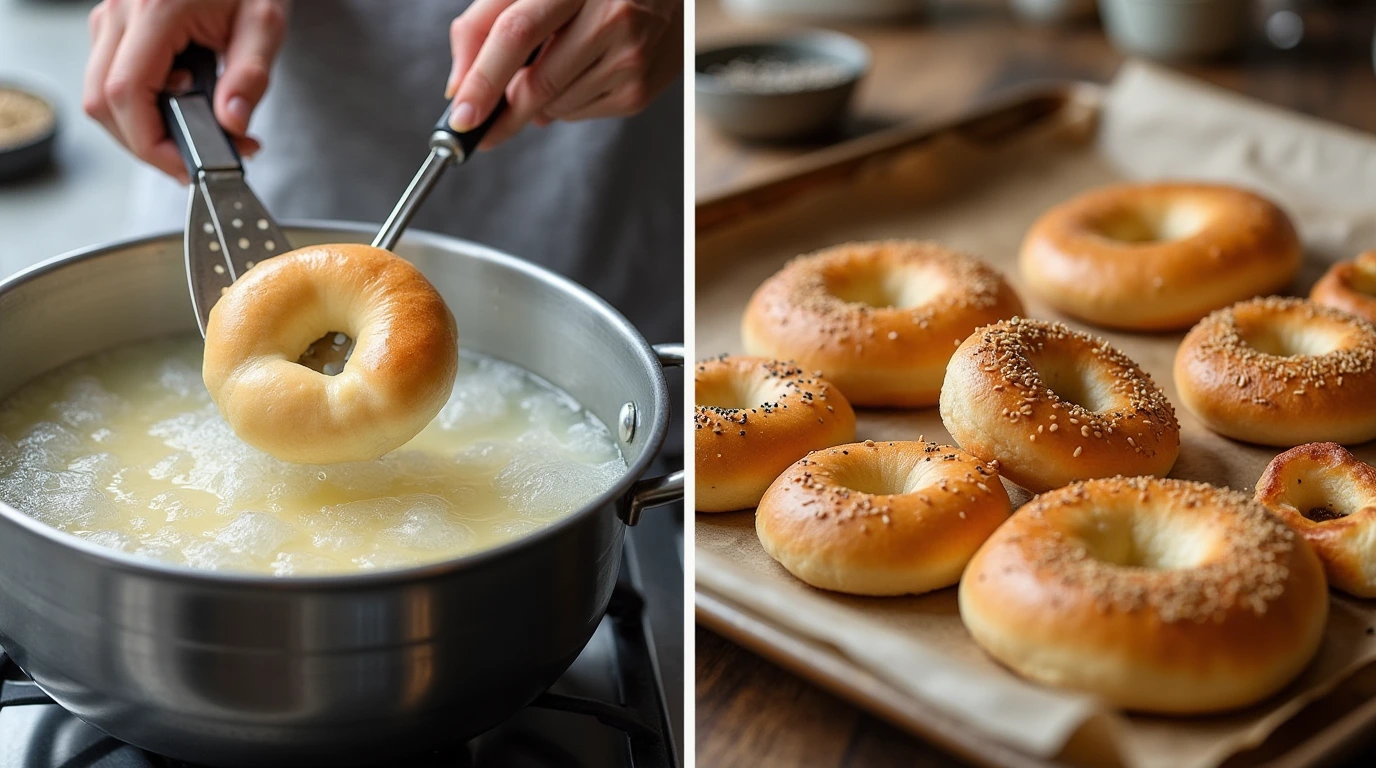
- Prepare the water: Prepare the water by bringing a large pot of water to a rolling boil. Stir in the baking soda and mix until it is fully dissolved. Baking soda creates an alkaline environment that enhances the crust.
- Boil the bagels: Carefully drop 2–3 bagels into the boiling water at a time. Boil for 1 minute on each side, then remove with a slotted spoon and place them back on the baking sheet.
Why Boiling Matters
Boiling gelatinizes the starch on the surface of the dough, locking in moisture and creating the chewy texture bagels are known for. Skipping this step results in rolls, not bagels.
Pro Tip: Add a teaspoon of honey to the boiling water for a subtly sweet crust.
Step 5: Baking to Perfection
- Preheat your oven: Set it to 425°F and let it fully preheat. This ensures even baking.
- Add toppings: Brush each boiled bagel with an egg wash or plant-based alternative. Sprinkle with your favorite toppings, such as sesame seeds, poppy seeds, or everything bagel seasoning.
- Bake: Place the baking sheet in the oven and bake for 20–25 minutes, or until the bagels are golden brown and firm to the touch.
Pro Tip: Rotate the baking sheet halfway through for even browning.
Tips for Success
Common Mistakes to Avoid
- The boiling step: Skipping the boiling step is not recommended, as it is essential for achieving the authentic bagel texture.
- Overworking the dough: Gluten-free dough doesn’t need as much kneading as traditional dough. Overworking can make it dense.
- Ignoring the yeast: If the yeast doesn’t activate, your bagels won’t rise properly.
Pro Tips for Perfect Bagels
- Use a kitchen scale: For precise measurements, especially with gluten-free flour.
- Experiment with flavors: Add cinnamon and raisins to the dough for a sweet twist, or mix in dried herbs for a savory option.
- Store properly: Keep leftover bagels in an airtight container at room temperature for up to 3 days, or freeze them for longer storage.
Frequently Asked Questions (FAQ)
Can I use any gluten-free flour mix?
No. Not all gluten-free flours are created equal. Look for a blend that contains xanthan gum or guar gum, as these provide the elasticity and structure needed for bagels.
Can I make these bagels vegan?
Yes! Replace the egg wash with a plant-based alternative, such as almond milk or aquafaba.
How do I store leftover bagels?
To keep your bagels fresh, store them in an airtight container for up to 3 days. For extended storage, slice them in half and freeze them. Reheat in a toaster or oven before serving.
Why did my bagels turn out too dense?
Dense bagels are often the result of under-proofing or using too much flour. Make sure the dough rises adequately before shaping.
How do I reheat frozen bagels?
Place them in a toaster oven or regular oven at 350°F for 10–15 minutes. Avoid microwaving, as it can make them chewy in the wrong way.
Conclusion
Making gluten-free bagels at home is not just about satisfying a craving; it’s about reclaiming a joy that’s often missing from gluten-free living. With this step-by-step guide, you’re equipped to create bagels that are chewy, golden, and utterly irresistible. Imagine biting into a warm, freshly baked bagel that you made with your own hands. That feeling is priceless.
So, what are you waiting for? Gather your ingredients, preheat your oven, and let’s bake some bagels! And don’t forget to share your creations and tips in the comments below. I can’t wait to see how your bagels turn out!



4 thoughts on “How to Make Perfect Gluten-Free Bagels at Home: A Step-by-Step Guide”