Last updated on February 19, 2026
Do you ever get a late-night craving for something sweet and comforting — the kind that makes you think of warm kitchens and family gatherings? I know I do, and that’s usually when I reach for a bowl of Irresistible Banana Pudding. If you’re new to layered desserts, you might worry about fussy steps or special tools, but this recipe is forgiving and perfect for beginners. If you want to peek at another take on a classic while you read, I like to compare notes with a trusted version like this classic banana pudding recipe from a fellow home cook.
A Quick Look at This Irresistible Banana Pudding Recipe
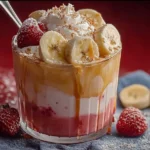
This Irresistible Banana Pudding centers on two simple stars: ripe bananas and creamy vanilla pudding. It’s a comfort-food winner that doubles as an easy make-ahead dessert — ideal for potlucks or a cozy night in. The cool, creamy texture paired with the soft crunch of vanilla wafers makes it satisfying without complicated steps. If you love simple, crowd-pleasing desserts that still feel homemade, keep scrolling — I’ll walk you through everything step by step and share tips to make it foolproof.
Ingredients You’ll Need for Irresistible Banana Pudding
Essentials
- 2 boxes (about 9–10 oz. each) vanilla wafers — one bag to layer the base and one for the top (you’ll use both bags)
- 6–8 ripe bananas, sliced — choose bananas with a few brown spots for the best sweetness
- 2 cups cold milk — whole milk gives the richest texture, but 2% works fine
- 1 (5 oz.) box French vanilla instant pudding mix — provides fast thickening and that classic vanilla taste
- 1 (8 oz.) package cream cheese, softened — gives a silky, tangy depth
- 1 (14 oz.) can sweetened condensed milk — adds sweetness and a custardy richness
- 1 (12 oz.) container whipped topping, thawed — stabilizes the filling and makes it light and fluffy
Optional add-ons
- 1 teaspoon vanilla extract — for extra vanilla boost (optional, but lovely)
- A pinch of ground cinnamon or nutmeg — for a warm, autumnal touch
- A handful of chopped toasted pecans or walnuts sprinkled on top for texture (leave off if serving to kids with nut allergies)
- Fresh mint leaves or extra banana slices for garnish
Substitutions and shortcuts
- Milk: Swap for lactose-free or plant-based milk (oat milk is closest in creaminess) — pudding may set a touch softer with non-dairy milk.
- Pudding mix: Use vanilla pudding if you don’t have French vanilla; the flavor is slightly different but still delicious.
- Cream cheese: Substitute mascarpone for a richer, creamier filling (same amount).
- Sweetened condensed milk: If you prefer less sweetness, reduce to 10–12 oz. and taste before chilling.
- Whipped topping: Use homemade stabilized whipped cream if you prefer fresh cream; it’s fluffier but takes more time.
- Cookies: If you’re short on vanilla wafers, use shortbread cookies or gluten-free wafers (see pairing note below). For an ultra-quick shortcut, buy pre-sliced bananas at the store or use frozen banana slices thawed briefly.
How to Make Irresistible Banana Pudding Step-by-Step
I’ll walk you through this like I’m standing beside you in the kitchen. Keep your bowls and a flat spatula handy — this comes together fast.
Prep your dish and bananas
- Grab a 13×9-inch baking dish and make sure it’s clean and dry.
- Open one bag of vanilla wafers and arrange a single layer across the bottom of the dish. You want the cookies to meet, not necessarily be perfectly aligned. A few gaps are fine — the filling will settle into them.
- Slice the bananas about 1/4-inch thick. Layer the banana slices over the wafers in a single even layer. If you have a banana that’s very ripe and soft, it’s still fine — just place it gently so it doesn’t mash.
Make the pudding
- In a medium mixing bowl, pour in 2 cups of cold milk.
- Add the 5 oz. French vanilla pudding mix to the milk.
- Using a whisk (or a hand mixer on low), whisk vigorously for about 2 minutes until the mixture is smooth and slightly thickened. It will be looser at first but should start to set as you whisk.
Make the cream cheese base
- In a separate, larger bowl, place the softened 8 oz. cream cheese. If your cream cheese is cold, microwave briefly in 5-second bursts until spreadable but not melted.
- Pour in the full 14 oz. can of sweetened condensed milk.
- Beat the cream cheese and condensed milk together with a hand mixer or sturdy whisk until you have a silky, lump-free mixture. This should take about 1–2 minutes by mixer.
Fold in the whipped topping
- Gently spoon the thawed 12 oz. whipped topping into the cream cheese mixture.
- Use a rubber spatula to fold the whipped topping in with gentle strokes. The goal is to keep the mixture airy — overmixing will deflate it.
- Once combined, fold the prepared pudding into this cream cheese-whipped mixture. Add the pudding in two batches, folding gently until everything is uniform and creamy.
Assemble the layers
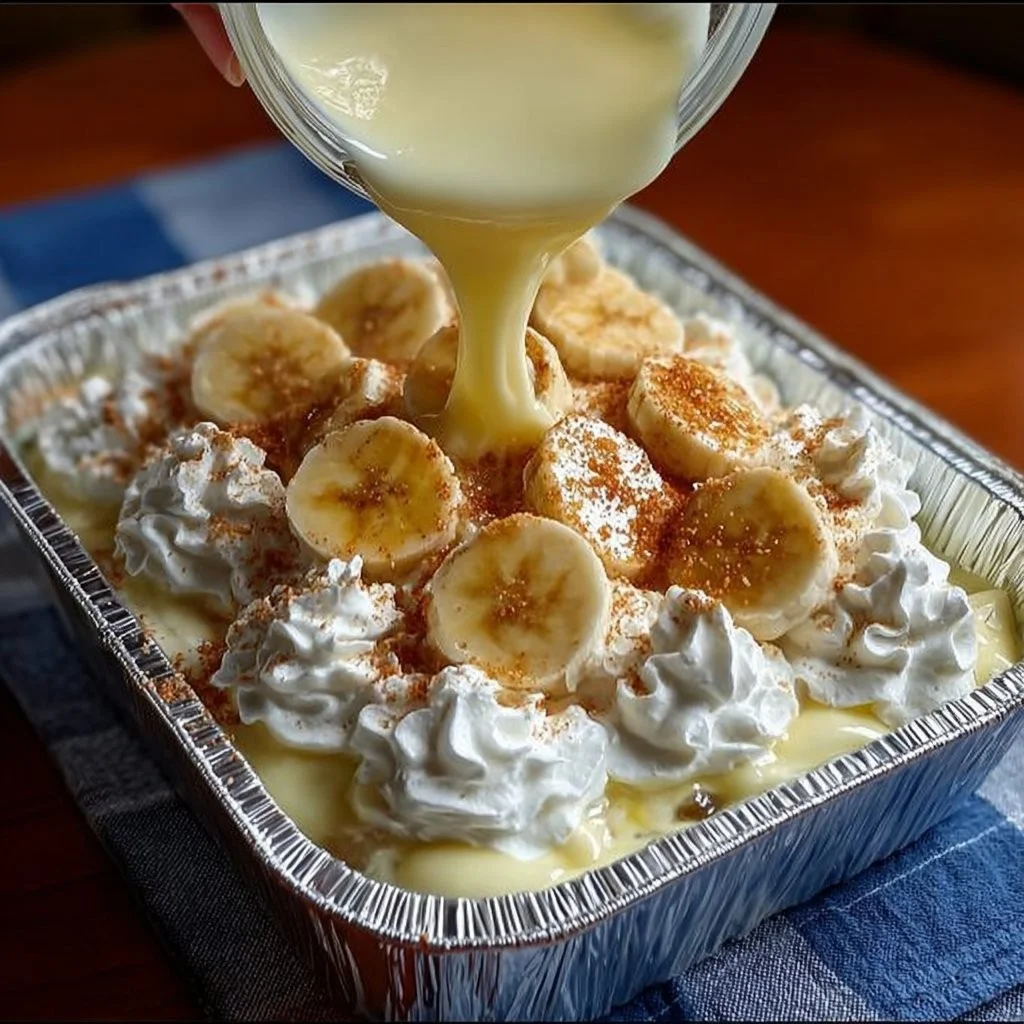
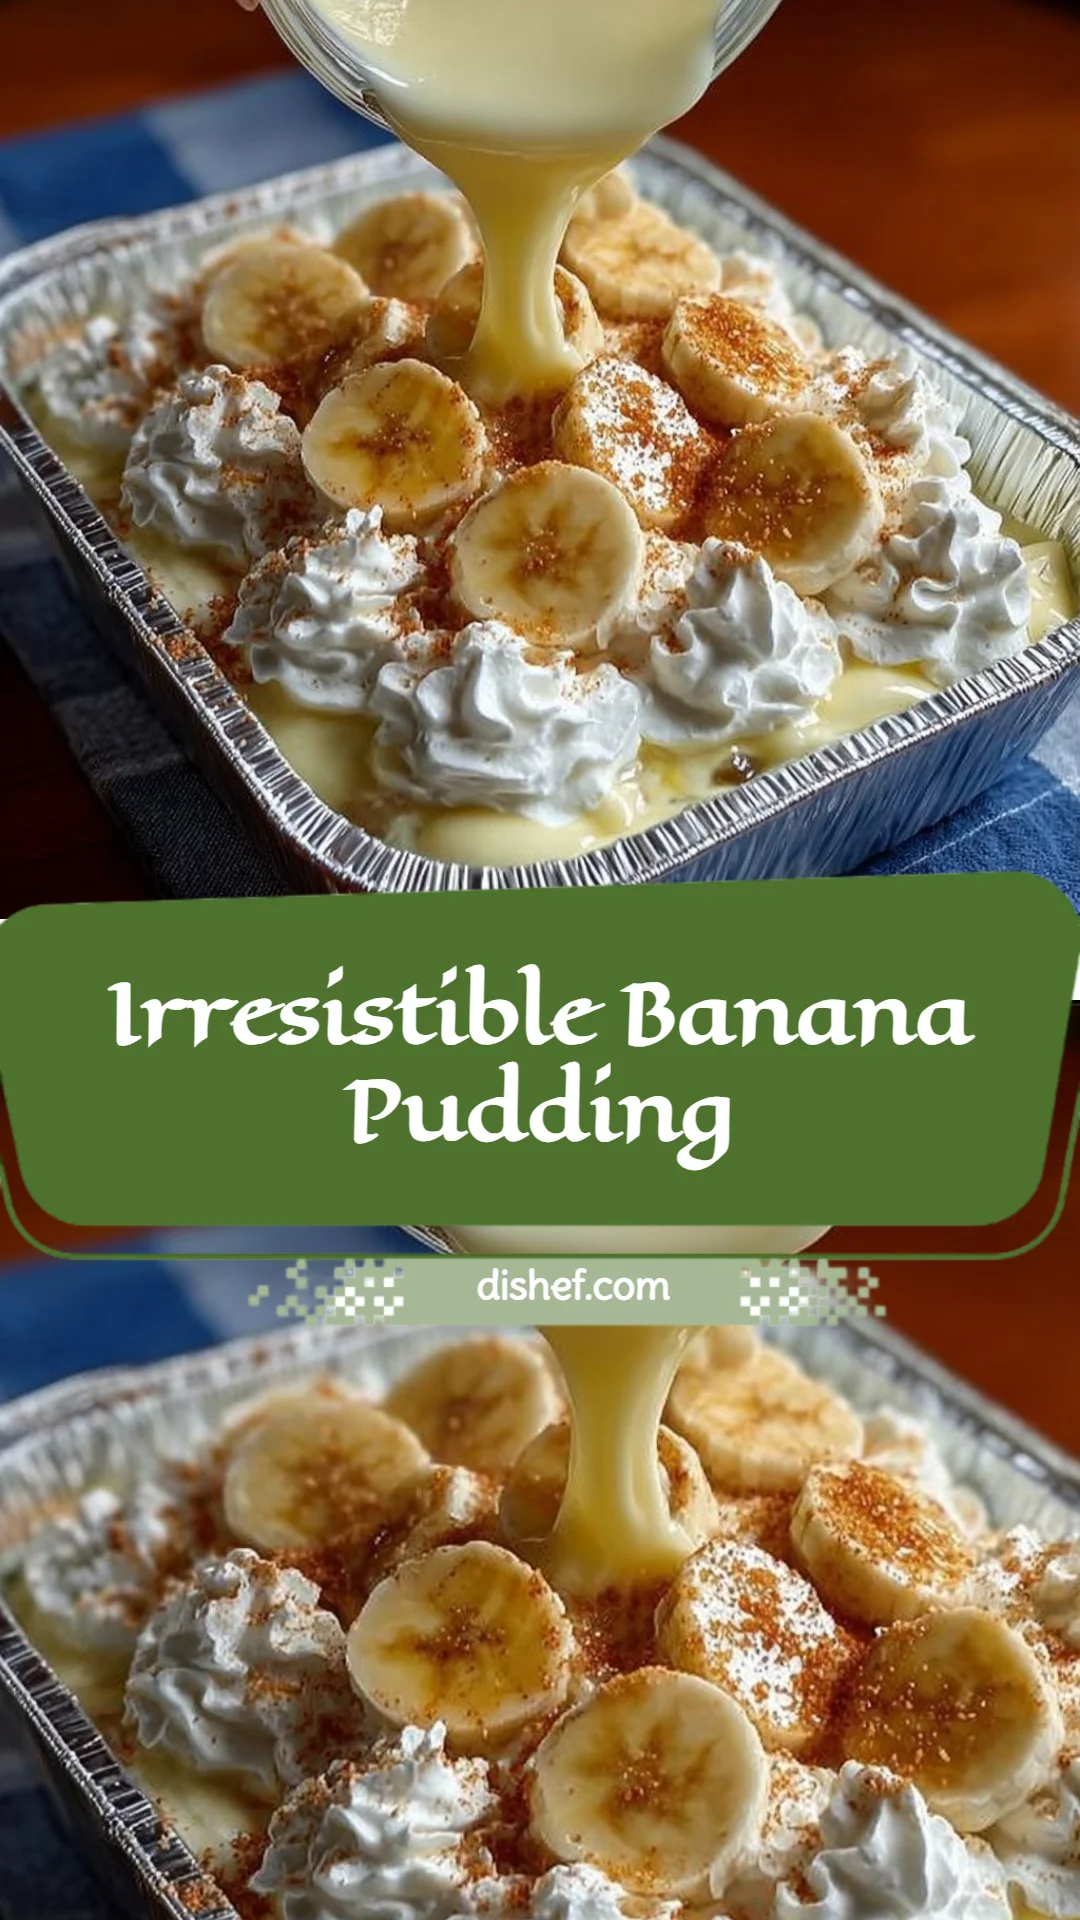
- Pour the combined creamy mixture evenly over the bananas and vanilla wafers in your dish. Use an offset spatula or the back of a spoon to spread it into an even layer.
- Take the remaining vanilla wafers and arrange them over the top. You can leave them whole for a classic look or crumble a few and sprinkle for a more rustic finish.
Chill and serve
- Cover the dish tightly with plastic wrap or a lid and chill in the refrigerator for at least 2 hours. Overnight is ideal — chilling lets the cookies soften slightly and the flavors meld into that irresistible pudding texture.
- When you’re ready to serve, you can add a few fresh banana slices on top for garnish, or a light dusting of cinnamon. Scoop and enjoy with a spoon — this dessert is best when cool and slightly set.
Kitchen tips:
- Softened cream cheese blends easier and prevents lumps; plan ahead and set it out while you get other ingredients ready.
- If you’re serving the pudding at a party, prepare it the day before — it frees you up and always tastes better after a night in the fridge.
Common Mistakes to Avoid
Even simple recipes have little traps. Here are the most common mistakes I see and how to avoid them.
Mistake 1: Using underripe or overripe bananas
Underripe bananas are too firm and lack sweetness, while extremely overripe bananas can become mushy and brown quickly. Pick bananas with a few soft spots and light speckling — they’ll be sweet and hold their shape. Slice them just before assembling to keep them from browning.
Mistake 2: Skipping the chilling time
I get it — it’s tempting to dig in right away. But chilling for at least a couple of hours helps the pudding set and the wafers soften to the ideal cookie-custard texture. If you skip this step, the layers won’t meld and the dessert will feel loose.
Mistake 3: Overmixing the whipped topping
When you fold whipped topping into the cream cheese mix, use gentle strokes. Overmixing will deflate the topping and create a dense filling. Light folds keep the mixture airy and give the pudding its lovely light mouthfeel.
Serving Suggestions for Irresistible Banana Pudding
This pudding is homey and flexible. Here are a few ways I like to serve it depending on the occasion.
Family-style serving
Serve the pudding right from the 13×9 dish with a big serving spoon. It’s perfect for family dinners — hearty, casual, and everyone can help themselves. Add a small bowl of extra vanilla wafers on the side for those who want extra crunch.
Individual parfaits
Spoon the pudding into small glass jars or bowls for a prettier, portioned presentation. Layer a few broken vanilla wafers and banana slices between pudding layers, then finish with a cookie on top. These are great for little dinner parties or packed desserts.
Party platter pairing
This pudding pairs well with simple cookies and coffee or tea. If you’re offering gluten-free options, I like to pair it with lighter sides — here’s a useful roundup of sides that play well with desserts like this collection of gluten-free sides. Keep the accompaniments light so the pudding remains the star.
Conclusion
I’ve found this version of Irresistible Banana Pudding to be one of my easiest go-to desserts — no baking, no stress, and plenty of room to make it your own. Whether you stick closely to the recipe or try a few of the optional add-ons, it’s forgiving and reliably comforting. If you enjoy exploring regional takes on banana pudding, you might also like this Paula Deen’s Not Yo Mama’s Banana Pudding Recipe for another cozy spin. Try it once, then come back and tell me how you layered it or what twist you loved most — I’d be thrilled to hear.
FAQs About Irresistible Banana Pudding
Q1: How long will Irresistible Banana Pudding keep in the fridge?
A1: Irresistible Banana Pudding will keep well covered in the refrigerator for about 3–4 days. After the first day the cookies will soften more, which many people prefer, but note that banana slices may brown slightly over time.
Q2: Can I freeze Irresistible Banana Pudding?
A2: I don’t recommend freezing the assembled Irresistible Banana Pudding because the texture of the bananas and whipped topping changes after freezing and thawing. If you must, freeze in airtight containers for up to one month and thaw overnight in the fridge — expect a softer texture.
Q3: Can I make Irresistible Banana Pudding ahead of time for a party?
A3: Absolutely. In fact, I make it a day ahead whenever I can. Chilling overnight lets the flavors meld and gives the cookies a lovely, tender texture. Just add any fresh toppings right before serving.
Q4: Is there a lighter version of Irresistible Banana Pudding?
A4: Yes — swap full-fat milk for lower-fat or plant-based milk, use reduced-fat cream cheese or mascarpone, and choose a lighter whipped topping or stabilized whipped cream. Reducing the sweetened condensed milk slightly can also cut sweetness without losing creaminess.
Q5: How can I prevent my bananas from browning in Irresistible Banana Pudding?
A5: To slow browning, assemble the pudding shortly after slicing the bananas. You can also toss the banana slices with a teaspoon of lemon juice (it won’t affect flavor much) before layering. Keep the dish refrigerated and consume within a few days for the best appearance and taste.