Last updated on January 18, 2026
##Introduction
There’s something deeply comforting about the warm, crisp edge of a grilled cheese and the molten pull of cheese when you tear it apart—a flavor memory that I love to revisit with a playful twist. If you worry that elevated-looking bites require elaborate technique or long ingredient lists, this recipe will ease you: Mini Grilled Cheese Hearts are charming, quick, and forgiving, yet yield a restaurant-quality moment on the plate. For a brighter, herb-forward soup pairing I sometimes turn to a vibrant green option like Green Goddess Soup with Harissa Grilled Cheese, but these little heart sandwiches are equally happy with a classic tomato dip or a silky bisque.
##A Quick Look at This Mini Grilled Cheese Hearts Recipe
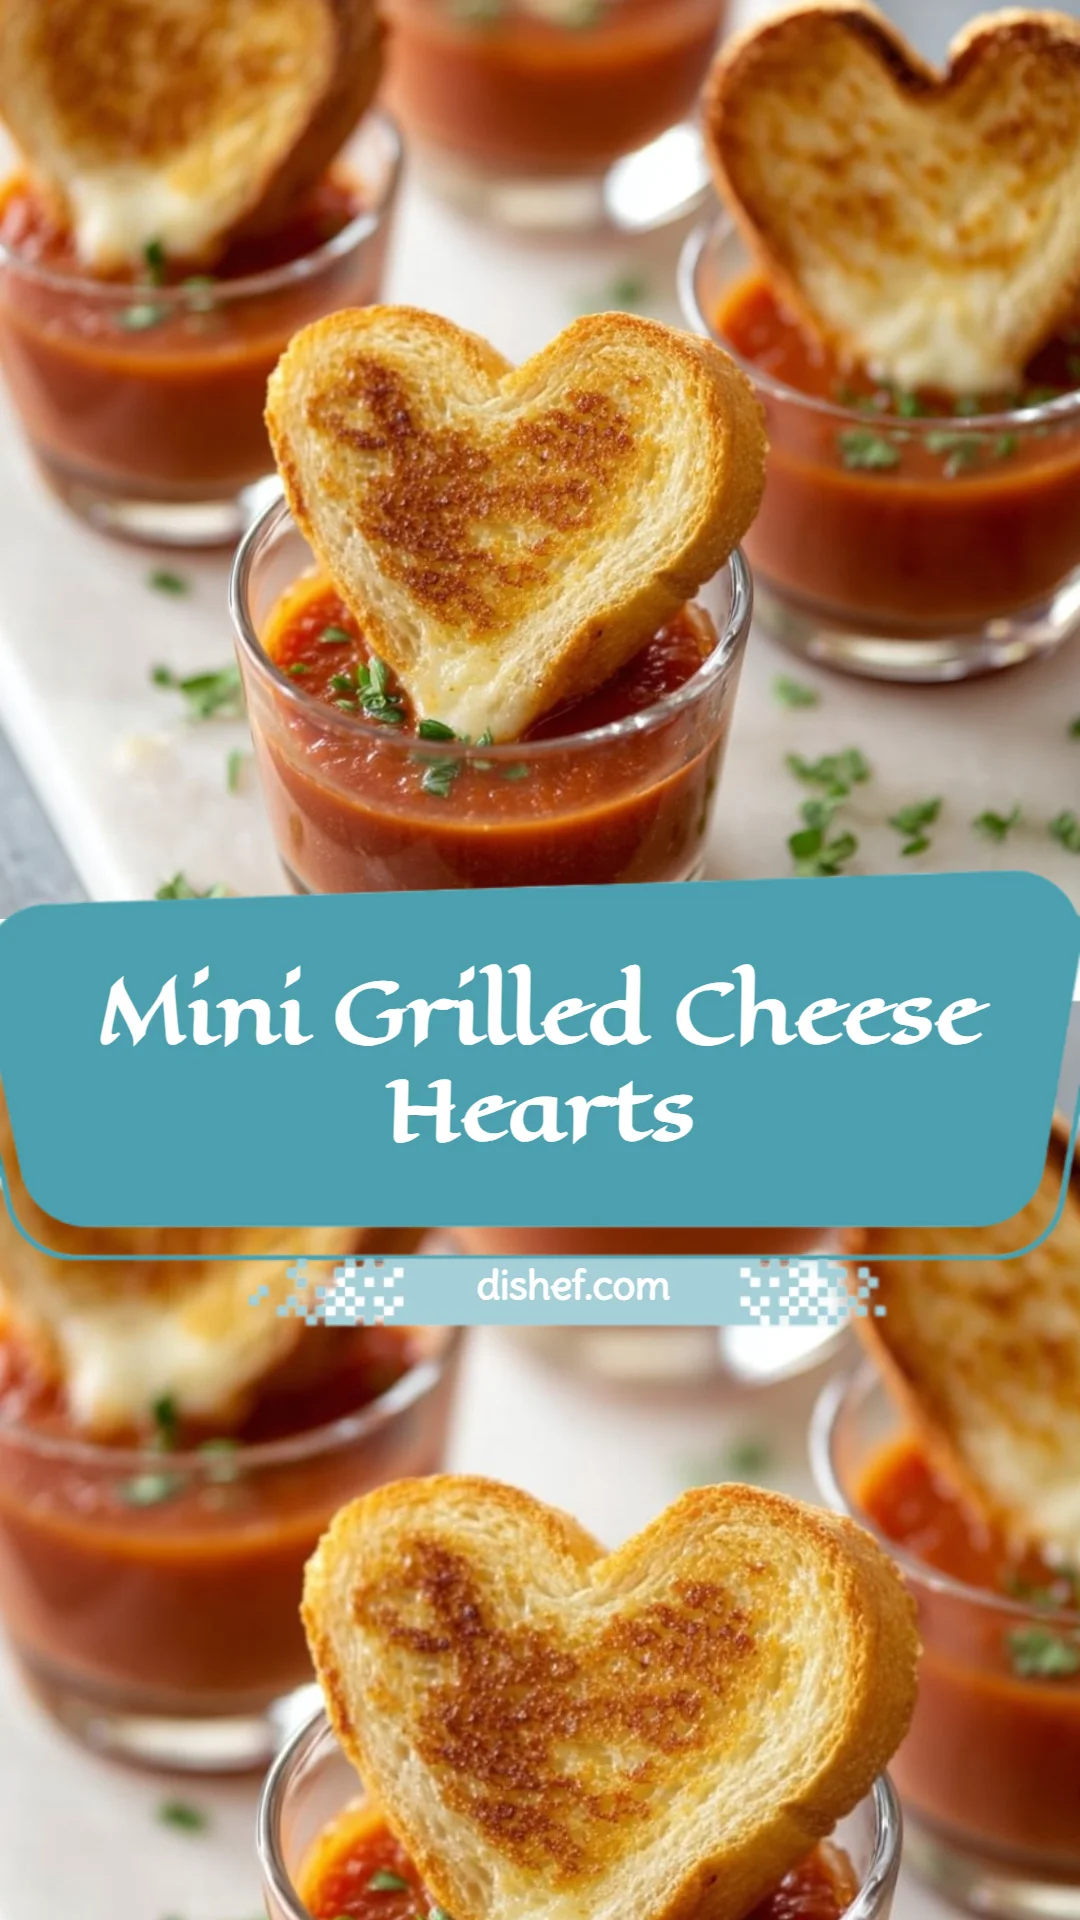
Mini Grilled Cheese Hearts are tiny, heart-shaped sandwiches that pair golden, buttery bread with a molten core of cheddar or American-style cheese. The standout ingredients—high-quality bread and a flavorful melting cheese—define the dish: crisped exterior, soft, oozy interior. These bites are exceptional for presentation, perfect for party platters, cozy lunches, or an elegant snack course, and they’re remarkably straightforward to prepare. Home cooks will appreciate the speed and control of the method—no specialized tools beyond a cookie cutter—and the result feels both nostalgic and refined. Keep reading to learn a few small techniques that elevate the texture and make them sing alongside a warm tomato soup.
##Ingredients You’ll Need for Mini Grilled Cheese Hearts
###Essentials
- Bread: Choose a soft, slightly dense loaf so each mini sandwich stays intact—classic white sandwich loaf, brioche, or a tender sourdough work beautifully. Thicker slices (about 3/4 inch) give the best ratio of crust to melting cheese.
- Cheese: A good melting cheese is essential. Sharp cheddar offers bright, savory flavor; American cheese delivers the quintessential, ultra-creamy melt. For a more nuanced profile, try a young Gruyère or fontina.
- Butter: Use high-quality unsalted butter for even browning and cleaner control of seasoning. Softened butter spreads easily and helps ensure an even golden crust.
- Tomato soup (for dipping): A warm, slightly acidic tomato soup acts as the perfect foil for rich, buttery sandwiches. Choose a slightly seasoned, smooth soup—homemade or a high-quality canned brand.
###Optional Add-ons
- Dijon mustard or a light smear of pesto inside for a subtle flavor lift.
- Thinly sliced tomatoes or roasted red peppers for a vegetal contrast (place sparingly to avoid sogginess).
- A sprinkle of finely grated Parmesan on the outside of the bread before grilling for an extra crisp, savory crust.
- Fresh herbs like chives or thyme in the butter or tucked inside for aroma.
- A drizzle of honey or fig jam on the plate for a sweet-savory play when serving to adventurous guests.
###Substitutions and Shortcuts
- Bread swaps: If you don’t have brioche, use any sturdy sandwich loaf or even pre-sliced country white bread. For a heartier version, choose multigrain—just toast a touch longer.
- Cheese shortcuts: Pre-sliced cheese (cheddar or American) saves time and ensures even melts. If you want depth without fuss, mix shredded sharp cheddar with a little mozzarella to improve gooeyness.
- Butter alternatives: Olive oil-butter blends or compound butter (butter mixed with herbs) provide nuance; use what fits your pantry.
- Soup shortcuts: Canned tomato soup or a good-quality boxed variety warmed and enriched with a splash of cream or a knob of butter makes an instant dipping companion.
- Make-ahead: You can assemble sandwiches and chill them for up to an hour before grilling—this helps them hold shape, especially useful for making a crowd batch.
##How to Make Mini Grilled Cheese Hearts Step-by-Step
These instructions are deliberately simple: small steps deliver big impact. I’ll walk you through techniques that help every sandwich come out crisp and luxuriously melty.
Prepare your bread and cheese. Using a heart-shaped cookie cutter, press firmly through each slice of bread to create matching heart shapes. If you’d like uniform edges, trim the crusts first; I often leave them on for texture and appearance. Cut the cheese into shapes slightly smaller than the bread hearts so the cheese melts inward rather than spilling over.
Butter with intention. Heat a skillet over medium heat so it warms evenly—cast iron or a stainless-steel pan works best for predictable browning. Spread a thin, even layer of softened butter on the outer face of each bread heart. Butter that is too cold will tear the bread; too melted and it can cause excessive spattering in the pan. I prefer room-temperature butter spread with a knife for the most control.
Assemble with balance. Place the cheese between two heart-shaped bread pieces, keeping the buttered sides facing outward (buttered side out is how you get a golden, flavorful crust). Lightly press the sandwich to encourage contact between the cheese and bread; this helps the cheese warm through more quickly and evenly.
Grill with patience. Transfer the sandwich to the preheated skillet and cook over medium heat. Let the bread develop a deep golden-brown color—about 2-3 minutes per side is a reliable guideline, but the exact time depends on your stove and pan. Resist the urge to flip too soon; a well-formed crust makes the sandwich easy to turn and prevents premature cheese leakage. If the bread is browning too fast before the cheese melts, reduce the heat slightly and cover the pan for 30-60 seconds to trap heat and ensure the cheese becomes silky.
Rest and serve artfully. Once both sides are richly browned and the cheese is melted, transfer the minis to a paper towel briefly to absorb any excess butter. Arrange them on a warm plate and serve immediately with a bowl of warm tomato soup for dipping. A scattering of microgreens or a light dusting of cracked black pepper adds a finishing flourish.
These steps focus on control and timing—small choices in butter temperature, pan heat, and assembly make all the difference in achieving that ideal contrast between crisp exterior and molten interior.
Common Mistakes to Avoid
Mistakes are part of the learning curve; they teach you how the sandwich behaves and what adjustments you can make to perfect the texture and presentation. Below are three common missteps I’ve seen, each with a simple correction that yields better results without extra fuss.
Mistake 1: Using bread that’s too thin or too soft
Thin or overly delicate slices can become limp or tear when cutting shapes and grilling. Choose slightly thicker slices (about 3/4 inch) and a tender-but-structured loaf like brioche, sourdough, or a sandwich loaf. If your only option is thin bread, double up slices for sturdiness or toast them lightly before cutting.
Mistake 2: Grilling at too high heat
High heat will brown the outside quickly while leaving the cheese cool and unmelted. Aim for medium heat and allow the bread to develop color slowly. If needed, lower the heat and cover the pan briefly to encourage even melting without burning the crust.
Mistake 3: Overfilling with wet ingredients
Adding thick tomato slices, roasted peppers, or other wet fillings in large quantities can make the interior soggy and prevent the cheese from binding. Use thin, dry or lightly roasted vegetables and place them sparingly—think of them as accents, not the main filling.
##Serving Suggestions for Mini Grilled Cheese Hearts
Mini Grilled Cheese Hearts are inherently photogenic and versatile; a thoughtful presentation elevates them from snack to a memorable course. Consider balance—something acidic, something bright, and a complementary texture to complete the plate.
Elegant Dip Station
Serve a trio of dipping bowls: warm tomato soup, a silky roasted red pepper sauce, and a bright basil-infused olive oil. Arrange the mini hearts on a wooden board with small tongs for guests to create their own combinations.
Cozy Solo Plate
For a single serving, place three mini hearts alongside a shallow ramekin of warm tomato soup and a crisp green salad dressed with lemon vinaigrette. A sprinkle of flaky sea salt and freshly cracked pepper on the sandwiches makes a small difference that feels luxurious.
Party Platter
For entertaining, lay the hearts on a long platter, alternating cheeses and adding microgreens or edible flowers for color. Include a small jar of fig or apricot jam—sweet contrast pairs wonderfully—and label the cheeses so guests know their options. For a sweet finish, I’ll sometimes follow with Mini Biscoff Cheesecakes to balance the savory warmth of the mains.
Conclusion
I love how Mini Grilled Cheese Hearts transform a simple, nostalgic favorite into something confidently elegant—crispy, buttery bread giving way to molten cheese, perfect alongside a warm bowl of tomato soup. This recipe is forgiving yet polished, and it invites personal touches like herb butter, a swipe of mustard, or a duo of cheeses to match your mood. When you’re ready to try a closely related family-friendly version with pairing ideas and step-by-step photos, I find this Grilled Cheese Hearts and Tomato Soup Recipe – Ziggity Zoom Family a useful reference for inspiration.
FAQs About Mini Grilled Cheese Hearts
Q1: How can I keep my Mini Grilled Cheese Hearts from getting soggy?
A1: To prevent sogginess, use slightly thicker bread and keep any wet fillings—tomato, roasted peppers—very thin. Lightly press and assemble just before grilling. If the bread is particularly absorbent, toast it lightly before cutting into hearts to create a moisture barrier.
Q2: Can I make Mini Grilled Cheese Hearts ahead of time?
A2: You can assemble the sandwiches and refrigerate them for up to an hour before grilling; this helps them hold their shape and makes batch cooking more manageable. Avoid assembling too far in advance if you’re using fresh, juicy fillings, as that increases the risk of sogginess.
Q3: What cheeses work best for Mini Grilled Cheese Hearts?
A3: I recommend melty, flavorful cheeses—sharp cheddar for punch, American for ultra-creamy melt, or a blend like cheddar with a touch of mozzarella for gooey texture. Gruyère or fontina are excellent if you want a slightly more complex, nutty profile.
Q4: How do I reheat leftover Mini Grilled Cheese Hearts?
A4: Reheat in a low oven (about 300°F/150°C) on a baking sheet for 8–10 minutes to refresh the crisp exterior and warm the cheese through. Avoid the microwave—it makes the bread chewy. A quick return to a warm skillet for 1–2 minutes per side also works well.
Q5: Are Mini Grilled Cheese Hearts kid-friendly and good for parties?
A5: Absolutely. Their size and playful shape make them ideal for children and parties alike. They’re easy to eat, visually appealing, and can be adapted with mild cheeses and simple dips to suit younger palates while still pleasing adults.

Mini Grilled Cheese Hearts
- Total Time: 20 minutes
- Yield: 4 servings
- Diet: Vegetarian
Description
Charming mini heart-shaped grilled cheese sandwiches made with quality bread and melty cheese, perfect for any occasion.
Ingredients
- Soft bread (brioche, sourdough, or classic white sandwich loaf)
- Sharp cheddar or American cheese
- High-quality unsalted butter
- Warm tomato soup (for dipping)
- Dijon mustard (optional)
- Thinly sliced tomatoes (optional)
- Roasted red peppers (optional)
- Finely grated Parmesan (optional)
- Fresh herbs (optional)
- Honey or fig jam (optional)
Instructions
- Prepare your bread and cheese: Use a heart-shaped cookie cutter to create heart shapes from the bread and cut the cheese slightly smaller.
- Butter the outer sides of each heart-shaped bread piece with softened unsalted butter.
- Assemble the sandwiches by placing the cheese between two buttered bread hearts.
- Grill in a preheated skillet over medium heat, cooking each side for 2-3 minutes until golden brown and cheese is melted.
- Transfer the sandwiches to a paper towel to absorb excess butter, then serve immediately with warm tomato soup for dipping.
Notes
For best results, ensure all ingredients are fresh and use slightly thicker slices of bread to prevent sogginess. Feel free to get creative with add-ons like herbs or lighter spreads.
- Prep Time: 10 minutes
- Cook Time: 10 minutes
- Category: Appetizer
- Method: Grilling
- Cuisine: American
Nutrition
- Serving Size: 1 sandwich
- Calories: 250
- Sugar: 3g
- Sodium: 350mg
- Fat: 15g
- Saturated Fat: 7g
- Unsaturated Fat: 5g
- Trans Fat: 0g
- Carbohydrates: 25g
- Fiber: 1g
- Protein: 10g
- Cholesterol: 30mg
Keywords: grilled cheese, mini sandwiches, heart shaped, easy appetizer, party food