Last updated on December 29, 2025
There’s something undeniably cozy about ice cream, especially when it comes with a caffeine kick. I still remember those hot summer days, running in from the yard, sun-kissed and slightly sticky, craving something cold and creamy. My favorite indulgence was always ice cream, and finding the perfect flavor became an art form. Fast forward to today, and I have a delightful twist on this childhood treat that brings back those fond memories. If you’ve ever craved a delectable scoop of ice cream that satisfies your sweet tooth while keeping you fueled for the day, then my Ninja Creami Mocha Espresso Protein Ice Cream recipe is just the thing. Don’t worry if you think you can’t make it—that’s what I’m here for! I promise you’ll find this recipe simple, stress-free, and absolutely doable, even if you’re a complete newbie in the kitchen.
Why I Love This Recipe of Ninja Creami Mocha Espresso Protein Ice Cream
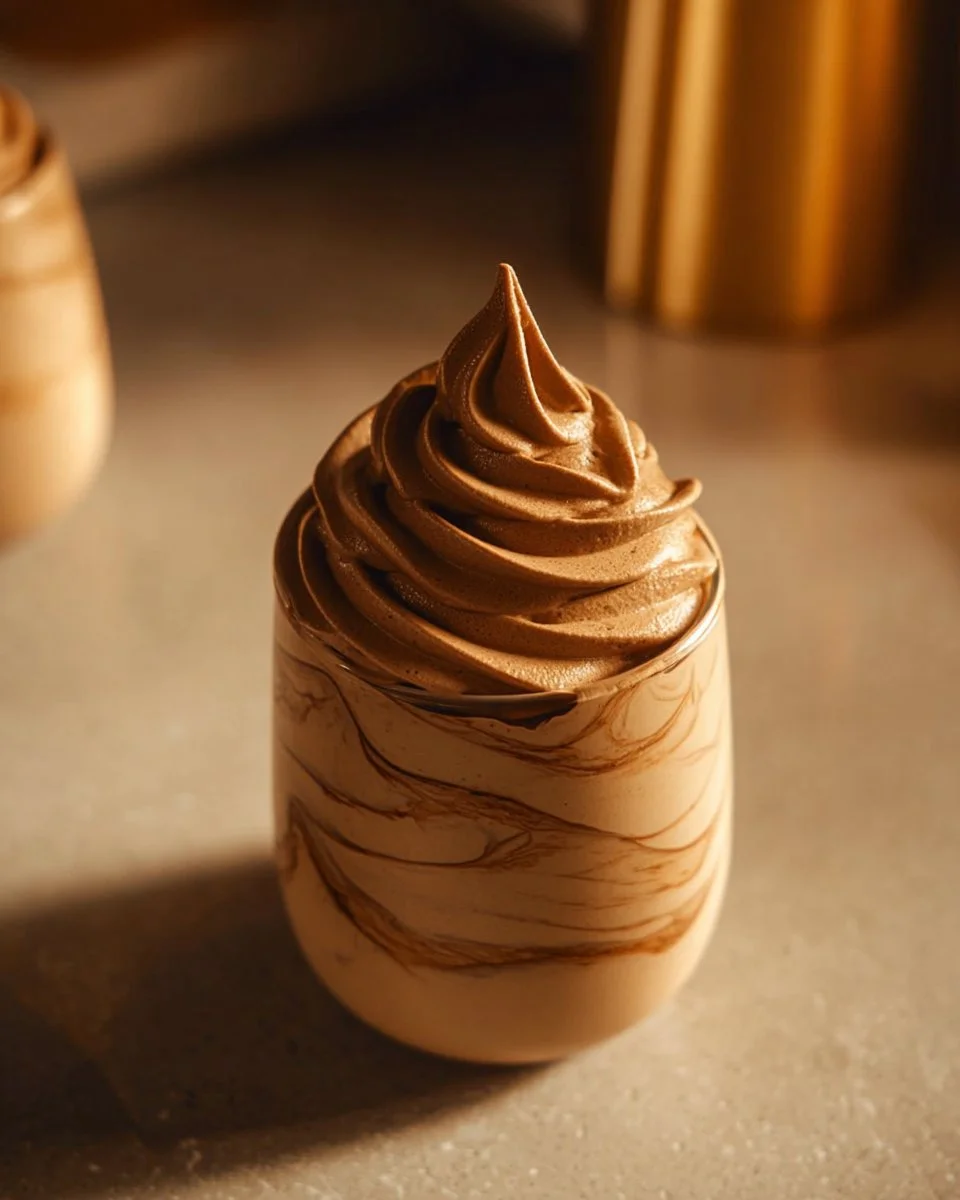
This recipe is special to me not just because it bridges my love for creamy ice cream with my passion for healthful ingredients but also because it offers a comforting, nostalgic taste of home with a modern twist. Picture this: rich, chocolaty espresso blending beautifully with creamy milk for a delightful treat that packs a protein punch. This ice cream isn’t just dessert; it’s a treat you can enjoy guilt-free, whether you’re winding down after a long day or sneaking in a late-night snack when the craving hits.
What I love about this recipe is its simplicity. If you’re new to ice cream making or even just dipping your toes into healthier recipes, you’ll find this one is user-friendly. It combines everyday ingredients found in most kitchens, ensuring that you won’t have to make an extra trek to the store. The warmth of the espresso and the sweetness of chocolate protein powder meld effortlessly, making every spoonful taste like a cozy hug from the inside.
Ingredients You’ll Need for Ninja Creami Mocha Espresso Protein Ice Cream
To create your delicious Ninja Creami Mocha Espresso Protein Ice Cream, you’ll need the following ingredients:
- 1 scoop of chocolate protein powder: This adds a boost of protein while giving the ice cream a rich and chocolaty flavor.
- 1 tablespoon of cocoa powder: For that intense chocolatey taste. Make sure to choose unsweetened cocoa powder for the best flavor balance.
- 1/2 cup of chilled espresso or strong coffee: This gives your ice cream the lovely mocha flavor. If you do not want to use espresso, strong brewed coffee works just as well—just make sure it’s chilled.
- 1 cup of milk of your choice (dairy or non-dairy): Almond milk, oat milk, or good old cow’s milk all work wonderfully here, helping to create that creamy texture.
- Optional mix-ins: If you want to add a little extra fun to your ice cream, consider mini chocolate chips or a spoonful of nut butter for an added flavor and texture experience.
You can easily substitute the chocolate protein powder with a vanilla flavor if you prefer; just keep in mind that it may alter the final taste slightly. For those on dairy-free diets, almond milk or coconut milk will yield a lovely creaminess, too!
How to Make Ninja Creami Mocha Espresso Protein Ice Cream Step-by-Step
Creating your Ninja Creami Mocha Espresso Protein Ice Cream is as enjoyable as it is simple. Here’s a detailed step-by-step guide to ensure you get it right:
Gather Your Ingredients: Start by assembling all your ingredients and the Ninja Creami pint. This will make the blending process smooth and ensure you don’t miss anything.
Combine Your Main Ingredients: In your Ninja Creami pint, add 1 scoop of chocolate protein powder, 1 tablespoon of cocoa powder, 1/2 cup of chilled espresso (or strong coffee), and 1 cup of your preferred milk.
Whisk or Blend: Using a whisk or an immersion blender, mix all the ingredients together until they are completely smooth. It’s crucial that there are no lumps, so take your time with this step—you want everything combined beautifully.
Freeze Overnight: Once your mixture is smooth, cover the pint with a lid and place it upright in your freezer. Make sure to let it freeze for at least 8 hours or overnight. This step will ensure your blend becomes a solid ice cream base.
Process in the Ninja Creami: The following day, remove the pint from the freezer. Insert it into the Ninja Creami and select the ‘Lite Ice Cream’ or ‘Ice Cream’ setting.
Check the Texture: After the first spin, check the texture. If it feels dry or crumbly, don’t worry! You can simply re-spin it on the same setting for a creamier consistency.
Mix in the Goodies: If you’re feeling adventurous or simply love a little added texture, now’s the time to add your mix-ins like mini chocolate chips or a spoonful of nut butter. Simply run the ‘mix-in’ feature on your Ninja Creami to incorporate these delicious morsels into your ice cream.
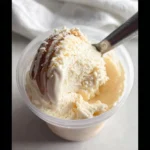
Scoop and Serve: Your Ninja Creami Mocha Espresso Protein Ice Cream is now ready to delight your taste buds! Scoop it into bowls or cones and savor every creamy, chocolatey bite.
Common Mistakes to Avoid Ninja Creami Mocha Espresso Protein Ice Cream
Creating the perfect ice cream isn’t without its challenges. Even though this recipe is simple, beginners tend to make a few common mistakes. Here are some tips to ensure your treat turns out perfectly every time.
Not Mixing Thoroughly
One of the most common shortcuts new home cooks take is not mixing the ingredients thoroughly. Leaving lumps of protein powder can result in a grainy texture. Make sure to whisk everything together very well until the mixture is smooth and homogenous.
Freezing Inadequately
Be sure to freeze your ice cream mixture for the recommended amount of time. If you open the pint too early, you might end up with a slushy mess instead of a creamy scoop.
Overprocessing in the Ninja Creami
It can be tempting to run the Ninja Creami for longer than needed, but doing so can disrupt the perfect texture you’re aiming for. Start with the recommended setting and check every few minutes to achieve that ideal creaminess.
Serving Suggestions for Ninja Creami Mocha Espresso Protein Ice Cream
Now that you have your delicious Ninja Creami Mocha Espresso Protein Ice Cream ready to serve, let’s explore some delightful ideas for enjoying your treat!
With Fresh Berries
Top your scoops with a handful of fresh berries! The tartness of raspberries or strawberries counterbalances the richness of the ice cream perfectly and adds a refreshing touch.
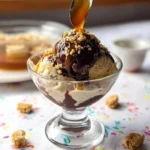
As a Protein-Packed Sundae
If you’re feeling extra indulgent, why not create a protein-packed sundae? Layer your ice cream with a drizzle of nut butter, a sprinkle of mini chocolate chips, and perhaps a few slices of banana on top!
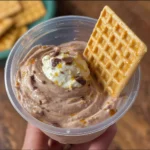
Paired with a Savory Snack
Serve your ice cream alongside a savory snack, like whole-grain crackers or a handful of nuts. The contrast between sweet and savory will elevate your ice cream experience.
Conclusion
As you can see, making your own Ninja Creami Mocha Espresso Protein Ice Cream really is easier than it looks! You can customize it to match your preferences, experiment with various mix-ins, and enjoy a soothing, fulfilling dessert that’s perfect for any occasion. What’s even better is that this recipe is classic, cozy, and completely beginner-approved. I encourage you to give it a try—what’s stopping you from indulging in a sweet treat that fuels your body, too?
If you’ve enjoyed this recipe, I’d love for you to share your creations or any personal twists you’ve made!
FAQs About Ninja Creami Mocha Espresso Protein Ice Cream
1. What is Ninja Creami Mocha Espresso Protein Ice Cream?
Ninja Creami Mocha Espresso Protein Ice Cream is a homemade ice cream recipe that combines chocolate protein powder, cocoa powder, chilled espresso, and milk, creating a creamy, delicious treat that’s also packed with protein.
2. How can I customize my Ninja Creami Mocha Espresso Protein Ice Cream?
You can easily customize the ice cream by choosing different protein powder flavors, adding various mix-ins such as nuts or fruits, or even drizzling it with sauces like caramel or chocolate syrup.
3. Is this ice cream recipe suitable for those with dietary restrictions?
Absolutely! The ingredients can be easily substituted to fit various dietary needs. Use dairy-free milk and ensure your protein powder is also free from any animal products if needed.
4. Can I use instant coffee instead of espresso?
Yes, you can use instant coffee for a simpler preparation. Just dissolve the instant coffee in a little bit of hot water, let it cool, and then add it to your mixture.
5. How long does the Ninja Creami Mocha Espresso Protein Ice Cream last in the freezer?
This ice cream is best enjoyed fresh, but if stored properly in an airtight container, it can last in the freezer for up to two weeks. Just remember that homemade ice cream tends to become harder over time, so allow it to sit at room temperature for a few minutes before scooping.
Ninja Creami Mocha Espresso Protein Ice Cream
- Total Time: 495 minutes
- Yield: 4 servings 1x
- Diet: High Protein, Vegetarian
Description
A delicious, guilt-free ice cream with rich mocha flavor, packed with protein for a satisfying treat.
Ingredients
- 1 scoop chocolate protein powder
- 1 tablespoon unsweetened cocoa powder
- 1/2 cup chilled espresso or strong coffee
- 1 cup milk of your choice (dairy or non-dairy)
- Optional: mini chocolate chips or nut butter for mix-ins
Instructions
- Gather your ingredients and the Ninja Creami pint.
- Add chocolate protein powder, cocoa powder, chilled espresso, and milk to the Ninja Creami pint.
- Whisk or blend until smooth, ensuring no lumps remain.
- Cover the pint and freeze for at least 8 hours or overnight.
- After freezing, process in the Ninja Creami using the ‘Lite Ice Cream’ or ‘Ice Cream’ setting.
- Check the texture; re-spin if dry or crumbly.
- Add mix-ins if desired, and process again to incorporate.
- Scoop into bowls or cones and enjoy!
Notes
Make sure to mix thoroughly and freeze adequately for best results. Customize with your favorite mix-ins.
- Prep Time: 15 minutes
- Cook Time: 480 minutes
- Category: Dessert
- Method: Freezing
- Cuisine: American
Nutrition
- Serving Size: 1 serving
- Calories: 250
- Sugar: 6g
- Sodium: 150mg
- Fat: 8g
- Saturated Fat: 3g
- Unsaturated Fat: 5g
- Trans Fat: 0g
- Carbohydrates: 30g
- Fiber: 2g
- Protein: 15g
- Cholesterol: 10mg
Keywords: ice cream, protein, mocha, espresso, dessert, healthy dessert, Ninja Creami