Last updated on July 29, 2025
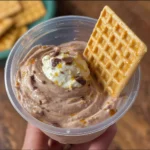
Are you looking for a delicious and healthy treat that won’t break your diet? Look no further than Ninja Creami Protein Ice Cream! This delightful dessert isn’t only creamy and tasty — it’s also packed with protein, making it a fantastic way to satisfy your sweet tooth while fueling your body. Whether you’re coming home from the gym or just craving a midday snack, this protein-packed ice cream is the perfect solution. Let’s dive into why you’ll love making and enjoying this innovative treat!
Table of Contents
Why You’ll Love This Ninja Creami Protein Ice Cream
Ninja Creami Protein Ice Cream is a game-changer. First, it allows you to enjoy a sweet, cold dessert without the guilt associated with many store-bought ice cream options. You can customize it to your taste and dietary needs! Use your favorite milk, pick your preferred protein powder, and sweeten it to your liking.
Another great feature of this recipe is its simplicity. You only need a few basic ingredients and a Ninja Creami machine, but the results are anything but basic. The texture is smooth and creamy, just like traditional ice cream, but you’ll be amazed at how nutritious it is! Enjoying a frozen treat that doubles as a protein boost makes it a winner for health-conscious individuals and ice cream lovers alike.
Ingredients You’ll Need for Ninja Creami Protein Ice Cream:
Print
Ninja Creami Protein Ice Cream – Creamy & High-Protein
- Total Time: 24 hours 10 minutes
- Yield: 1 pint (2–3 servings) 1x
Description
This Ninja Creami Protein Ice Cream is a quick, healthy, and customizable dessert that’s high in protein and full of flavor. Perfect for fitness lovers or anyone wanting a guilt-free frozen treat.
Ingredients
- 1 cup milk of choice (almond, coconut, dairy, oat, etc.)
- 1/4 cup protein powder (any flavor)
- Sweetener of choice (pick one):
- 1/2 banana
- 1 date
- 1 tablespoon pure maple syrup
- 1 tablespoon honey
- 1–2 tablespoons instant pudding mix (optional, for better texture)
- Optional: 2 tablespoons additional milk (for re-blend if needed)
- Optional: mix-ins (crumbled Oreos, peanut butter, fruits)
Instructions
- In a blender, combine 1 cup of milk, 1/4 cup protein powder, and your chosen sweetener. Blend until smooth (about 20 seconds).
- Pour the blended mixture into a Ninja Creami pint container. Secure the lid and freeze for 24 hours.
- After freezing, remove the container. Run warm water around the sides of the container for 1 minute to loosen.
- Place the container into the Ninja Creami machine. Use the ‘Lite Ice Cream’ function to process.
- If the texture appears powdery after the first blend, add 2 tablespoons of milk to the center and select ‘Re-Spin.’
- Fold in any desired mix-ins (Oreos, peanut butter, fruits).
- Scoop, serve immediately, or return to freezer for later.
Notes
- Use flavored protein powder to complement your sweetener and mix-ins.
- Banana adds natural sweetness and creaminess.
- Pudding mix improves texture but is optional.
- Adjust sweetness and thickness based on personal preference and protein powder brand.
- Prep Time: 5 minutes
- Cook Time: undefined
- Category: Dessert
- Method: Ninja Creami
- Cuisine: American
Nutrition
- Serving Size: 1/2 cup
- Calories: 160
- Sugar: 7 g
- Sodium: 90 mg
- Fat: 3 g
- Saturated Fat: 1 g
- Unsaturated Fat: 2 g
- Trans Fat: 0 g
- Carbohydrates: 10 g
- Fiber: 1 g
- Protein: 15 g
- Cholesterol: 20 mg
Keywords: Ninja Creami Protein Ice Cream, protein dessert, low sugar ice cream, high protein treat, healthy ice cream
Essential Ingredients:
- 1 cup of milk of your choice: You can use almond milk, coconut milk, regular milk, or any alternative you prefer. Each will add its unique flavor to your ice cream.
- 1/4 cup of protein powder: This is where you pack in the protein! Choose your favorite flavor.
- Sweetener of your choice: Options include:
- 1/2 banana
- 1 date
- 1 tablespoon of pure maple syrup
- 1 tablespoon of honey
- 1 to 2 tablespoons of instant pudding mix (this can help enhance the texture)
Optional Add-Ons:
- 2 tablespoons of additional milk (if needed): If your mixture is too thick, adding extra milk can help achieve the desired texture.
- Extra mix-ins for flavor: You can get creative with ingredients like crumbled Oreos, peanut butter, or your favorite fruits. Feel free to add what you love most!
How to Make Ninja Creami Protein Ice Cream Step by Step:
Now that you’ve gathered all the ingredients, it’s time to make your very own Ninja Creami Protein Ice Cream! Follow these detailed steps:
Blend the Base Mixture: In a blender, combine 1 cup of your chosen milk, the 1/4 cup of protein powder, and your sweetener. Blend everything together for about 20 seconds or until you achieve a smooth and creamy consistency. This step is crucial since it affects the texture of your ice cream.
Prepare for Freezing: Once blended, pour the mixture into the Ninja Creami container. Make sure it’s well distributed and then cover it securely.
Freeze the Mixture: Place the container in the freezer and let it freeze for a solid 24 hours. It’s important not to skip this step, as proper freezing is essential for getting the right texture.
Thaw Slightly: After 24 hours, take the container out of the freezer. To make removing the ice cream easier, run warm water over the sides of the container for about 1 minute. This will loosen the ice cream from the walls and make it easier to blend.
Prepare the Creami Machine: Attach the container back to the Ninja Creami machine. Select the ‘Lite Ice Cream’ setting and let the machine do its magic!
Check the Texture: Once the initial cycle is complete, check the texture. If it still appears powdery, add 2 tablespoons of milk right in the center of the ice cream and select the ‘Re-Blend’ option. This step is crucial for achieving that smooth and creamy finish that everyone loves in ice cream.
Add Extra Ingredients (Optional): If you want to include any additional flavors or mix-ins, this is the time to add them. Simply fold them into the ice cream using a spatula or spoon.
Serve and Enjoy: Scoop out your delicious Ninja Creami Protein Ice Cream and serve! Enjoy it right away or place it back in the freezer for later if you prefer.
Serving Suggestions for Ninja Creami Protein Ice Cream
When it comes to serving your Ninja Creami Protein Ice Cream, the options are endless! Here are a few delightful ideas to make your serving experience even more enjoyable:
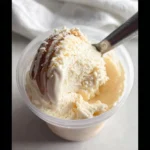
Classic Scoops: Serve it in a bowl or cone for a traditional ice cream experience. Top with fresh fruits or a drizzle of honey for extra flavor.
Banana Split Style: Slice a banana lengthwise, place it on a plate, and top it with your protein ice cream. Add some strawberries, nuts, and a good drizzle of syrup for a healthy twist on the classic banana split.
Protein Smoothie Bowl: Use the ice cream as a base for a smoothie bowl. Top it with granola, chia seeds, coconut shreds, and your favorite berries for added texture and nutrition.
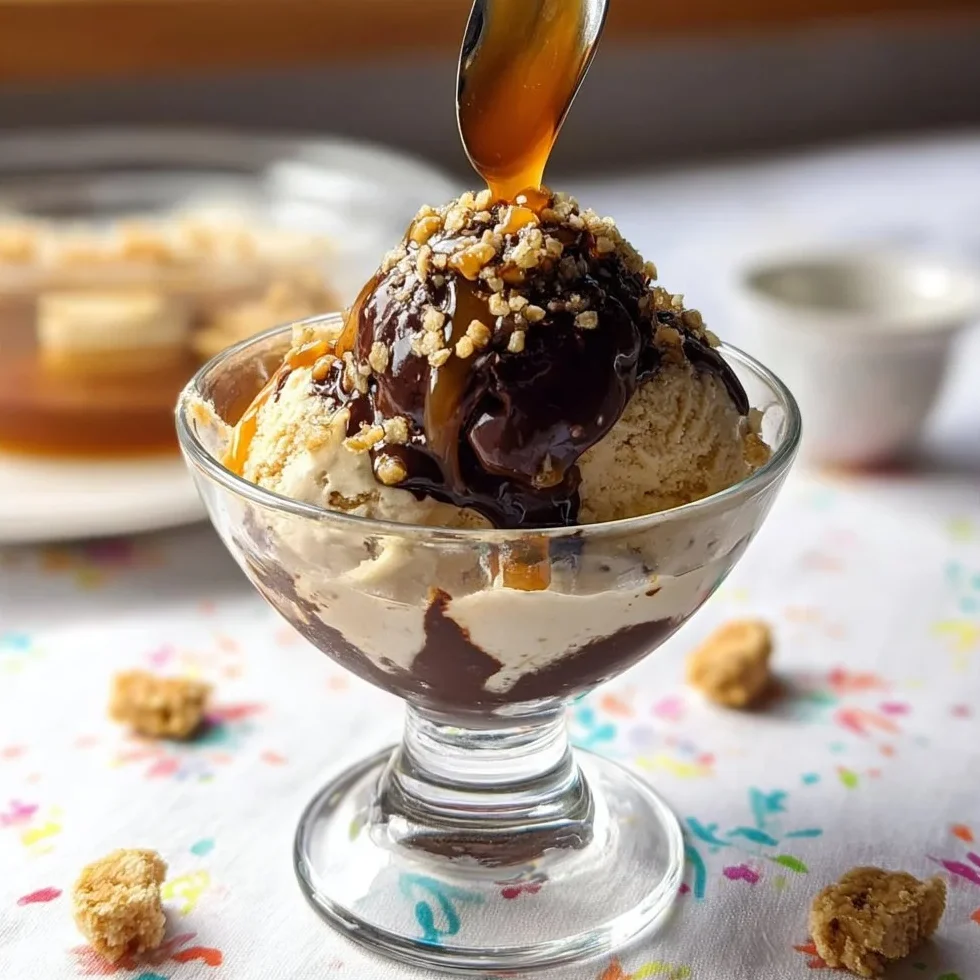
Decadent Sundae: Get indulgent by decorating with your choice of toppings like chocolate syrup, nut butter, or crushed cookies.
Creative Milkshake: Blend your ice cream with additional milk or a frozen banana to create a creamy milkshake. Add cocoa powder for a chocolate treat or berry puree for a fruity version.
Pro Tips for Perfecting Your Ninja Creami Protein Ice Cream
Creating the perfect Ninja Creami Protein Ice Cream can be an art! Here are some professional tips to ensure you produce a top-notch dessert every time:
Use Ice Cream-Friendly Milk: Some types of milk, such as high-fat whole milk or coconut milk, yield creamier textures compared to low-fat or skim options.
Sweeten Gradually: When adding sweeteners, start with a smaller amount and taste as you go. This way, you can adjust the level of sweetness to your preference without it being overly sweet.
Let it Sit: If your ice cream is too hard straight out of the freezer, let it sit for a few minutes at room temperature before scooping. This softens it enough for easy serving.
High-Quality Protein Powder: Opt for a protein powder you enjoy. The flavor of the protein powder will significantly impact the taste of your finished ice cream, so choose a brand you love.
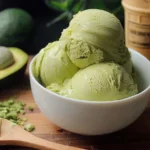
Experiment!: Don’t be afraid to mix and match different ingredients and flavors. The beauty of this recipe is in its customization — whether you want chocolate, vanilla, or something fruity, feel free to switch ingredients.
Easy Variations for Ninja Creami Protein Ice Cream
This basic protein ice cream recipe is just the beginning! Here are a few easy variations you can try:
Chocolate Peanut Butter Protein Ice Cream: Use chocolate protein powder, add a tablespoon of peanut butter, and blend into the mixture for a rich flavor.
Berry Blast Protein Ice Cream: Include a handful of frozen berries, like strawberries or blueberries, in your blend for a refreshing fruity twist.
Mint Chocolate Chip Variety: Add a drop of peppermint extract to the mixture and toss in mini chocolate chips for a refreshing minty treat.
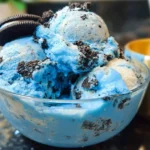
Cookies and Cream Delight: Crush some chocolate sandwich cookies and stir them in right before the final blend for a delightful cookies and cream flavor.
Storage Tips to Store Ninja Creami Protein Ice Cream
Once you have made your delicious ice cream, you may want to store it for later enjoyment. Here are some helpful storage tips to maximize freshness:
Use an Airtight Container: Store your ice cream in an airtight container to prevent freezer burn and maintain its creamy texture.
Keep it Cold: Store your ice cream in the coldest part of your freezer. Avoid placing it in the door where temperatures fluctuate more.
Label and Date: If you make various flavors, label your containers with the flavor and date so you can easily keep track of what you have on hand.
Consume within a few weeks: For the best texture and flavor, try to consume your protein ice cream within 2-4 weeks. While it will last longer, the texture may change over time.
Conclusion
Making your own Ninja Creami Protein Ice Cream is both easy and fun! With just a few ingredients, you can whip up a creamy, delicious treat tailored exactly to your taste. Plus, it’s a healthy alternative to regular ice cream, providing you with the protein you need without sacrificing flavor. So why wait? Grab your Ninja Creami and start experimenting with flavors today!
Looking for more delicious recipes? Follow us on Pinterest and Facebook!
FAQs About Ninja Creami Protein Ice Cream
Can I use dairy-free milk for this recipe?
Absolutely! Almond milk, coconut milk, oat milk, and all dairy-free options work well. Just choose a milk that you enjoy.
How long does the ice cream last in the freezer?
To maintain the best quality, consume your ice cream within 2-4 weeks. It can last longer, but the texture may degrade over time.
Can I use flavored protein powder?
Definitely! Flavored protein powders, like chocolate or vanilla, can enhance your ice cream’s overall taste. Just adjust your sweetener accordingly.
Can I make this without a Ninja Creami?
While this recipe is designed for the Ninja Creami, you can use a regular blender and freeze the mixture in a container. Just be prepared to stir every 30 minutes until the desired texture is achieved.
Is it possible to make Ninja Creami Protein Ice Cream vegan?
Yes! Simply choose a plant-based protein powder and a vegan sweetener like maple syrup or agave nectar.
Now that you have everything you need, it’s time to enjoy the delicious world of Ninja Creami Protein Ice Cream! Happy blending!