Last updated on February 18, 2026
A Cozy Craving
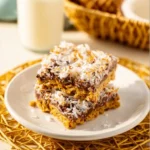
Some of my fondest kitchen memories are the ones that begin with a small, persistent craving for something sweet and homey—like the evening I stood in my pajamas, spoon in hand, debating whether to make anything at all. If you’ve ever worried that no-bake treats are fussy or require fancy equipment, I get it; I thought the same until I found a recipe that’s almost embarrassingly simple. This No-Bake Chocolate Peanut Butter Oat Bars recipe is perfect for beginners, and if you like layered peanut-buttery sweets, you might also enjoy this seven-layer Reese’s bars recipe for another fuss-free option.
A Quick Look at This No-Bake Chocolate Peanut Butter Oat Bars Recipe
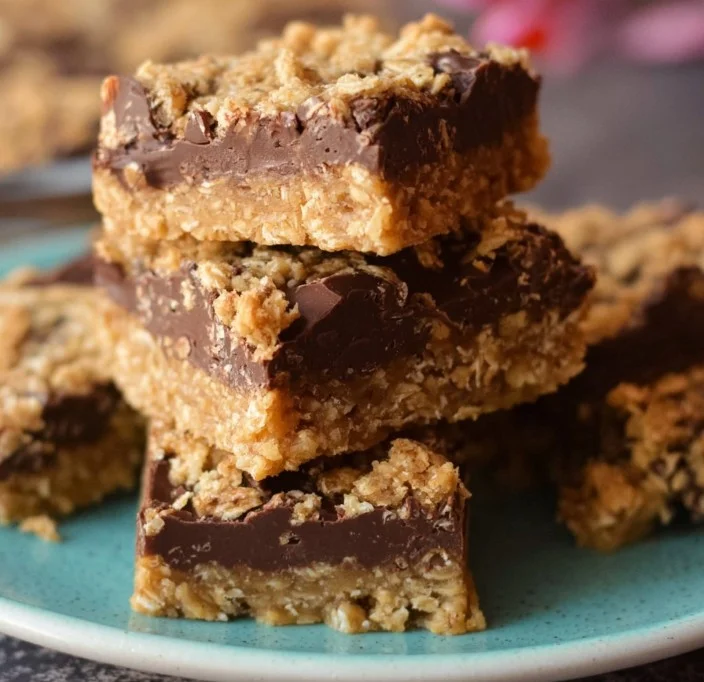
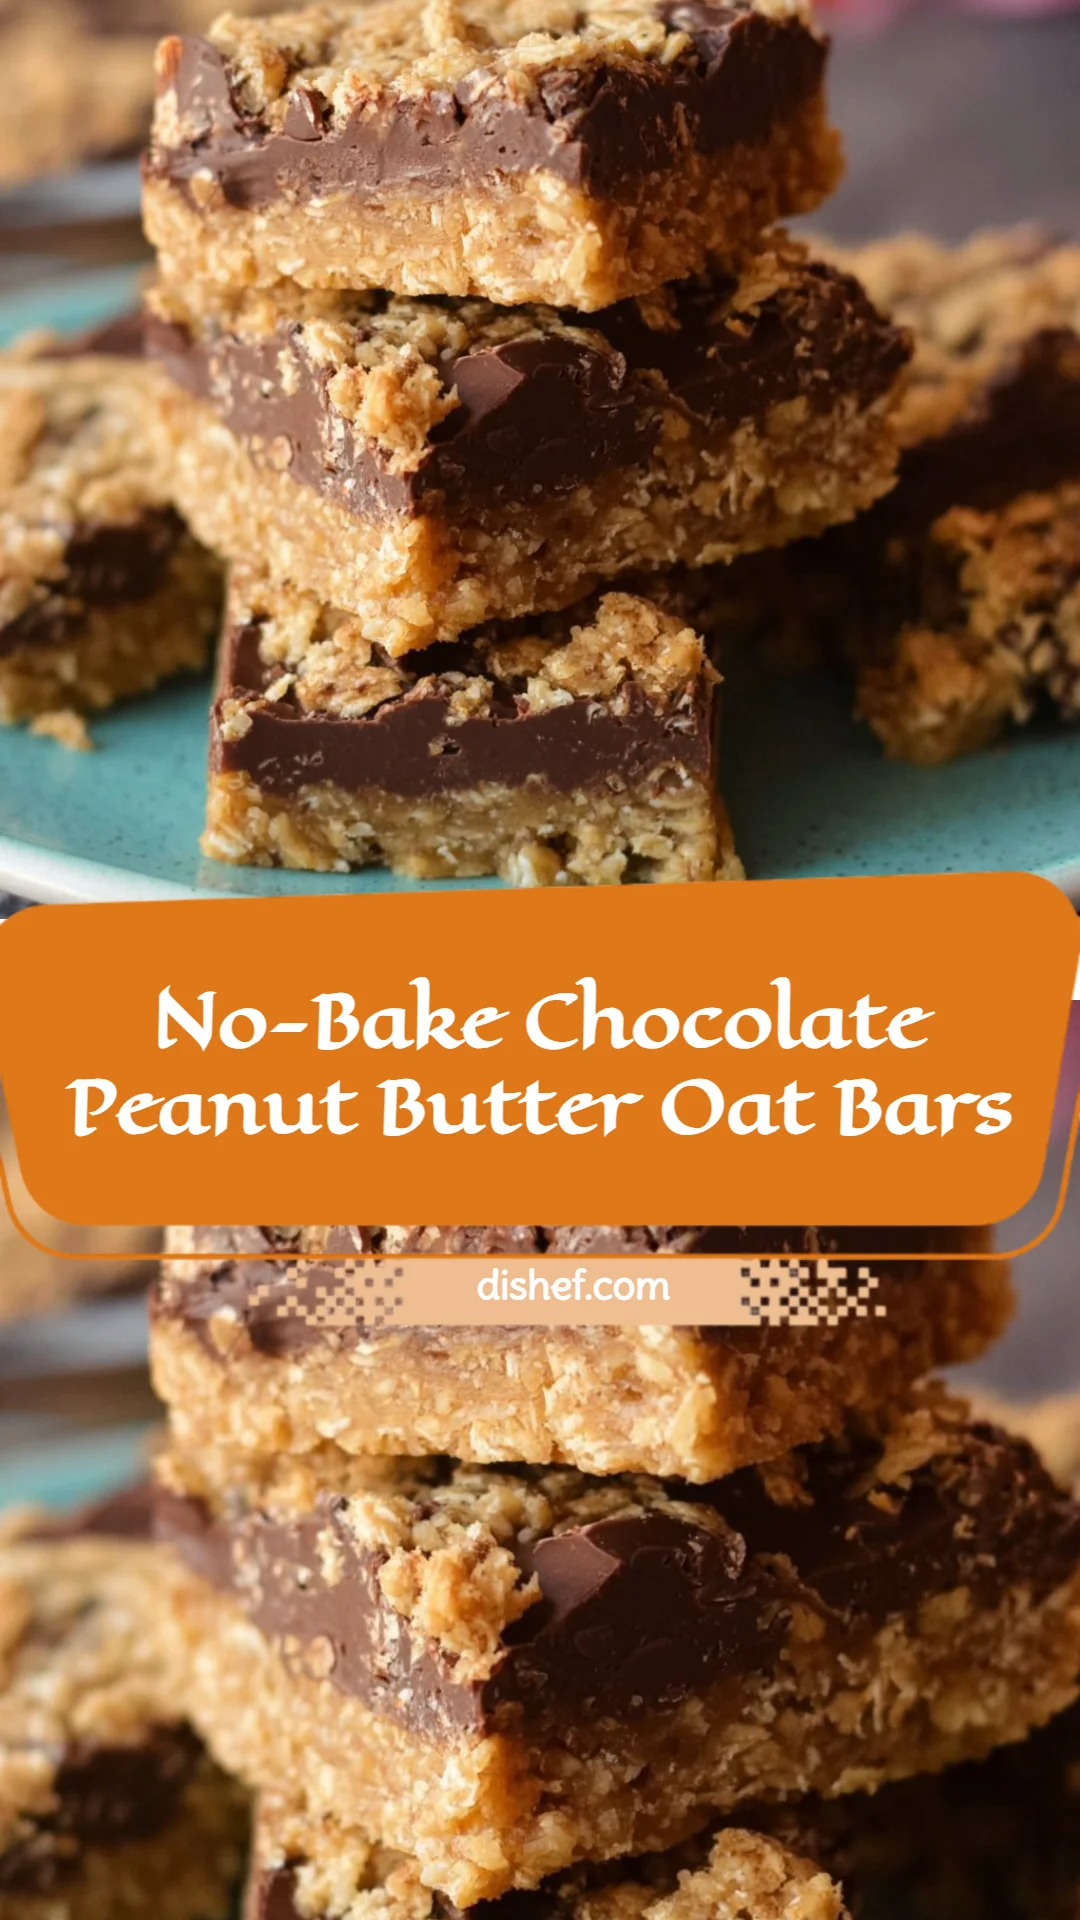
These No-Bake Chocolate Peanut Butter Oat Bars are built around two pantry stars: creamy peanut butter and rolled oats. The bars offer comforting sweetness with the convenience of no oven time—just mix, press, chill, and slice. They’re great for busy weeknight bakers and anyone who’s intimidated by baking because there’s no measuring drama or complicated timing. If you want a quick energy-packed snack or a cozy dessert with minimal cleanup, keep scrolling—this recipe is worth the two hours of chill time.
Ingredients You’ll Need for No-Bake Chocolate Peanut Butter Oat Bars
Essentials
- 2 cups rolled oats (old-fashioned oats are best for texture)
- 1 cup creamy peanut butter (stirred, room temperature)
- 1/2 cup honey or maple syrup (use maple for vegan)
- 1 teaspoon vanilla extract
- Pinch of salt
- 1 cup chocolate chips (semi-sweet or dark for less sweetness)
Optional add-ons
- 1/4 cup chopped nuts (peanuts, almonds, or pecans for crunch)
- 2 tablespoons ground flaxseed or chia seeds (extra fiber and binding)
- 1/4 cup shredded coconut (unsweetened or sweetened to taste)
- 1/4 cup mini marshmallows (for a s’mores-like touch)
- 1/4 teaspoon cinnamon (a warm spice note)
- Sprinkle of flaky sea salt (to finish the chocolate layer)
Substitutions and shortcuts
- Oats: If you only have quick oats, they’ll work in a pinch but the bars will be softer. For a chewier bar, use old-fashioned rolled oats.
- Nut butter: Swap creamy peanut butter for almond butter or sunflower seed butter if you need a peanut-free version. Keep the same volume.
- Sweetener: Use maple syrup for a vegan option; agave syrup could also work but is slightly runnier—chill longer if you use it.
- Chocolate: If you don’t have chips, chop a chocolate bar or use a few tablespoons of cocoa mixed with coconut oil to make a pourable glaze.
- Quick method: If you want to save a bowl, you can mix everything directly in the lined baking dish and press it in—less cleanup and still tasty.
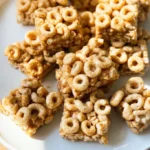
- Cereal variation: For a crunchier cereal-style bar, try mixing in crunchy oats or even a bit of cereal; for inspiration on cereal-based peanut-butter bars, see this 3-ingredient peanut butter Cheerio bars recipe.
How to Make No-Bake Chocolate Peanut Butter Oat Bars Step-by-Step
Below I’ll walk you through each step like I’m standing next to you in the kitchen. Even if you’ve never made a bar or slice before, this is straightforward—just take it one step at a time.
Step 1: Line your pan and gather tools
Line an 8×8 or 9×9-inch baking pan with parchment paper, leaving a little overhang on two sides so you can lift the set bars out easily. Gather a large mixing bowl, a rubber spatula or wooden spoon, a microwave-safe bowl (or small saucepan and heatproof bowl for a double boiler), and a measuring cup. Preparation makes this feel calm and cozy.
Step 2: Combine the wet ingredients
In your large mixing bowl, add 1 cup creamy peanut butter, 1/2 cup honey or maple syrup, and 1 teaspoon vanilla extract. Add a pinch of salt to help balance the sweetness. Stir vigorously until the mixture is smooth and glossy. If your peanut butter is very stiff, microwave it for 10–15 seconds to loosen it up—just don’t overheat.
Step 3: Add the oats and mix
Pour 2 cups rolled oats into the peanut butter mixture. Stir until the oats are evenly coated and the mixture holds together when squished between your fingers. If using optional add-ins like flaxseed, chia, shredded coconut, or chopped nuts, fold them in now. The texture should be slightly sticky but moldable—if it’s too dry, add a teaspoon or two of water or more honey; if too wet, stir in a few tablespoons of oats.
Step 4: Press into the pan
Transfer the oat mixture into the prepared pan. Use the back of a spoon, a spatula, or clean hands (lightly dampened) to press the mixture into an even layer. Press firmly so the bars hold together when cut, but don’t compact it so hard that the oats lose all texture. A level surface will make for neat bars.
Step 5: Melt the chocolate
Place 1 cup chocolate chips in a microwave-safe bowl. Microwave in 20–30 second bursts, stirring between each burst, until the chocolate is smooth and glossy. If using a stovetop, set a heatproof bowl over simmering water (double boiler) and stir until melted. Avoid steam or water getting into the chocolate, which can seize it.
Step 6: Top with chocolate
You have two options: stir the melted chocolate into the oat mixture for a uniformly chocolatey bar, or pour the melted chocolate over the pressed base for a pretty layered look. If pouring, spread it with a spatula into an even layer. Sprinkle the top with flaky sea salt, extra chopped nuts, or mini marshmallows while the chocolate is still wet.
Step 7: Chill until set
Place the pan in the refrigerator for at least 2 hours to firm up, or pop it in the freezer for 30–45 minutes if you’re in a rush. Chilling in the freezer speeds things up but avoid leaving it too long or the texture can become overly hard.
Step 8: Slice and store
Use the parchment overhang to lift the whole slab from the pan and place it on a cutting board. Use a sharp knife to cut into squares or bars—wiping the knife clean between cuts helps keep lines neat. Store the bars in an airtight container in the fridge for up to 1 week, or in the freezer for up to 2–3 months. Let frozen bars sit at room temperature for a few minutes before eating.
Common Mistakes to Avoid
Even simple recipes can trip you up the first time. Here’s a short note to keep things stress-free and the bars perfectly chewy.
Mistake 1: Using the wrong oats
Old-fashioned rolled oats give the best texture. If you use instant oats, the mixture will be mushier and the bars will be softer and less distinct.
Mistake 2: Not pressing the base firmly enough
If you don’t press the oat mixture firmly into the pan, the bars will crumble when cut. Use the back of a spoon or a piece of parchment to press evenly and compactly.
Mistake 3: Overheating the chocolate
Microwaving chocolate too long causes it to burn or seize. Heat in short bursts, stir often, and remove from heat when mostly melted—the residual warmth will finish the job.
Serving Suggestions for No-Bake Chocolate Peanut Butter Oat Bars
These bars are flexible. They’re great as a quick snack, an after-school treat, or a cozy dessert with hot coffee. Here are a few ways I like to serve them.
Simple snack plate
Cut the bars into small squares and arrange with fresh fruit like apple slices or banana rounds. The fruit brightness balances the richness.
Dessert with a warm drink
Serve a bar alongside a mug of coffee or hot cocoa—poke a toothpick in and enjoy warm sips and cool bites. The mix of temperatures is comforting on chilly evenings.
Lunchbox or on-the-go
Wrap individual bars in wax paper and pack them in a lunchbox. They’re sturdy, travel well when chilled, and make a nice treat after school or work.
Conclusion
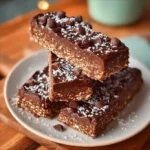
I promise this No-Bake Chocolate Peanut Butter Oat Bars recipe is easier than it looks: no baking, minimal cleanup, and just a handful of pantry ingredients. The bars are endlessly customizable—swap nut butters, fold in seeds, or sprinkle with coconut to suit your taste. Cozy, satisfying, and beginner-approved, they’re one of those recipes I turn to when I want something that feels homemade without the fuss. For another no-bake take from a different kitchen, see Chocolate Peanut Butter Oatmeal Bars | My Goodness Kitchen.
FAQs About No-Bake Chocolate Peanut Butter Oat Bars
Q1: How long do No-Bake Chocolate Peanut Butter Oat Bars last in the fridge?
A1: Stored in an airtight container, No-Bake Chocolate Peanut Butter Oat Bars will keep for about one week in the refrigerator. If you want them to last longer, freeze them for up to 2–3 months and thaw a few minutes before eating.
Q2: Can I make No-Bake Chocolate Peanut Butter Oat Bars vegan?
A2: Yes—use maple syrup instead of honey and choose dairy-free chocolate chips. Make sure your peanut butter doesn’t contain added honey or dairy ingredients.
Q3: Are No-Bake Chocolate Peanut Butter Oat Bars healthy?
A3: They’re a balanced treat—rolled oats and flaxseed add fiber, peanut butter brings protein and healthy fats, and honey or maple syrup is a natural sweetener. Portion control matters, but these bars are a more wholesome option than many packaged snacks.
Q4: Can I make No-Bake Chocolate Peanut Butter Oat Bars without peanut butter?
A4: Absolutely—swap in almond butter, cashew butter, or sunflower seed butter if you need a peanut-free alternative. The texture and flavor will change slightly but the method stays the same.
Q5: What’s the best way to cut No-Bake Chocolate Peanut Butter Oat Bars cleanly?
A5: Lift the set slab from the pan using the parchment overhang and transfer it to a cutting board. Use a sharp knife and wipe it clean between cuts; chilling the bars well before slicing helps maintain neat edges.
No-Bake Chocolate Peanut Butter Oat Bars
- Total Time: 120 minutes
- Yield: 16 bars 1x
- Diet: Vegetarian
Description
A deliciously simple no-bake treat made with creamy peanut butter and rolled oats for a sweet and comforting snack.
Ingredients
- 2 cups rolled oats (old-fashioned preferred)
- 1 cup creamy peanut butter (room temperature)
- 1/2 cup honey or maple syrup
- 1 teaspoon vanilla extract
- Pinch of salt
- 1 cup chocolate chips (semi-sweet or dark)
Instructions
- Line an 8×8 or 9×9-inch baking pan with parchment paper.
- Combine peanut butter, honey (or maple syrup), vanilla extract, and pinch of salt in a bowl. Stir until smooth.
- Add rolled oats to the mixture and stir until evenly coated.
- Transfer the mixture to the prepared pan, pressing it evenly.
- Melt chocolate chips in a microwave-safe bowl, stirring until smooth.
- Pour melted chocolate over the oat mixture or stir into the mixture.
- Chill in the refrigerator for at least 2 hours to firm up.
- Slice into bars and store in an airtight container.
Notes
To make vegan, use maple syrup and dairy-free chocolate chips. For a crunchier variation, mix in chopped nuts or cereal.
- Prep Time: 15 minutes
- Cook Time: 0 minutes
- Category: Snack
- Method: No-Bake
- Cuisine: American
Nutrition
- Serving Size: 1 bar
- Calories: 220
- Sugar: 10g
- Sodium: 20mg
- Fat: 12g
- Saturated Fat: 3g
- Unsaturated Fat: 9g
- Trans Fat: 0g
- Carbohydrates: 25g
- Fiber: 3g
- Protein: 6g
- Cholesterol: 0mg
Keywords: no-bake, chocolate, peanut butter, oat bars, snack, easy recipe