Last updated on September 4, 2025
Pumpkin Patch Dirt Cups: A Cozy Fall Treat
Introduction
As the leaves start to turn and the crisp autumn air creeps in, memories of our family gatherings around pumpkin treats flood my mind. One of my fondest memories is making these delightful Pumpkin Patch Dirt Cups with my kids, who loved getting their hands messy while adding the finishing touches. If you’ve been looking for a fun and stress-free treat to make this fall, you’re in the right place. This blog post will guide you through creating these charming little cups easily—even if it’s your first time baking or assembling a dessert.
Why I Love This Recipe of Pumpkin Patch Dirt Cups
What makes these Pumpkin Patch Dirt Cups so special to me is the way they bring everyone together. This recipe is not just a dessert; it’s an experience! The simplicity of the steps makes it perfect for beginner cooks and busy families, ensuring that no one feels overwhelmed during the process. Plus, the kids love getting involved—from crushing the Oreos to choosing how many candy pumpkins to top their creations with. This recipe is a heartfelt activity that allows us to bond and create something deliciously nostalgic.
Ingredients You’ll Need for Pumpkin Patch Dirt Cups
To make these Pumpkin Patch Dirt Cups, you’ll need a few essentials that are easy to find, plus some optional add-ons that can add a unique twist to your cups.
Essentials:
- Chocolate Instant Pudding (1 package, 3.9 oz): The key to the creamy chocolate layers that everyone loves. Instant pudding is a great time-saver, too!
- 2 Cups Milk: Helps to prepare the pudding mix to create that rich, velvety texture.
- 8 Ounce Cool Whip: Adds a lovely lightness and creaminess that balances the richness of the dessert.
- 1 Regular Size Package of Oreo Cookies: Crushed Oreos give that wonderful "dirt" appearance and a delightful crunch.
- Candy Pumpkins: These are essential for creating the pumpkin patch look that makes this dessert festive and fun.
- Shredded Coconut: To mimic the “grass” of a pumpkin patch; it adds texture and visual appeal.
- Green Food Coloring: A few drops will turn your shredded coconut into vibrant grass.
Optional Add-Ons:
While the ingredients listed above are perfect for the traditional version of this dish, you can easily customize your Pumpkin Patch Dirt Cups.
- Other Cookies: Instead of Oreos, you could use other chocolate sandwich cookies or even graham crackers for a different flavor profile.
- Different Pudding Flavors: If chocolate isn’t your thing, try making it with vanilla pudding or even a pumpkin-flavored pudding if you can find it!
Substitutions and Shortcuts:
If you’re short on time or missing an ingredient, don’t worry. Here are a few quick substitutions:
- Milk: You can use any type of milk you prefer—almond, soy, or coconut milk works well too.
- Cool Whip: If you prefer, you can use a homemade whipped cream instead of Cool Whip, which may be a little richer.
- Candy Pumpkins: If you can’t find candy pumpkins, mini chocolate candies or even gummy candies can work as a fun alternative.
How to Make Pumpkin Patch Dirt Cups Step-by-Step
Creating these Pumpkin Patch Dirt Cups is easy and fun. Follow these detailed steps, and you’ll have a delightful dessert ready in no time.
Step 1: Crush the Oreos
Start by crushing the package of Oreo cookies. You can do this in two ways:
- Using a Food Processor: Place the cookies in the food processor and pulse until they are finely crushed.
- Using a Ziploc Bag: If you don’t have a food processor, simply put the Oreos in a gallon-sized Ziploc bag. Seal it tightly and crush the cookies with a rolling pin until they are in small crumbs.
Step 2: Prepare the Pudding
In a medium bowl, whisk together the chocolate instant pudding mix and 2 cups of milk for about 2 minutes. Follow the package directions exactly for the best results. After whisking, allow the mixture to set for about 5 minutes to thicken.
Step 3: Fold in the Cool Whip
Once the pudding has set, gently fold in the Cool Whip. This will lighten the pudding mixture, making it creamy and luscious, perfect for layering in your cups.
Step 4: Assemble the Cups
Using 9-ounce plastic cups, it’s time to layer your ingredients:
- Start by adding one tablespoon of the crushed Oreos to the bottom of each cup.
- Next, spoon a layer of the pudding mixture on top.
- Repeat the layers, alternating between the crushed cookies and the pudding until you reach the top of the cups. Finish with another layer of crushed cookies as the final layer.
Step 5: Refrigerate
Once you have all your cups filled, cover them and refrigerate for at least 1 hour. This will help the layers set nicely and ensure the cups are cool when served.
Step 6: Prepare the Grass
While the cups are chilling, take your shredded coconut and place it in a small container with a lid. Add a few drops of green food coloring and a touch of water. Secure the lid tightly and shake vigorously until the coconut is evenly colored.
Step 7: Final Touches Before Serving
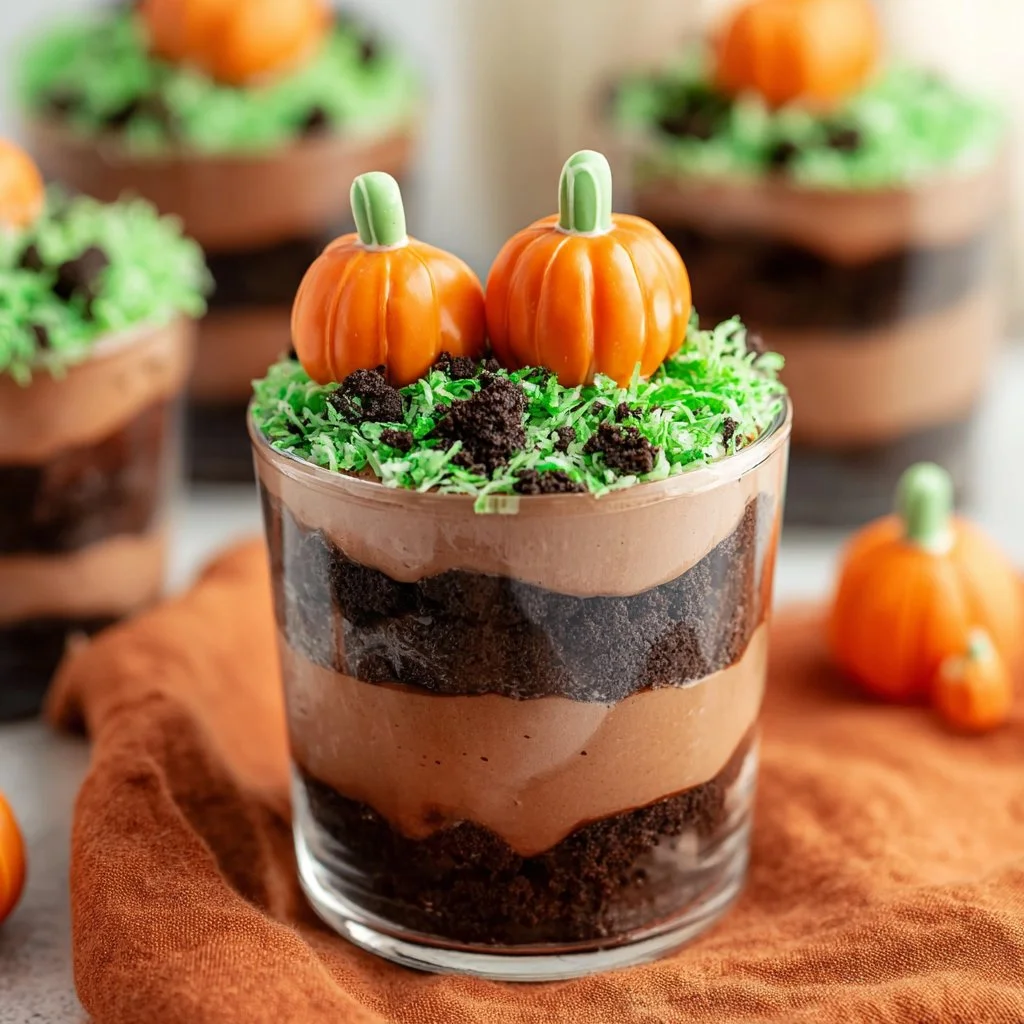
When you are ready to serve, remove your cups from the refrigerator. Sprinkle the colored shredded coconut on top of each cup to mimic the grass of a pumpkin patch. Finally, place a few candy pumpkins on top for that festive finishing touch.
Common Mistakes to Avoid
While making Pumpkin Patch Dirt Cups seems simple, a few mistakes can lead to a less-than-perfect dessert. Here are some pitfalls to watch out for:
Not Allowing the Pudding to Set
One common mistake is rushing the pudding setting process. It’s crucial to give it the full five minutes to thicken before adding the Cool Whip. If you skip this step, your pudding may not hold its shape in the cups.
Overmixing the Cool Whip
When folding in the Cool Whip, be gentle! If you overmix, the whipped cream can deflate, and you’ll lose that light, airy texture that makes the dessert so delightful.
Forgetting to Refrigerate
These cups taste best when they are nicely chilled. Make sure to refrigerate them for at least an hour. This also allows the layers to meld beautifully.
Skipping the Grass
It’s tempting to leave out the colored coconut, especially if you’re pressed for time, but don’t! It adds a playful element that makes these cups appeal to kids and adults alike. Plus, it enhances the overall theme of a pumpkin patch.
Easy Variations for Pumpkin Patch Dirt Cups
If you want to switch things up or simply cater to different tastes, consider these easy variations:
Pumpkin Spice Addition
For a more autumnal flavor, add 1-2 teaspoons of pumpkin spice (a mix of cinnamon, nutmeg, and cloves) to your pudding mixture. This will instantly give your dessert that fall flavor boost!
Nutty Crunch Layer
Add a crunchy layer by mixing in some crushed nuts (like walnuts or pecans) with the Oreos. This variation can add a delightful texture contrast and a touch of healthiness.
Fruit Layers
You could also consider adding layers of fruit such as mashed bananas or raspberries in between the pudding layers for a fruity twist. They add a nice tartness that complements the sweetness of the pudding.
Chocolate Ganache Drizzle
For a more decadent dessert, you could drizzle some chocolate ganache over the cups just before serving. It’s a quick way to make the cups feel extra special!
Serving Suggestions for Pumpkin Patch Dirt Cups
These Pumpkin Patch Dirt Cups are delightful on their own, but here are some serving suggestions to make them even more special:
Family Gatherings
These cups are perfect for family gatherings or potlucks. They are fun to eat, and guests will love the individual servings. Plus, they are an excellent choice for a fall-themed dessert table.
Parties
If you’re throwing a Halloween party or fall festival, these cups can add charm to your dessert table. Consider labeling each cup with cute names or player cards that highlight the “pumpkin patch” theme.
Classroom Treats
They also make a great treat for classroom parties. They can easily be prepared in advance and brought in for the kids to enjoy. Just make sure to consider any allergies in the classroom.
Outdoor Picnics
These cups can be a delightful addition to any outdoor picnic or family gathering. Wrap them carefully and pack them alongside some fresh apples or pumpkin muffins for a true fall feast.
Conclusion
Creating pumpkin patch dirt cups is easier than it looks! With simple ingredients and straightforward steps, you have an opportunity to make a delightful treat that brings a sense of coziness into your home. Not only can you customize it to fit your family’s preferences, but it’s also a classic recipe that works perfectly for both kids and adults—a true crowd-pleaser. So why wait? Gather your ingredients and whip up these charming cups for your next family event!
Call-to-Action
If you enjoyed making these Pumpkin Patch Dirt Cups, feel free to share your creations with friends and family. Don’t forget to drop a comment below about how yours turned out or any variations you tried!
FAQs About Pumpkin Patch Dirt Cups
1. How long can I store Pumpkin Patch Dirt Cups?
You can store them in the refrigerator for up to 3 days. Just make sure they are covered to keep them fresh.
2. Can I freeze Pumpkin Patch Dirt Cups?
While freezing is possible, it’s not recommended. The texture of the Cool Whip may change after freezing, making it less appealing.
3. Can I make Pumpkin Patch Dirt Cups ahead of time?
Yes, you can make them a day in advance. Just make sure to keep them refrigerated until you are ready to serve.
4. Are Pumpkin Patch Dirt Cups gluten-free?
If you want to make them gluten-free, make sure to use gluten-free cookies and pudding mix.
5. Can I make a larger batch of Pumpkin Patch Dirt Cups?
Absolutely! You can multiply the ingredients to serve more people. Just make sure you have enough cups to accommodate your crowd.