Last updated on June 8, 2025
Ever tried searching for a ninja creami recipe that doesn’t come out weirdly icy or just… bleh? Ugh, I’ve been there. You buy the magic machine, rave about it to your neighbor, then end up Googling “how not to mess up my first pint.” The truth is, homemade ice cream can definitely be a hit-or-miss situation. Mine started out—let’s be honest—almost tragic. Don’t worry. If your first batch tasted like weird snow, I’ve got you. Here’s the ninja creami recipe you actually want, with my hard-earned secrets.
Table of Contents
Why I love this recipe
Okay, quick story. My brother likes to joke I’d eat ice cream in a blizzard. Not far off the mark. I’ve tried so many desserts but my Ninja Creami is now my favorite gadget (seriously, everyone in my house calls it The Pint Wizard). This recipe? It’s legitimately foolproof. You’ll get classic, creamy ice cream every time—like a five-star restaurant, but you don’t have to wear shoes. Also, you can toss in whatever you like: peanut butter, squished up cookies, fruit from the back of your freezer (don’t judge). It’s much easier than people make it out to be, and a hundred times tastier than store-bought.
Print
The perfect ninja creami recipe
- Total Time: 24 hours 5 minutes (includes freezing time)
- Yield: 4 servings 1x
- Diet: Vegetarian
Description
A simple and creamy homemade ice cream recipe using the Ninja Creami machine, made with basic ingredients like whole milk, heavy cream, sugar, and vanilla extract.
Ingredients
- 1 cup whole milk
- 1/2 cup heavy cream
- 1/3 cup granulated sugar
- 1 teaspoon vanilla extract (or vanilla bean paste)
- Optional: fresh strawberries, chocolate syrup, peanut butter, or other mix-ins
Instructions
- In a mixing bowl or blender, combine the whole milk, heavy cream, sugar, and vanilla extract. Mix until well combined and the sugar is dissolved.
- Pour the mixture into a Ninja Creami pint container, making sure not to exceed the max fill line.
- Place the lid on the container and freeze it on a level surface for 24 hours.
- After freezing, remove the container from the freezer and insert it into the Ninja Creami machine.
- Choose the ‘Ice Cream’ function and let it spin.
- If the texture is too crumbly, use the ‘Re-spin’ function until smooth and creamy.
- Add any desired mix-ins (like chopped fruit or chocolate chips) and use the ‘Mix-in’ function to incorporate them.
- Serve immediately or refreeze for later enjoyment.
Notes
- Ensure the mixture is fully blended and smooth before freezing.
- Always freeze the base for a full 24 hours before spinning.
- Re-spinning can help improve creaminess if the first spin is crumbly.
- Customize the flavor with your favorite mix-ins or extracts.
- Prep Time: 5 minutes
- Cook Time: 0 minutes
- Category: Dessert
- Method: No-cook, Frozen
- Cuisine: American
Nutrition
- Serving Size: 1/2 cup
- Calories: 210
- Sugar: 18g
- Sodium: 30mg
- Fat: 14g
- Saturated Fat: 9g
- Unsaturated Fat: 4g
- Trans Fat: 0g
- Carbohydrates: 19g
- Fiber: 0g
- Protein: 2g
- Cholesterol: 45mg
Keywords: Ninja Creami, homemade ice cream, vanilla ice cream, no-cook ice cream, easy dessert
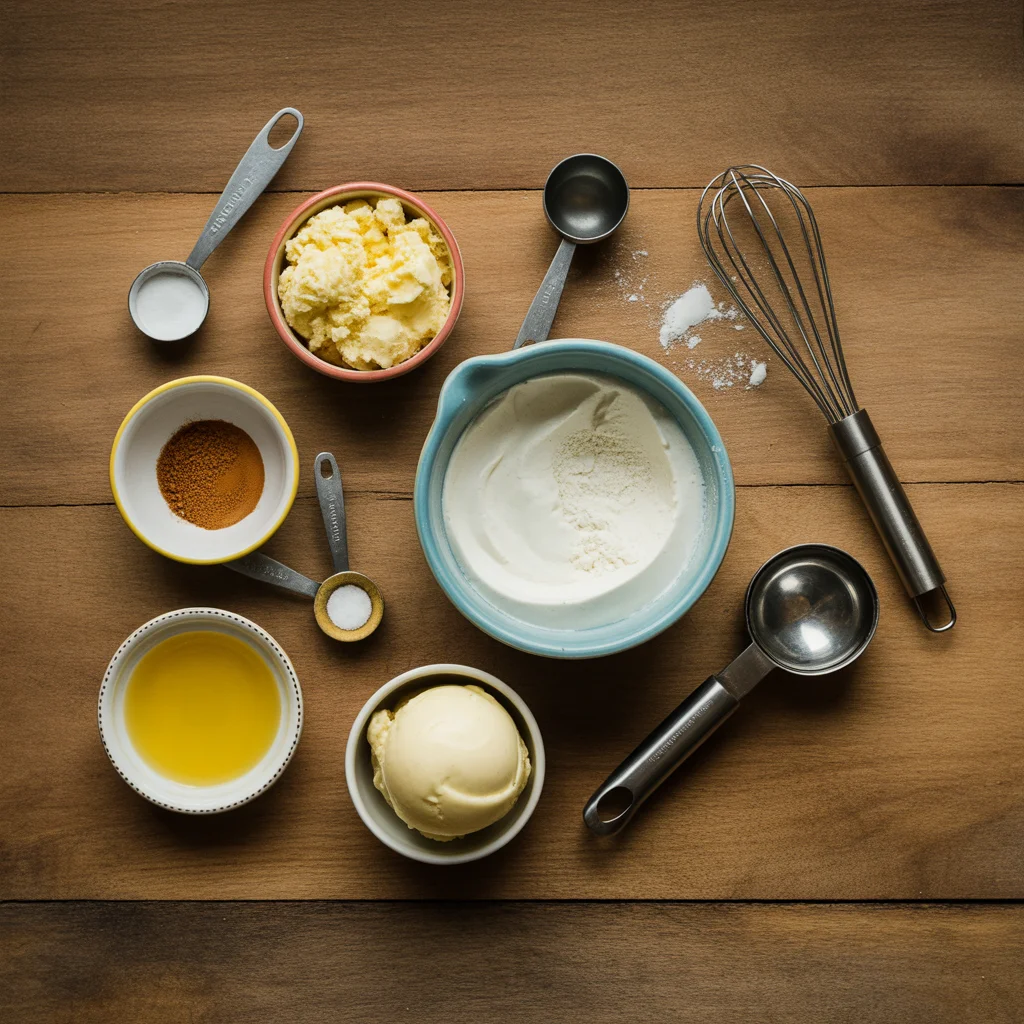
Ingredients needed
Nothing wild here—keep it simple, truly. Here’s the basic crew:
- Whole milk (trust me, tastes richer than skim)
- Heavy cream (don’t skip this, unless you like sad sorbet)
- Your favorite sugar (plain, nothing crazy)
- Vanilla extract (or even vanilla bean if you want to feel bougie)
That’s it for the base. Want flavors? Add strawberries, chocolate, or whatever. The great thing is you usually have all or most of these already.
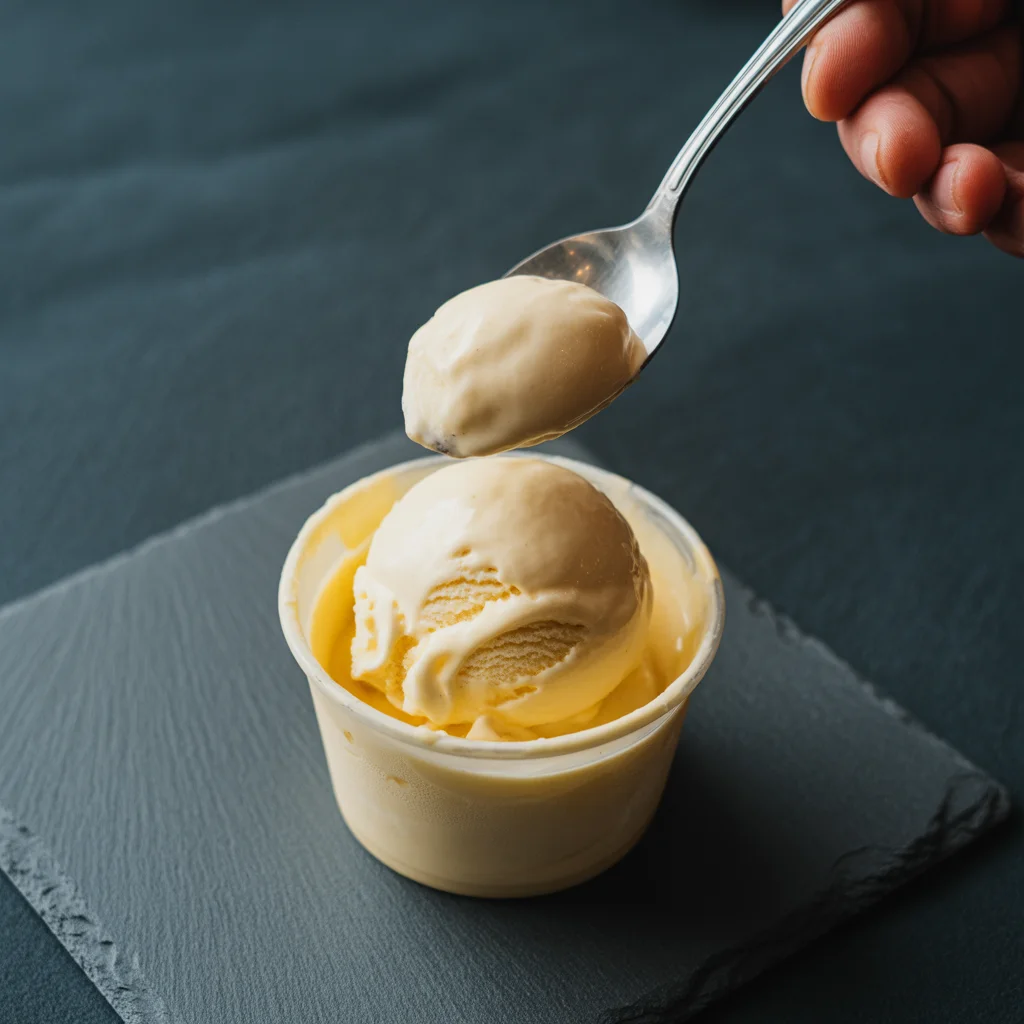
How to make ice cream in a Ninja Creami
Alright, let me break it down. This is not some secret pastry chef stuff. Dump your milk, cream, sugar, and vanilla in a bowl. Whisk it like you mean it—get that sugar to disappear. Pour into the pint container, slap the lid on, and freeze it flat. Here’s the catch: six hours minimum in the freezer. Overnight is even better. When you’re ready, pop the pint in the machine and let Ninja do its cranking and magic.
The texture? Genuinely wow. If it looks crumbly after the first spin, add a splash of milk and re-spin. (Been there. Totally normal.) Don’t stress perfection—ice cream is forgiving if you chill.
This recipe nailed it—first try! I was skeptical, but now my friends think I’m hiding a secret life as a dessert chef. — Jamie L.
Expert Tips
Let me just say, I learned most of this the hard way. Freeze your pint container absolutely level. If it’s crooked, you end up with lopsided ice cream (not tragic, just weird). Patience is key. Seriously, don’t try to cheat with the freezing time. Also, fresh ingredients taste brighter. I once swapped cheap vanilla for good stuff and, honest, my friend actually noticed. And—this is goofy but true—run your spoon under hot water before serving so the scoops look pretty (if you go for that Insta-worthy stuff).
Our Best Ninja Creami recipe Tips
Here’s the stuff I wish everyone knew:
- Always freeze the base fully or it won’t spin right—no shortcuts, sorry!
- If you’re adding cookies or candy, mix them in after the first spin so they stay chunky and fun.
- Wash your machine parts right away to avoid sticky disasters.
- Trying to make it dairy-free? Sub coconut milk for cream—surprisingly good.
Variations / Substitutions
You want options? Oh, I have options. Swap in almond milk and coconut cream for a lighter base—actually works for folks avoiding dairy. If you love chocolate, toss in some cocoa powder and bump the sugar a tiny bit. Want fruit swirls? Blend the fruit first, or fold it in after spinning for juicy pockets. For my peanut butter obsessed cousin, I just swirl in a spoonful before the final spin. The whole point is, the Ninja Creami recipe can totally flex with what you got on hand, or what you forgot to buy (been there, again).
Storage instructions for ninja creami recipe
Here’s real talk. Homemade ice cream gets a little hard in the freezer after a few days. If you don’t eat the whole thing in one sitting (which, wow, self-control), cover it tightly with plastic wrap or pop the lid on. When you grab leftovers, let it sit at room temp for ten minutes—makes scooping possible. Or, my admittedly lazy hack, just shove it back in the machine for a fresh spin. If you’re batch making, label your pints so your family doesn’t “accidentally” steal yours.
So, Should You Try This At Home?
Honestly—yes! Using the Ninja Creami is way easier and more fun than people think. Plus, homemade ice cream always wins on taste. If you need more proof, just snoop around food forums or click through this awesome guide from Ninja about their Creami machine. There’s just something magical about spinning up your own flavors at home, minus any weird preservatives. Grab your ingredients, embrace a little kitchen mess, and enjoy.
Frequently asked questions
How do I keep my Ninja Creami ice cream from being too icy?
Don’t skip the cream—seriously. And watch how much liquid you add during mix-ins. Oh, and freeze the base completely flat!
Can I make a low-sugar version?
Yep. You can swap sugar for monk fruit sweetener or stevia. Just know the texture might change a bit.
Why is my ice cream crumbly?
Not fully frozen, probably. Or the ratio of cream to milk was off. Just add a splash of milk and re-spin.
Is the Ninja Creami noisy?
Ha, yes, a bit. I make mine while watching TV and just turn up the volume.
Can I add chunky mix-ins like cookies or fruit?
Definitely. Just drop them in after the first spin then use the mix-in function for the perfect texture.
More Ice Cream recipes to use Ninja Creamy Machine with
Now you know the ropes, the possibilities are—well, massive. Try cookie dough chunks blended into vanilla. Or fresh mango for a tropical twist. You could even do coffee ice cream with cold brew concentrate if you want to get wild. Need extra inspiration? Reddit has some wacky combos, plus Ninja’s website lists new ideas every month. Your kitchen, your rules.
Looking for more delicious recipes? Check out other Ninja Creami recipes for ideas, and Follow us on Pinterest and Facebook!