Last updated on February 12, 2026
After a long day of work, carpooling, and after-school chaos, I know the last thing you want is a complicated dessert to make the evening longer. When picky eaters are circling the pantry and time is tight, this Valentine’s Day Muddy Buddies recipe is exactly the kind of fast, forgiving treat I turn to. It’s a two-color, kid-approved snack that’s quick to make, easy to customize, and cleanup is minimal. If you like simple party treats that feel special without stress, you’ll love how this fits into real family schedules — and if you want more quick holiday treats, I sometimes pair ideas from helpful roundups like these gluten-free baking recipes for the holidays when someone needs an allergy-friendly twist.
A Quick Look at This Valentine’s Day Muddy Buddies Recipe
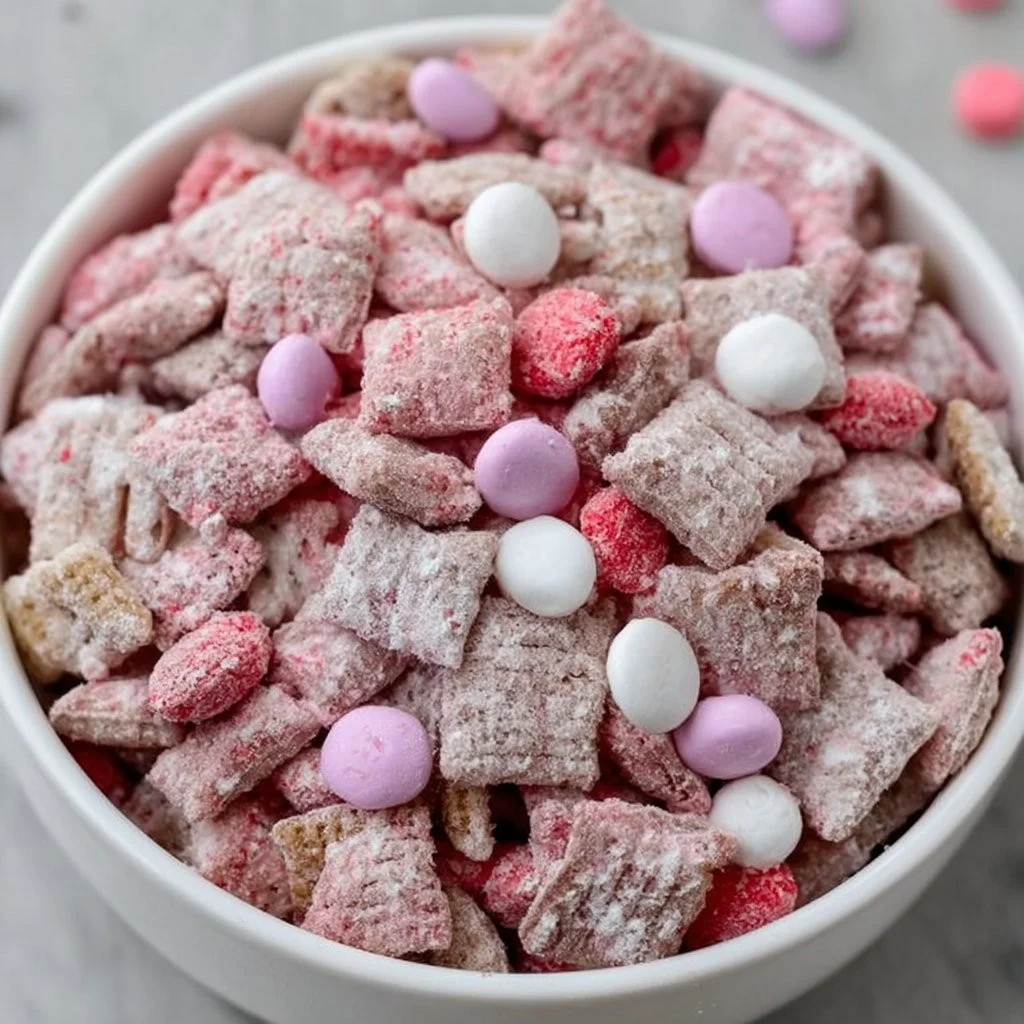
This Valentine’s Day Muddy Buddies recipe uses classic Chex cereal and colorful candy melts — both big hits with kids and grown-ups. The coating is fast: melt, mix, shake with powdered sugar, and you’re almost done. It’s ideal for busy nights because it takes about 20–30 minutes active time and minimal dishes (one bowl per color plus a baking sheet). It’s make-ahead friendly and stores well for school snacks or a last-minute classroom party. Try it when you need a reliable, festive treat that still feels homemade.
Ingredients You’ll Need for Valentine’s Day Muddy Buddies
I keep the ingredient list short and sweet so you can shop quickly or glance through the pantry and get started. Below I break the essentials, some optional add-ons for extra fun, and substitutions or shortcuts for busy nights.
Essentials
- 7 cups Chex cereal (divided into two bowls of about 3.5 cups each) — classic rice or corn Chex both work well
- 1 cup powdered sugar (divided into two 1/2-cup portions) — for that signature dusty coating
- 1 cup pink candy melts — for a soft pink coating that kids love
- 1 cup red candy melts — for a bold Valentine’s color contrast
- 2 teaspoons vegetable oil — helps candy melts coat smoothly and stay glossy
- 1 cup Valentine’s M&M’s — adds chocolatey bites and color contrast
- 2–4 tablespoons Valentine’s Day sprinkles — for texture and festive appearance
- Wax paper or parchment — to cool and set the batches
- 2 sturdy zip-top bags or reusable silicone bags — for shaking with powdered sugar
- Microwave-safe bowls and a spatula — simple kitchen tools you already have
Optional Add-ons
- Mini marshmallows — toss a handful in for a chewy contrast
- Chopped nuts (if no allergies) — add crunch for adult palates
- Valentine-themed cereal pieces (like fruity shapes) — more color and fun for kids
- Cocoa powder or instant hot chocolate mix — swirl in a teaspoon to add a hint of cocoa to some batches
- A few drops of vanilla extract added to melted candy (add sparingly) — deepens flavor slightly
Substitutions and Shortcuts
If you’re short on time or ingredients, I’ve got a few swaps that save steps without changing the spirit of the recipe:
- Use store-bought white chocolate chips instead of candy melts — microwave carefully and stir; add a few drops of vegetable oil to thin.
- Swap Chex for rice puffs or gluten-free crunchy cereal if you need a gluten-free option. For more ideas on quick gluten-free meals and swaps, I often reference roundups like these quick gluten-free lunch recipes for busy weekdays when planning shortcuts.
- If you don’t have labeled Valentine’s M&M’s, regular M&M’s or any small chocolate candies work fine.
- Powdered sugar can be replaced by a light dusting of powdered sugar-cocoa mix if you want a slightly chocolatey coating (use less if kids prefer sweeter).
- Skip measuring precisely: recipes like this are forgiving — if one bowl has a little more cereal or one color uses a touch less candy melt, the snack still turns out great.
How to Make Valentine’s Day Muddy Buddies Step-by-Step
I keep my instructions short and practical so you can prep quickly and get the kids involved without a fuss. These steps highlight small time-savers and ways to cut cleanup.
Prep your workspace and tools. Line a baking sheet with wax paper or parchment and set two microwave-safe bowls, a spatula, and two zip-top bags nearby. This avoids back-and-forth and keeps things tidy.
Divide the cereal. Pour the 7 cups of Chex into two bowls, about 3.5 cups each. This split makes two color batches and keeps mixing simple.
Melt the pink candy melts. Put 1 cup pink candy melts and 1 teaspoon vegetable oil in a microwave-safe bowl. Microwave in 30-second increments, stirring between, until smooth. If the melts start to seize or thicken, microwave 10–15 seconds more and stir; a small extra splash of oil helps if needed. I prefer short bursts to avoid burning.
Coat the first bowl. Pour the melted pink candy over the first bowl of Chex. Gently fold with a spatula until most pieces are evenly coated. Don’t worry about perfection — a little white peek-through looks charming.
Shake with powdered sugar. Transfer the coated cereal into a zip-top bag, add 1/2 cup powdered sugar, seal, and shake until coated. Work in batches if your bag gets too full; overcrowding makes uneven coating and extra mess.
Spread to cool. Pour the pink batch onto the prepared baking sheet in an even layer so pieces don’t clump together. Set aside while you repeat with the red batch.
Repeat for red. Melt the red candy melts with 1 teaspoon oil the same way, pour over the remaining Chex, fold to coat, then transfer to another zip-top bag with the other 1/2 cup powdered sugar. Shake to coat and spread onto the same baking sheet. Using a second bag keeps colors separate until you want to mix.
Let them set. Allow both colored batches to set on the baking sheet for about 30 minutes at room temperature. This helps the candy firm up so pieces don’t stick when combined. If you’re in a hurry, pop the sheet in the fridge for 15–20 minutes, but be aware the candy can sweat if pulled out too quickly.
Finish and toss. After the candy has set, combine both colored Chex batches in a large bowl or directly on the baking sheet. Add the Valentine’s M&M’s and sprinkles and gently toss to distribute. If you want smaller clusters, break up any big clumps with your hands or a clean spatula.
Store or serve. Serve right away or let cool completely and store in an airtight container for up to a week. If sending into school lunches, portion into small bags for easy grab-and-go treats.
Time-savers and no-fuss notes:
- Use one baking sheet for both colors; just set the first batch to the side while you make the second. Fewer trays equals less cleanup.
- Microwave in short bursts and always stir — it’s faster overall than fussing with a double boiler.
- Reusable silicone bags cut waste and withstand shaking better than thin plastic bags.
- Forgiveness is built-in: uneven coating or a few uncoated pieces won’t upset kids and keeps you moving.
Common Mistakes to Avoid
A quick note: this recipe is meant to be simple and forgiving, so avoid overcomplicating it. The most common errors slow you down or make cleanup harder — and I want you to feel efficient and confident at the end of the prep.
Mistake 1: Overfilling the shake bag
If you cram all the coated cereal into one bag, it won’t shake evenly and you’ll get big clumps and uneven sugar coating. Work in smaller batches so each piece gets a light dusting and you don’t have to pry apart sticky clumps later.
Mistake 2: Overheating the candy melts
Candy melts can seize or burn if microwaved too long. Short 20–30 second bursts with stirring are key. If they thicken, add a tiny bit of oil and a 10–15 second burst to bring them back to a smooth consistency — this saves time versus starting over.
Mistake 3: Mixing warm pieces too soon
If you mix the M&M’s and sprinkles in while the candy is still warm, colors can bleed and candies may melt. Let each color set until slightly firm (about 30 minutes) before combining so everything keeps its bright look and the texture stays crisp.
Serving Suggestions for Valentine’s Day Muddy Buddies
This snack is flexible — I like easy serving setups that require little hands-on time but make the treat feel special. Below are three quick serving ideas that are kid-friendly and low prep.
Kid-friendly snack cups
Portion into small paper cups or snack-sized reusable containers. Kids can grab a cup for a classroom party, after-school snack, or to pair with fruit and milk for a quick pick-me-up.
Mix-and-match snack station
Set up a small station with bowls of the Muddy Buddies, extra M&M’s, marshmallows, and pretzels. Let kids assemble their own snack mixes. It’s a fun activity with practically zero cooking and minimal adult time involved.
Gift-ready treat bags
If you need a quick Valentine to send to classmates or neighbors, scoop portions into clear cellophane bags and tie with ribbon. Use pre-labeled sweets or stickers for the finish. These hold up well for transportation and look festive without extra baking.
Conclusion
I make this Valentine’s Day Muddy Buddies recipe when I want a speedy, festive treat that feels homemade but doesn’t add stress to our evening routine. It saves time, handles picky eaters (kids love the colors), and stores well so you can prepare it ahead for snacks or parties. If you want a similar recipe with step-by-step photos or another take on puppy chow, I recommend checking this helpful post: Valentine’s Day Muddy Buddies /Puppy Chow – Lifestyle of a Foodie. Try it once and I think you’ll reach for it whenever you need a quick, cheerful family treat — and feel free to make it your own.
FAQs About Valentine’s Day Muddy Buddies
Q1: How long do Valentine’s Day Muddy Buddies stay fresh?
A1: I store Valentine’s Day Muddy Buddies in an airtight container at room temperature for up to a week. If your home is warm or humid, I’ll keep them in the fridge for up to 10 days, but I let portions come to room temperature before serving so the candy coating isn’t too firm.
Q2: Can I make Valentine’s Day Muddy Buddies ahead of time for a party?
A2: Yes — I often make them a day or two ahead. Keep them in a sealed container and add sprinkles or M&M’s right before serving if you want them to look extra fresh. If you plan more than 2–3 days ahead, store in a cool place to avoid color fading or candy sweating.
Q3: Are Valentine’s Day Muddy Buddies kid-safe for school parties?
A3: They’re great for school parties when there aren’t nut allergies involved. If you’re sending them to school, check with the teacher about allergen rules. I usually use nut-free candy and label each bag clearly with ingredients when needed.
Q4: How can I make Valentine’s Day Muddy Buddies less messy for little hands?
A4: Portion into small paper cups or reusable snack containers so kids get a tidy serving. You can also press pieces lightly into clusters (small clumps) which are easier to hold than loose individual pieces.
Q5: Can I customize Valentine’s Day Muddy Buddies for food allergies?
A5: Absolutely. Swap regular Chex for a certified gluten-free cereal if needed, and choose allergen-free candies. Using white chocolate chips instead of M&M’s will help avoid peanut environments, and you can always skip nuts or use seeds if safe.
I hope this helps you feel confident making a fast, family-approved Valentine’s treat — it’s one of my favorite no-stress recipes when life gets busy.
Print
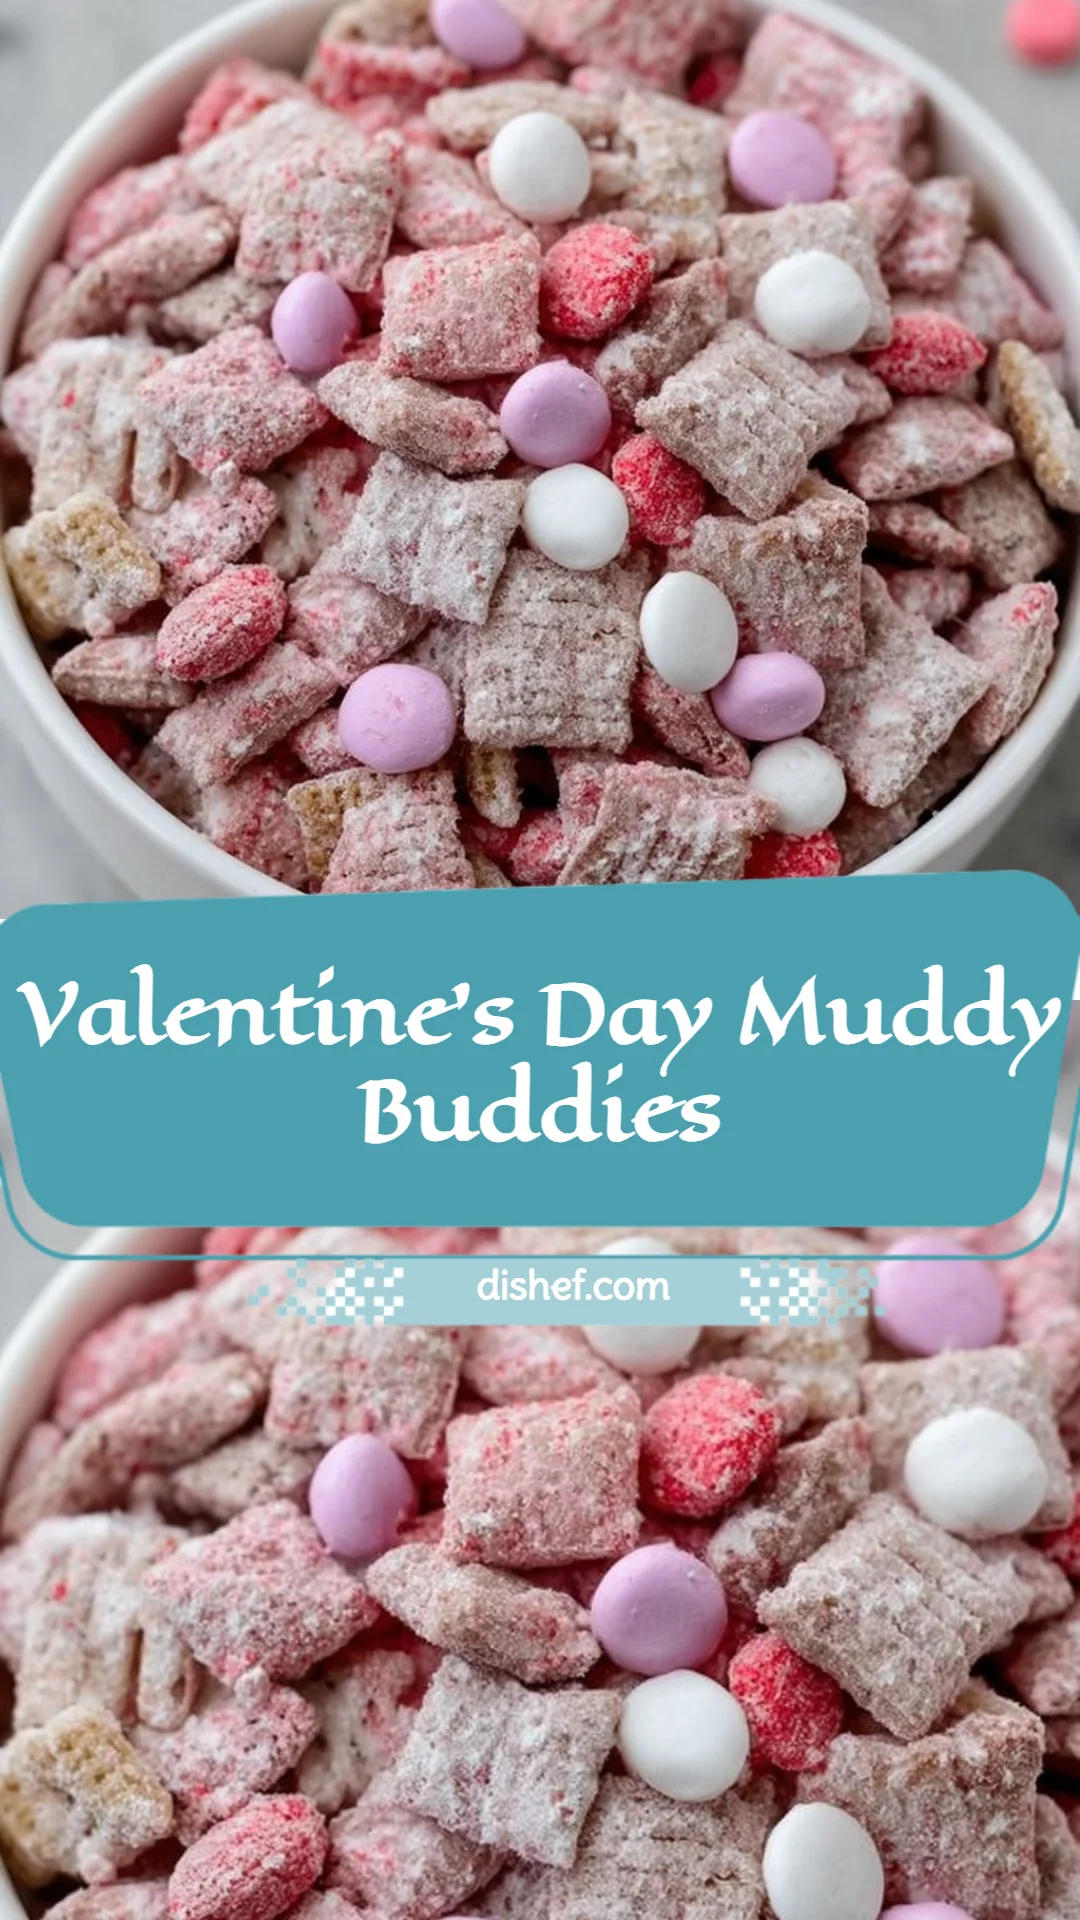
Valentine’s Day Muddy Buddies
- Total Time: 30 minutes
- Yield: 10 servings 1x
- Diet: Vegetarian
Description
A quick and easy dessert that’s kid-approved, perfect for busy families on Valentine’s Day.
Ingredients
- 7 cups Chex cereal
- 1 cup powdered sugar
- 1 cup pink candy melts
- 1 cup red candy melts
- 2 teaspoons vegetable oil
- 1 cup Valentine’s M&M’s
- 2–4 tablespoons Valentine’s Day sprinkles
- Wax paper or parchment
- 2 sturdy zip-top bags or reusable silicone bags
- Microwave-safe bowls
- A spatula
Instructions
- Prep your workspace and tools by lining a baking sheet with wax paper or parchment.
- Pour 7 cups of Chex into two bowls, about 3.5 cups each.
- Melt 1 cup of pink candy melts with 1 teaspoon of vegetable oil in a microwave-safe bowl.
- Coat the first bowl of Chex with the melted pink candy, folding gently with a spatula.
- Shake the coated cereal in a zip-top bag with 1/2 cup powdered sugar until coated.
- Spread the pink batch onto the prepared baking sheet to cool.
- Repeat steps 3-6 for the red candy melts and remaining Chex.
- Allow both colored batches to set for about 30 minutes.
- Combine the two colored batches in a large bowl, adding Valentine’s M&M’s and sprinkles.
- Store in an airtight container or serve immediately.
Notes
Use one baking sheet for both colors to reduce cleanup. Microwave chocolate in short bursts to avoid burning.
- Prep Time: 20 minutes
- Cook Time: 10 minutes
- Category: Dessert
- Method: Mixing
- Cuisine: American
Nutrition
- Serving Size: 1 serving
- Calories: 250
- Sugar: 15g
- Sodium: 50mg
- Fat: 8g
- Saturated Fat: 4g
- Unsaturated Fat: 4g
- Trans Fat: 0g
- Carbohydrates: 40g
- Fiber: 1g
- Protein: 2g
- Cholesterol: 0mg
Keywords: Muddy Buddies, Valentine’s Day, quick treats, kid-friendly snacks