Last updated on February 19, 2026
A Cozy Start
There’s something about the smell of baking bread that takes me right back to a rainy afternoon when I was a kid—flour on my nose, a small hand pressing into a warm loaf, and everyone arguing over the first slice. If you’re wondering whether making bread at home is too hard for a beginner, I get it; I used to think the same. The good news is this 2-Ingredient No-Knead Artisan Bread is built for people who want wholesome, homemade bread without the fuss. I promise it’s low-stress, forgiving, and a great place to build confidence—plus, if you love experimenting with baked goods, you might enjoy my twist on breakfast treats like these banana bread cinnamon rolls for a cozy weekend bake.
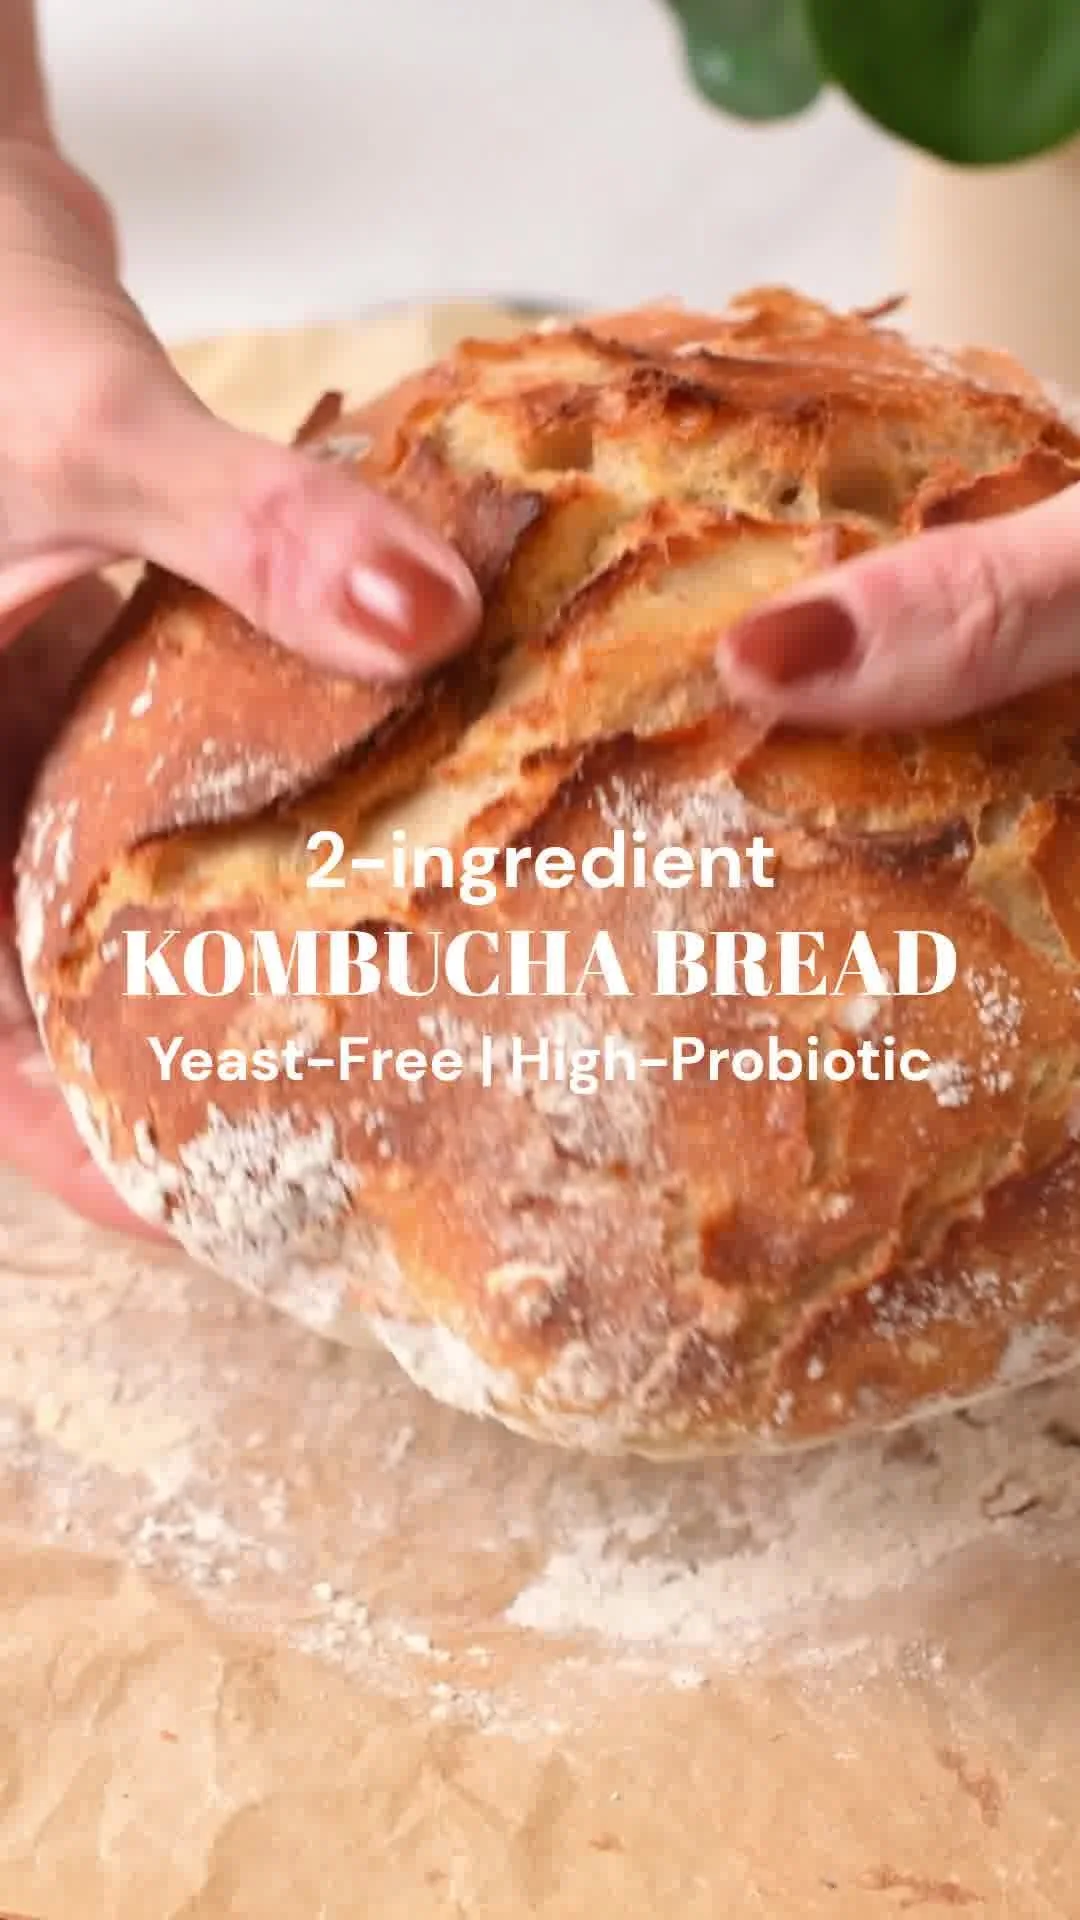
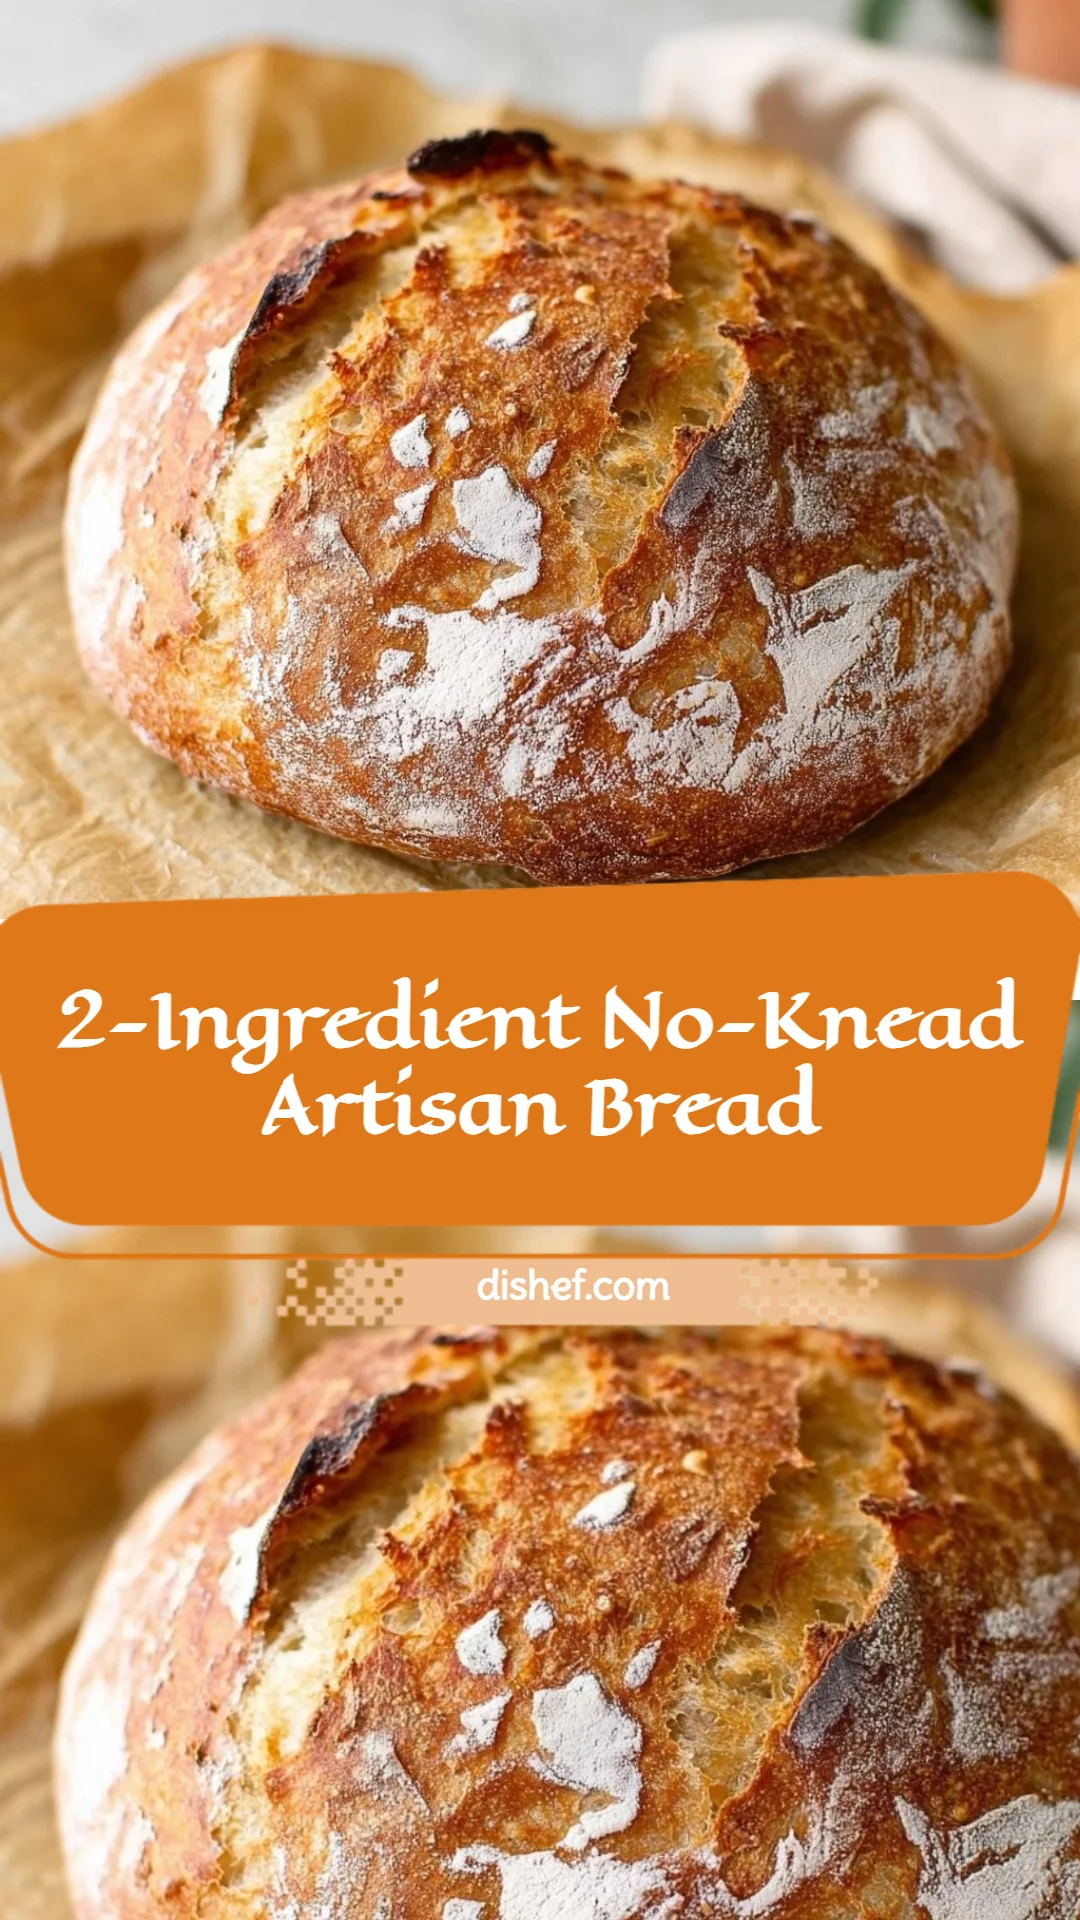
A Quick Look at This 2-Ingredient No-Knead Artisan Bread Recipe
This 2-Ingredient No-Knead Artisan Bread is a naturally wholesome loaf that fits well into a health-conscious kitchen. Using bread flour (or a mix with whole wheat) gives you a boost of protein and B vitamins from the enriched flour, while whole wheat adds fiber and minerals like iron and magnesium. The recipe is low in added sugars and relies on simple, whole ingredients—flour, water, salt, and yeast—making it easy to include in balanced meals. It’s a lighter comfort option that pairs well with protein-rich toppings, soups, and fresh salads, making it a practical choice for meal prep and everyday eating.
Ingredients You’ll Need for 2-Ingredient No-Knead Artisan Bread
Here I expand the simple ingredient list so you can choose the best options for your health goals and pantry.
Essentials
- 500 g bread flour (or a mix of bread flour and whole wheat)
- Bread flour provides good gluten structure and protein, which helps the bread rise and gives a chewy, satisfying crumb.
- If you choose a mix, a 70:30 ratio of bread flour to whole wheat is forgiving and adds fiber without making the loaf too dense.
- 10 g fine sea salt
- Salt enhances flavor and helps control yeast activity for a steady rise. Use fine sea salt for even distribution.
- 750 g lukewarm water
- Warm but not hot water (around 100–110°F / 38–43°C) helps activate yeast quickly; lukewarm water keeps the dough comfortable for that long, slow rest.
- 5 g instant yeast (or active dry yeast)
- Instant yeast can be mixed directly with the flour; if you use active dry yeast, you can proof it in a small portion of the lukewarm water first (see Substitutions and shortcuts).
Optional add-ons
These extras can increase flavor, nutrients, or texture—add any one or combine a few to suit your diet:
- Seeds: 2–3 tablespoons of chia, flax, pumpkin, or sunflower seeds for heart-healthy fats and extra fiber.
- Nuts: Finely chopped walnuts or almonds (1/4 cup) for added protein and crunch.
- Grains: 2–4 tablespoons of rolled oats or cracked wheat folded in for texture and fiber.
- Herbs: Fresh rosemary or thyme (1–2 tablespoons chopped) for aroma and subtle nutrients.
- Olive oil (1–2 tablespoons) brushed on the crust after baking for flavor and healthy monounsaturated fats.
Substitutions and shortcuts
- Whole wheat swap: Replace up to 50% of the bread flour with whole wheat flour. For best results, use 30–40% whole wheat on your first try to avoid a heavy crumb.
- Gluten-free option: This recipe relies on gluten structure; for gluten-free, choose a tested gluten-free no-knead recipe with appropriate binders (xanthan gum or psyllium husk) rather than substituting directly.
- Yeast shortcut: If you only have active dry yeast, dissolve 5 g in about 50 g of the lukewarm water with a pinch of sugar and let it sit for 5–10 minutes until foamy, then add to the rest of the water and flour.
- Shorter rest: The long 12–18 hour rest develops flavor. If you’re short on time, you can let the dough rest for 6–8 hours at a slightly warmer room temperature, but flavor and crust may be less complex.
- No Dutch oven: If you don’t have a Dutch oven, use a heavy oven-safe pot with a tight-fitting lid or bake on a preheated baking stone and create steam in the oven (place a metal pan with hot water on the bottom rack).
How to Make 2-Ingredient No-Knead Artisan Bread Step-by-Step
I like to keep this process calm and forgiving—no hour-long kneading sessions, just gentle hands and a little patience. The goal is a good crumb, a crunchy crust, and a loaf that stores and slices well. Below I walk you through each step with simple technique tips and notes on preserving nutrients and texture.
Measure and combine ingredients
- Use an accurate kitchen scale for the best results—bread baking responds to weight more predictably than volume. Add 500 g flour and 10 g salt to a large mixing bowl, then sprinkle 5 g instant yeast over the flour.
- Pour 750 g lukewarm water over the dry mix. Stir with a spatula, wooden spoon, or your hand until a shaggy, sticky dough forms. There should be no dry pockets of flour; some water may sit on top briefly, but it will be absorbed as you mix.
- Nutrient note: Using whole wheat flour increases fiber and micronutrient content. Avoid overmixing to keep enzymes and nutrients intact—gentle handling preserves the dough’s structure.
Cover and rest at room temperature for 12–18 hours
- Cover the bowl with a lid, plate, or plastic wrap and let it rest on your countertop. A long, slow fermentation develops flavor and keeps the crumb airy. I usually aim for 14–16 hours; overnight works well.
- If your kitchen is warmer than 75°F (24°C), shorten the rest slightly to avoid over-proofing.
- Health tip: Slow fermentation helps break down some of the complex carbohydrates, making the bread easier to digest for many people—one more reason I appreciate no-knead recipes.
Preheat the oven and Dutch oven
- When the dough has risen and looks bubbly on top, place a heavy Dutch oven (with lid) in the oven and preheat to 450°F (230°C). Preheating the pot ensures a rapid oven spring and a crisp crust.
- If you’re using a different heavy pot, make sure it’s ovenproof to the temperature and has a lid that fits snugly.
Shape the dough gently
- Turn the dough out onto a lightly floured surface. I don’t punch it down; I use a bench scraper to fold the edges gently toward the center a couple of times to create surface tension.
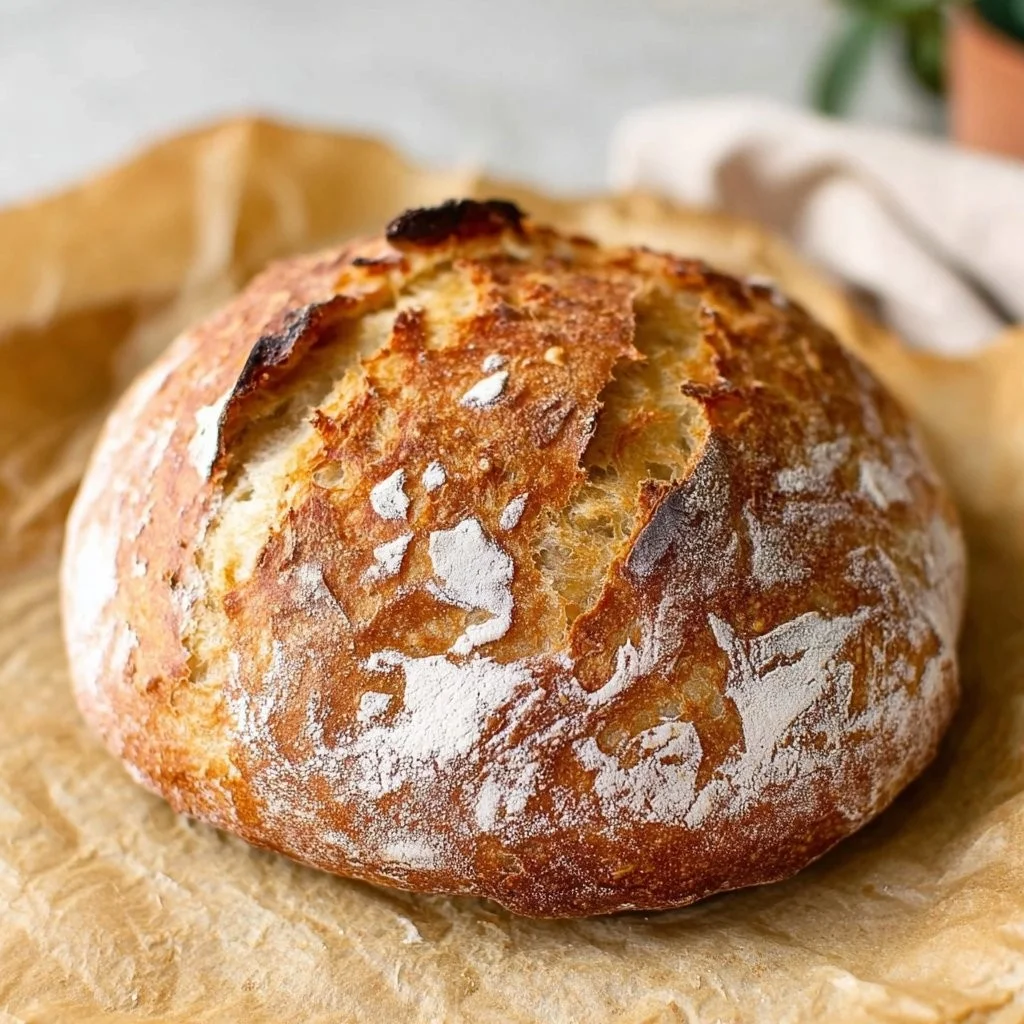
- Shape into a round or oblong loaf and place it seam-side down on a sheet of parchment paper. If you like, score the top with a sharp blade or kitchen scissors to control how the bread expands.
- Technique note: Minimal handling preserves gas pockets in the dough, contributing to an open, airy crumb. A light dusting of flour prevents sticking without drying the surface.
Transfer to the hot Dutch oven and bake
- Carefully lift the parchment with the dough and lower it into the preheated Dutch oven. Cover and bake for 30 minutes. The sealed environment traps steam, which is crucial for a shiny, blistered crust.
- After 30 minutes, remove the lid and bake for an additional 12–20 minutes until the crust is deeply golden and feels sturdy when tapped.
- Nutrient preservation: High-heat baking doesn’t significantly reduce the nutritional value of bread ingredients like vitamins and minerals, but avoid burning the crust to preserve flavor and avoid bitter compounds.
Cool on a rack for 1–2 hours before slicing
- I know it’s tempting to slice right away, but cooling allows the interior to finish setting and keeps the crumb from becoming gummy. I usually wait at least an hour; two hours is ideal.
- Storage: Store at room temperature in a linen bag or loaf saver for 2–3 days, or slice and freeze portions for longer storage.
Practical tips I use every time
- Timing: Start the dough in the evening if you want fresh bread the next morning. The long rest works well overnight and frees you from watching the clock.
- Crust control: If you like an ultra-crusty exterior, leave the lid off for the final bake and brush the loaf with a little water before returning it to the oven; the water helps crisp the crust further.
- Clean hands: I always keep a small bowl of flour or a bench scraper nearby so my hands don’t get too sticky; less handling means a better crumb.
If you enjoy savory baked goods beyond this basic loaf, you might also like experimenting with creative shapes and themes—I’ve used similar no-knead doughs to make fun snacks like cheesy Halloween breadstick bones for gatherings, which shows how versatile this dough can be for healthy entertaining.
Common Mistakes to Avoid
Making bread at home is a learning process, and a few common mistakes can change how the loaf turns out. I’ve learned the hard way, so here are the pitfalls I try to avoid now.
Mistake 1: Using inaccurate measurements
Too much or too little flour can change hydration and ruin texture. I always weigh my ingredients—especially flour and water—to keep the hydration ratio consistent. If your dough feels very dry, add small splashes of water until it looks shaggy and cohesive.
Mistake 2: Overworking the dough
This recipe is designed to be hands-off. Treat the dough gently during shaping to preserve the air pockets formed during fermentation. Over-kneading or aggressive deflating leads to a dense loaf. Fold minimally and trust the long rest to develop gluten.
Mistake 3: Baking in a cold pot or skipping steam
Putting the dough into a cold pot reduces oven spring and leads to a less crisp crust. Likewise, skipping the covered bake stage or failing to create steam results in a pale, soft crust. Preheat your Dutch oven and use the lid for the first part of baking to trap steam for the best crust.
Serving Suggestions for 2-Ingredient No-Knead Artisan Bread
This bread is a great canvas—simple, nourishing, and compatible with many healthy meals. It pairs beautifully with protein-rich spreads and vegetable-forward toppings.
Breakfast and brunch ideas
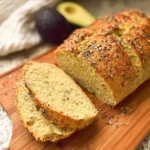
Toast slices and top with mashed avocado, a sprinkle of chili flakes, lemon juice, and a soft-boiled egg for a balanced breakfast full of healthy fats and protein. For a sweeter start, spread a thin layer of nut butter and slice bananas over the toast.
Lunch and light dinner
Make open-faced sandwiches with smoked salmon (or grilled tofu), cucumber ribbons, dill, and a light spread of yogurt-based dressing. Pair a slice with a hearty vegetable soup or a big leafy salad to keep the meal balanced and satisfying.
Snacks and entertaining
Cut into chunks and serve alongside a platter of hummus, roasted vegetables, and pickled items. The crusty loaf offers great texture contrast to creamy dips and is a crowd-pleasing, wholesome option for gatherings.
Conclusion
I hope this 2-Ingredient No-Knead Artisan Bread inspires you to make bread at home without the fuss—it’s nourishing, flexible, and a genuinely satisfying part of a healthy routine. The recipe supports balanced meals, whether you’re using the loaf for breakfast, alongside a vibrant salad, or as part of a simple spread with protein-rich toppings. It adapts easily to whole grain swaps and seed add-ins, so you can tune it to your dietary needs and flavor preferences. If you want to dive deeper into techniques for a perfect crust and crumb using a Dutch oven, I found a very helpful guide at Dutch Oven No Knead Bread (with perfect crusty crust!) that complements this method well.
FAQs About 2-Ingredient No-Knead Artisan Bread
Q1: How long does 2-Ingredient No-Knead Artisan Bread stay fresh?
A1: 2-Ingredient No-Knead Artisan Bread stays fresh at room temperature for about 2–3 days when stored in a linen bag or wrapped lightly in a clean towel. For longer storage, slice and freeze portions; thaw slices at room temperature or toast from frozen.
Q2: Can I make 2-Ingredient No-Knead Artisan Bread with whole wheat flour only?
A2: You can, but using 100% whole wheat will yield a denser loaf. I recommend replacing up to 50% of the bread flour with whole wheat for a good balance of nutrition and texture; start with 30–40% whole wheat if you’re new to whole-grain baking.
Q3: Is 2-Ingredient No-Knead Artisan Bread suitable for meal prep?
A3: Yes—this 2-Ingredient No-Knead Artisan Bread is excellent for meal prep. Bake a loaf, let it cool completely, then slice and freeze portions. Use slices for sandwiches, toast, or to accompany soups during the week.
Q4: Can I use 2-Ingredient No-Knead Artisan Bread dough to make rolls or other shapes?
A4: The dough is versatile and can be shaped into rolls or a free-form boule, but remember it’s a high-hydration dough designed for a single large loaf. For rolls, gently shape smaller portions and reduce the long rest time slightly to avoid over-proofing.
Q5: What should I do if my 2-Ingredient No-Knead Artisan Bread comes out too dense?
A5: Dense loaves usually come from over-handling the dough, too much flour, or under-hydration. Use a scale for accurate measurements, handle the dough gently, and make sure the long, slow fermentation is allowed. Also, ensure your oven and Dutch oven are fully preheated to get a good oven spring.
2-Ingredient No-Knead Artisan Bread
- Total Time: 900 minutes
- Yield: 1 large loaf 1x
- Diet: Vegetarian
Description
A simple and forgiving no-knead artisan bread recipe perfect for beginners, featuring just two main ingredients for a wholesome homemade loaf.
Ingredients
- 500 g bread flour (or a mix of bread flour and whole wheat)
- 10 g fine sea salt
- 750 g lukewarm water
- 5 g instant yeast (or active dry yeast)
- Optional add-ons: 2–3 tablespoons seeds (chia, flax, pumpkin, or sunflower), 1/4 cup finely chopped nuts (walnuts or almonds), 2–4 tablespoons rolled oats or cracked wheat, 1–2 tablespoons fresh herbs (rosemary or thyme), 1–2 tablespoons olive oil for brushing
Instructions
- Measure and combine ingredients: Mix 500 g flour and 10 g salt in a bowl, sprinkle 5 g instant yeast over the flour, and pour 750 g lukewarm water. Stir until a shaggy dough forms.
- Cover and rest: Cover the bowl and let it rest at room temperature for 12–18 hours.
- Preheat the oven and Dutch oven: Preheat your Dutch oven at 450°F (230°C).
- Shape the dough gently: Turn dough onto a floured surface, fold edges toward the center, shape into a loaf, and place on parchment paper.
- Transfer to the pot and bake: Bake covered for 30 minutes, then bake uncovered for an additional 12–20 minutes.
- Cool before slicing: Cool on a rack for 1–2 hours before slicing.
Notes
Keep the dough handling gentle to preserve air pockets formed during fermentation and achieve an airy crumb. Use a kitchen scale for the best results.
- Prep Time: 15 minutes
- Cook Time: 40 minutes
- Category: Bread
- Method: Baking
- Cuisine: American
Nutrition
- Serving Size: 1 slice
- Calories: 160
- Sugar: 0g
- Sodium: 430mg
- Fat: 0.5g
- Saturated Fat: 0g
- Unsaturated Fat: 0.5g
- Trans Fat: 0g
- Carbohydrates: 33g
- Fiber: 1.5g
- Protein: 5g
- Cholesterol: 0mg
Keywords: bread, artisan, no-knead, baking, easy recipe