Last updated on June 14, 2026
A Cozy Start
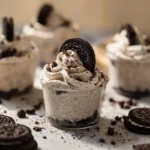
Do you ever find yourself sneaking into the kitchen just to nibble Oreo crumbs and wish they could magically become dessert? I sure do—there’s something about that crunchy chocolate cookie and creamy filling that sparks a cozy craving. If you’re new to no-bake desserts, the thought of making a cheesecake can feel intimidating, but this recipe is one of those gentle wins that looks fancy and tastes indulgent without drama. If you like simple treats that pack big flavor, I also love pairing them with lighter frozen desserts like this chocolate ice cream with Oreos for a summer spread.
A Quick Look at This No-Bake Oreo Cheesecakes Recipe
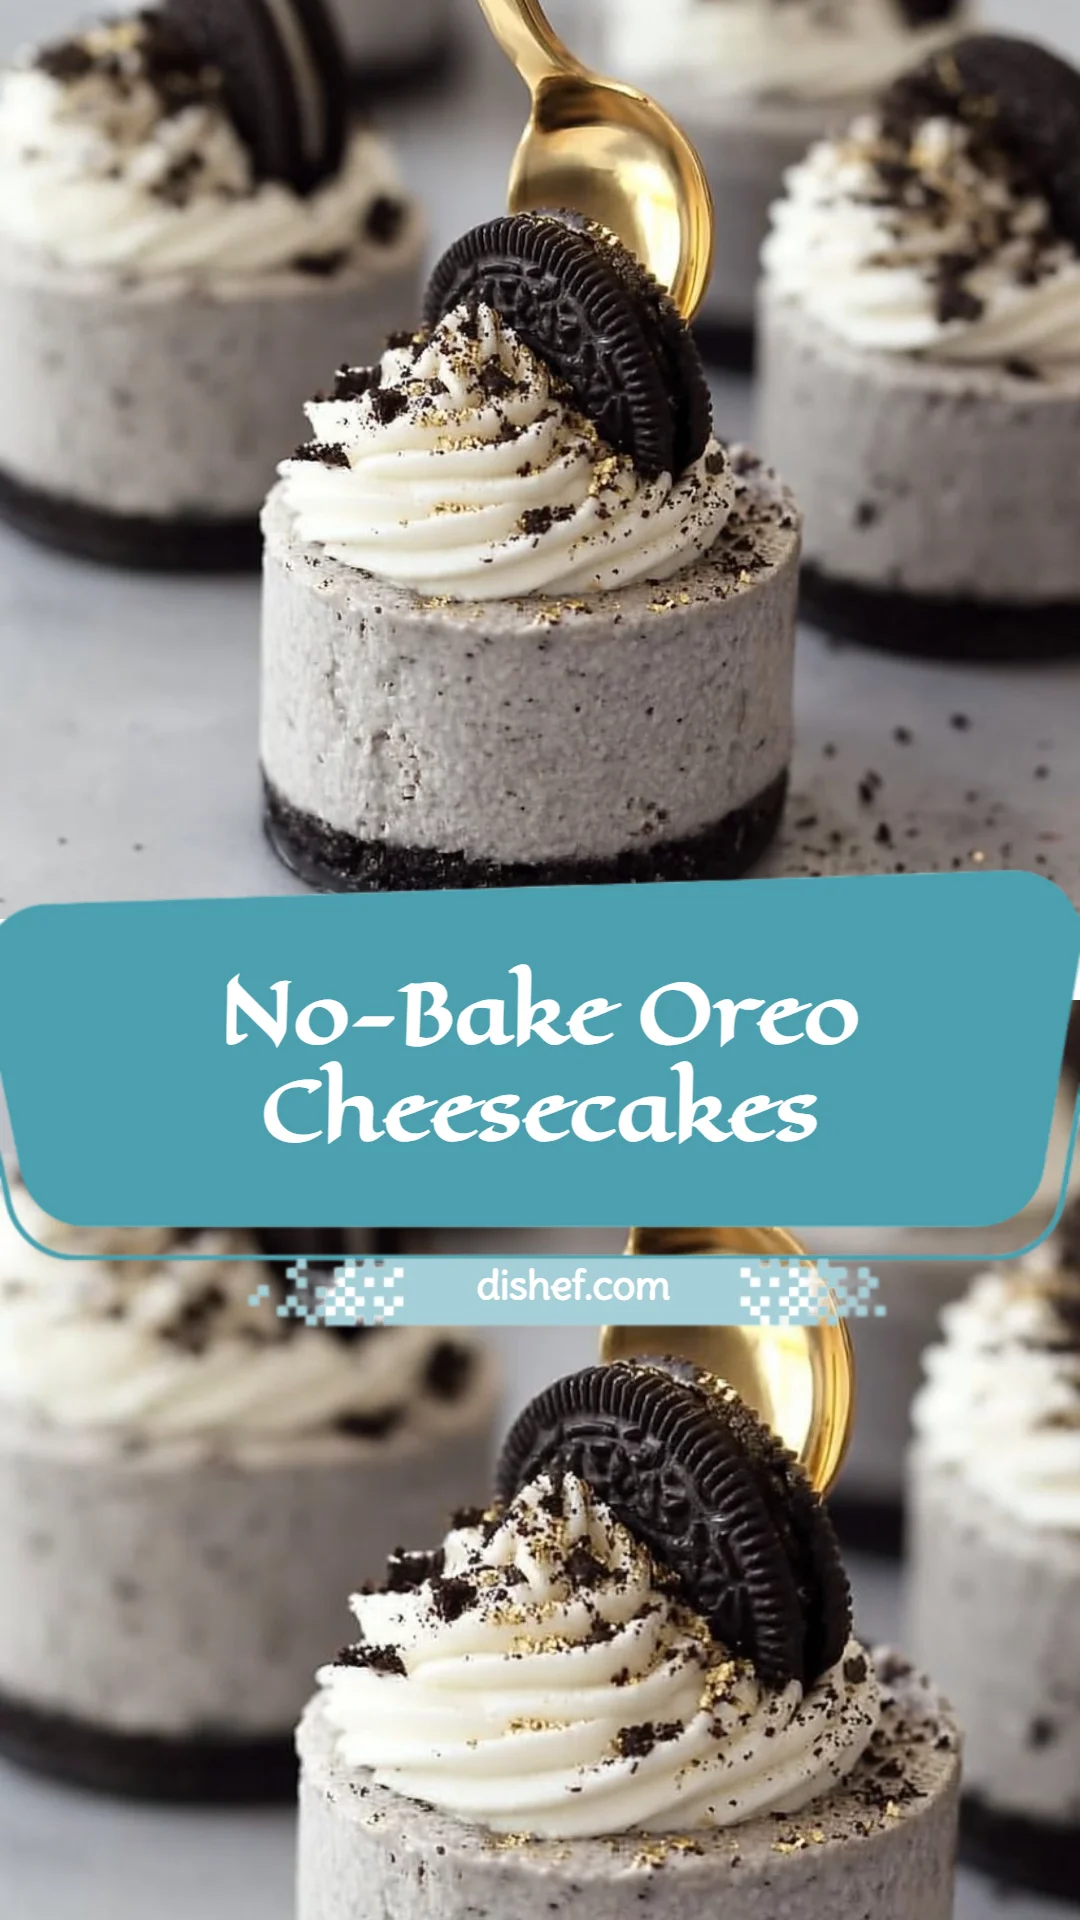
This No-Bake Oreo Cheesecakes recipe uses crushed Oreo cookies for a quick, chocolatey crust and a creamy vegan cream cheese filling folded with non-dairy whipped cream. It’s a convenience win—no oven, no water bath, and ready after a short chill. Great for home cooks and beginners because the steps are straightforward and forgiving. These mini cheesecakes are perfect for potlucks or a cozy dessert at home, and if you scroll down you’ll find easy tweaks to make them yours.
Ingredients You’ll Need for No-Bake Oreo Cheesecakes
Essentials
- Oreo biscuits (for the crust) — about 18–24 cookies
Use regular Oreos (or the non-dairy versions if you prefer) crushed into fine crumbs. These form the chocolatey base that gives the dessert its Oreo identity. - Vegan cream cheese — 8 oz (about 225 g)
Room temperature cream cheese blends easiest. Choose a block-style vegan cream cheese for the best, firm texture. - Powdered sugar — 1/3 to 1/2 cup
Start with 1/3 cup and taste—if you want sweeter, add up to 1/2 cup. Powdered sugar dissolves smoothly into the cream cheese. - Non-dairy whipped cream — 1 cup
Canned or tub-style coconut or other plant-based whipped cream works. This lightens the filling and makes it spoonable. - Oreo cookies for topping — a few whole cookies and some crushed crumbs
Reserve a few whole minis or halved Oreos for charming toppers and keep some crumbs for sprinkling. - Vanilla extract — a splash (optional)
A teaspoon of vanilla warms the flavor and balances the sweetness.
Optional add-ons
- Mini chocolate chips — a handful (optional)
Stir a few in or sprinkle on top for little bursts of chocolate. - Chocolate syrup or melted vegan chocolate — for drizzling (optional)
A glossy drizzle makes these feel extra special for guests. - Fresh berries (strawberries or raspberries) — for garnish (optional)
They add color, a bright tart note, and make the cheesecakes look festive. - Chopped toasted nuts (almonds or hazelnuts) — for crunch (optional)
Toasting nuts brings out their fragrance—great for texture contrast.
Substitutions and shortcuts
- Crust shortcut: Use store-bought Oreo crumbs (often sold in tubs) or blitz entire Oreos in a food processor. If you don’t have a processor, place Oreos in a zip-top bag and roll with a rolling pin until finely crushed.
- Butter-free crust: If you want a slightly firmer crust without butter, press the crumbs more tightly and chill longer; a neutral-flavored coconut oil (solid) can also bind the crumbs.
- Swap the vegan cream cheese: Silken tofu blended with a touch of coconut cream and powdered sugar can work in a pinch for a lighter texture, but it will be less traditional.
- Whipped cream alternative: Stabilized aquafaba whipped to stiff peaks is a fantastic dairy-free option and pipes beautifully.
- Sweetener swaps: If you prefer less refined sugar, use a powdered coconut sugar blend or superfine sucanat—start with the lower amount and taste.
- Make ahead: Assemble, cover tightly, and chill up to 48 hours. Add toppers just before serving to keep them crisp.
How to Make No-Bake Oreo Cheesecakes Step-by-Step
I’ll walk you through this as if you’re making it on a cozy Sunday afternoon. I promise the steps are forgiving, and I’ll include little tips where I’ve learned the hard way.
Choose your vessels and prep
- Decide whether you want individual servings (small jars or ramekins) or one larger dish (a 9×9 pan). Jars and ramekins are charming for guests and make portion control easy; a 9×9 pan is great when you’re feeding a crowd.
- Line your workspace: have a baking sheet or tray to hold jars, a bowl for crumbs, and a spatula ready.
Crush the Oreos for the crust
- Place 18–24 Oreo biscuits in a food processor and pulse until you have fine crumbs. If you don’t have a processor, put them in a zip-top bag and roll with a rolling pin until powdery.
- Scoop the crumbs into a bowl. If you prefer a slightly firmer crust, stir in 1–2 tablespoons of melted coconut oil (or vegan butter) to help bind the crumbs. I often skip added fat and just press the crumbs very firmly—either way works.
- Spoon an even layer of crumbs into the bottom of your jars, ramekins, or the 9×9 pan. Use the back of a spoon, a flat-bottomed measuring cup, or a small glass to press the crumbs down tightly and evenly. The crust should hold together when pressed.
Make the sweetened cream cheese filling
- In a medium bowl, let the vegan cream cheese sit at room temperature for 10–15 minutes so it softens. This makes it much easier to mix and results in a silky filling.
- Add the powdered sugar to the softened vegan cream cheese. If you’re using vanilla extract, add a teaspoon now. Use a hand mixer or sturdy whisk to beat the mixture until it’s smooth and free of lumps. Taste and adjust sweetness—remember the crust and any toppers will add sweetness too.
Fold in the non-dairy whipped cream
- Gently spoon the non-dairy whipped cream on top of the sweetened cream cheese. Using a spatula, fold the whipped cream into the cream cheese mixture with a light hand—folding preserves the airiness. Overmixing will flatten it and make the filling dense. Aim for a homogenous, fluffy texture.
- If you want mini chocolate chips mixed into the filling, fold them in now with a couple of gentle turns.
Assemble the cheesecakes
- Spoon or pipe the cheesecake filling over the Oreo crust in each jar or ramekin. If using a 9×9 pan, spread it evenly with an offset spatula. Piping gives a polished look if you want neat swirls on top.
- Smooth the tops lightly with the spatula. If you want a decorative edge, run the back of a spoon around the rim.
Chill until set
- Cover the cheesecakes with plastic wrap or a lid and refrigerate for at least 2 hours. Two hours is usually enough for them to firm up, but I often chill them 3–4 hours when possible for a denser feel. If you made them in a pan, chilling overnight makes slicing neater.
Finish with toppings just before serving
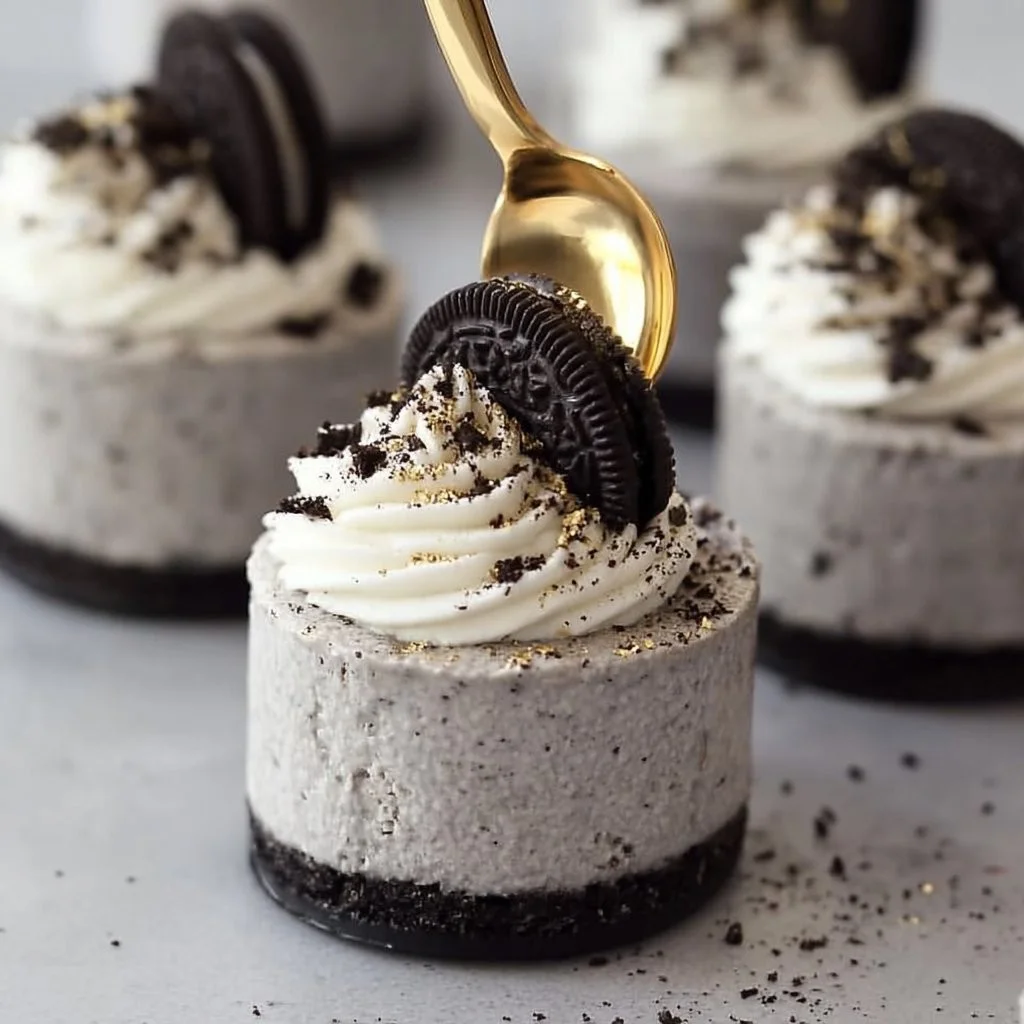
- Right before serving, spoon a little extra non-dairy whipped cream on top of each cheesecake or pipe pretty rosettes. Sprinkle crushed Oreo crumbs over the tops, add a mini Oreo or a fresh berry, and drizzle chocolate syrup or melted vegan chocolate if you like. A few toasted chopped nuts add a lovely crunch contrast.
- Serve chilled and enjoy the delightfully creamy, chocolatey bites.
Kitchen tips I use every time
- Warm your mixing bowl slightly if the vegan cream cheese resists smoothing—cold cream cheese takes longer to become silky.
- Clean knife or warmer spoon between scoops for neat layers when serving from a 9×9 pan.
- If you’re traveling with these for a potluck, assemble the crust and filling at home and add toppers on site for best presentation.
Common Mistakes to Avoid
I’ve made these little desserts a handful of times, and a few small missteps taught me a lot. Below are the three most common mistakes and how to steer clear of them.
Mistake 1: Overmixing the filling
Overmixing deflates the whipped cream and makes the filling heavy. Fold gently and stop when you see an even, airy texture.
Mistake 2: A soggy crust
Pressing the crust lightly or not chilling long enough can leave it loose and crumbly. Press firmly into the base and chill well before adding the filling. If you’re using a 9×9 pan, a short pre-chill of the crust for 10–15 minutes helps it set.
Mistake 3: Topping too early
Adding berries, nuts, or whole cookies too far in advance can make them soggy or wilted. Add delicate garnishes right before serving to keep everything fresh and photogenic.
Serving Suggestions for No-Bake Oreo Cheesecakes
These mini cheesecakes are cozy, customizable, and a great last-minute treat for any gathering. I like to think about texture, temperature, and color when I plate them.
Serve with a hot drink
Pair a jar of No-Bake Oreo Cheesecakes with your favorite coffee or chai for a comforting contrast of warm and cold.
Make a dessert trio
Plate small scoops of a contrasting flavor—like lemon sorbet or a nutty gelato—alongside a cheesecake jar for variety and balance.
Turn them into mini parfaits
Layer extra whipped cream, fresh berries, and cookie crumbs in tall glasses for a parfait-like presentation that’s playful and picnic-friendly.
Conclusion
I love how these No-Bake Oreo Cheesecakes look like something you’d order in a cozy café, yet they’re genuinely simple to make at home. They’re forgiving, easily customizable, and perfect for beginner cooks who want a dessert that feels special without the fuss. If you’re curious about a slightly different Oreo-style dessert, this No-Bake Oreo Cheesecake guide has some lovely variations and plating ideas that might inspire your next batch.
FAQs About No-Bake Oreo Cheesecakes
Q1: How long do No-Bake Oreo Cheesecakes keep in the fridge?
A1: No-Bake Oreo Cheesecakes typically keep well covered in the refrigerator for up to 4 days. For best texture, store without delicate toppings and add fresh garnishes like berries or cookie halves just before serving.
Q2: Can I freeze No-Bake Oreo Cheesecakes?
A2: Yes, you can freeze No-Bake Oreo Cheesecakes. Place them on a tray to freeze until firm, then wrap individually in plastic wrap and store in an airtight container for up to 1 month. Thaw overnight in the fridge before serving and add fresh toppings after thawing.
Q3: Are No-Bake Oreo Cheesecakes suitable for vegan diets?
A3: Absolutely—this recipe uses vegan cream cheese and non-dairy whipped cream, making it suitable for vegan diets as long as the Oreos you choose are vegan-friendly in your region. Always check labels, as ingredients can vary by country.
Q4: Can I make No-Bake Oreo Cheesecakes without a food processor?
A4: Yes, you can crush the Oreos by placing them in a heavy-duty zip-top bag and rolling them with a rolling pin until fine. Press the crumbs firmly into your jars or pan to create a solid crust.
Q5: How can I make No-Bake Oreo Cheesecakes less sweet?
A5: To reduce sweetness, start with the lower amount of powdered sugar (1/3 cup) and taste the cream cheese mixture before folding in the whipped cream. You can also use unsweetened whipped coconut cream and skip extra syrups or chocolate drizzles.

No-Bake Oreo Cheesecakes
- Total Time: 120 minutes
- Yield: 4 servings
- Diet: Vegan
Description
Indulge in these creamy, chocolatey No-Bake Oreo Cheesecakes that are easy to make and perfect for potlucks or cozy desserts.
Ingredients
- Oreo biscuits (for the crust) — about 18–24 cookies
- Vegan cream cheese — 8 oz (about 225 g)
- Powdered sugar — 1/3 to 1/2 cup
- Non-dairy whipped cream — 1 cup
- Oreo cookies for topping — a few whole cookies and some crushed crumbs
- Vanilla extract — a splash (optional)
- Mini chocolate chips — a handful (optional)
- Chocolate syrup or melted vegan chocolate — for drizzling (optional)
- Fresh berries (strawberries or raspberries) — for garnish (optional)
- Chopped toasted nuts (almonds or hazelnuts) — for crunch (optional)
Instructions
- Choose your vessels and prep
- Crush the Oreos for the crust
- Make the sweetened cream cheese filling
- Fold in the non-dairy whipped cream
- Assemble the cheesecakes
- Chill until set
- Finish with toppings just before serving
Notes
These cheesecakes can be customized with additional toppings and flavors. Make sure to chill them for best texture.
- Prep Time: 15 minutes
- Cook Time: 0 minutes
- Category: Dessert
- Method: No-Bake
- Cuisine: American
Nutrition
- Serving Size: 1 cheesecake
- Calories: 320
- Sugar: 20g
- Sodium: 200mg
- Fat: 18g
- Saturated Fat: 10g
- Unsaturated Fat: 8g
- Trans Fat: 0g
- Carbohydrates: 40g
- Fiber: 2g
- Protein: 4g
- Cholesterol: 0mg
Keywords: no-bake cheesecake, vegan dessert, Oreo dessert, easy dessert, potluck recipe