Last updated on April 7, 2026
I still remember the first time I roasted a whole head of garlic—my kitchen smelled like a cozy bakery for hours and my cat refused to come near the counter (true story). If you’ve ever hesitated because garlic seems intimidating, you’re not alone; it can feel tricky to roast properly. I promise this Roasted Garlic Dip is forgiving, simple, and perfect for beginners—no fancy tools, no fuss. If you like, I often serve it with a warm baked cheese or a savory side like my favorite roasted garlic brie for a lazy weekend spread.
A Quick Look at This Roasted Garlic Dip Recipe
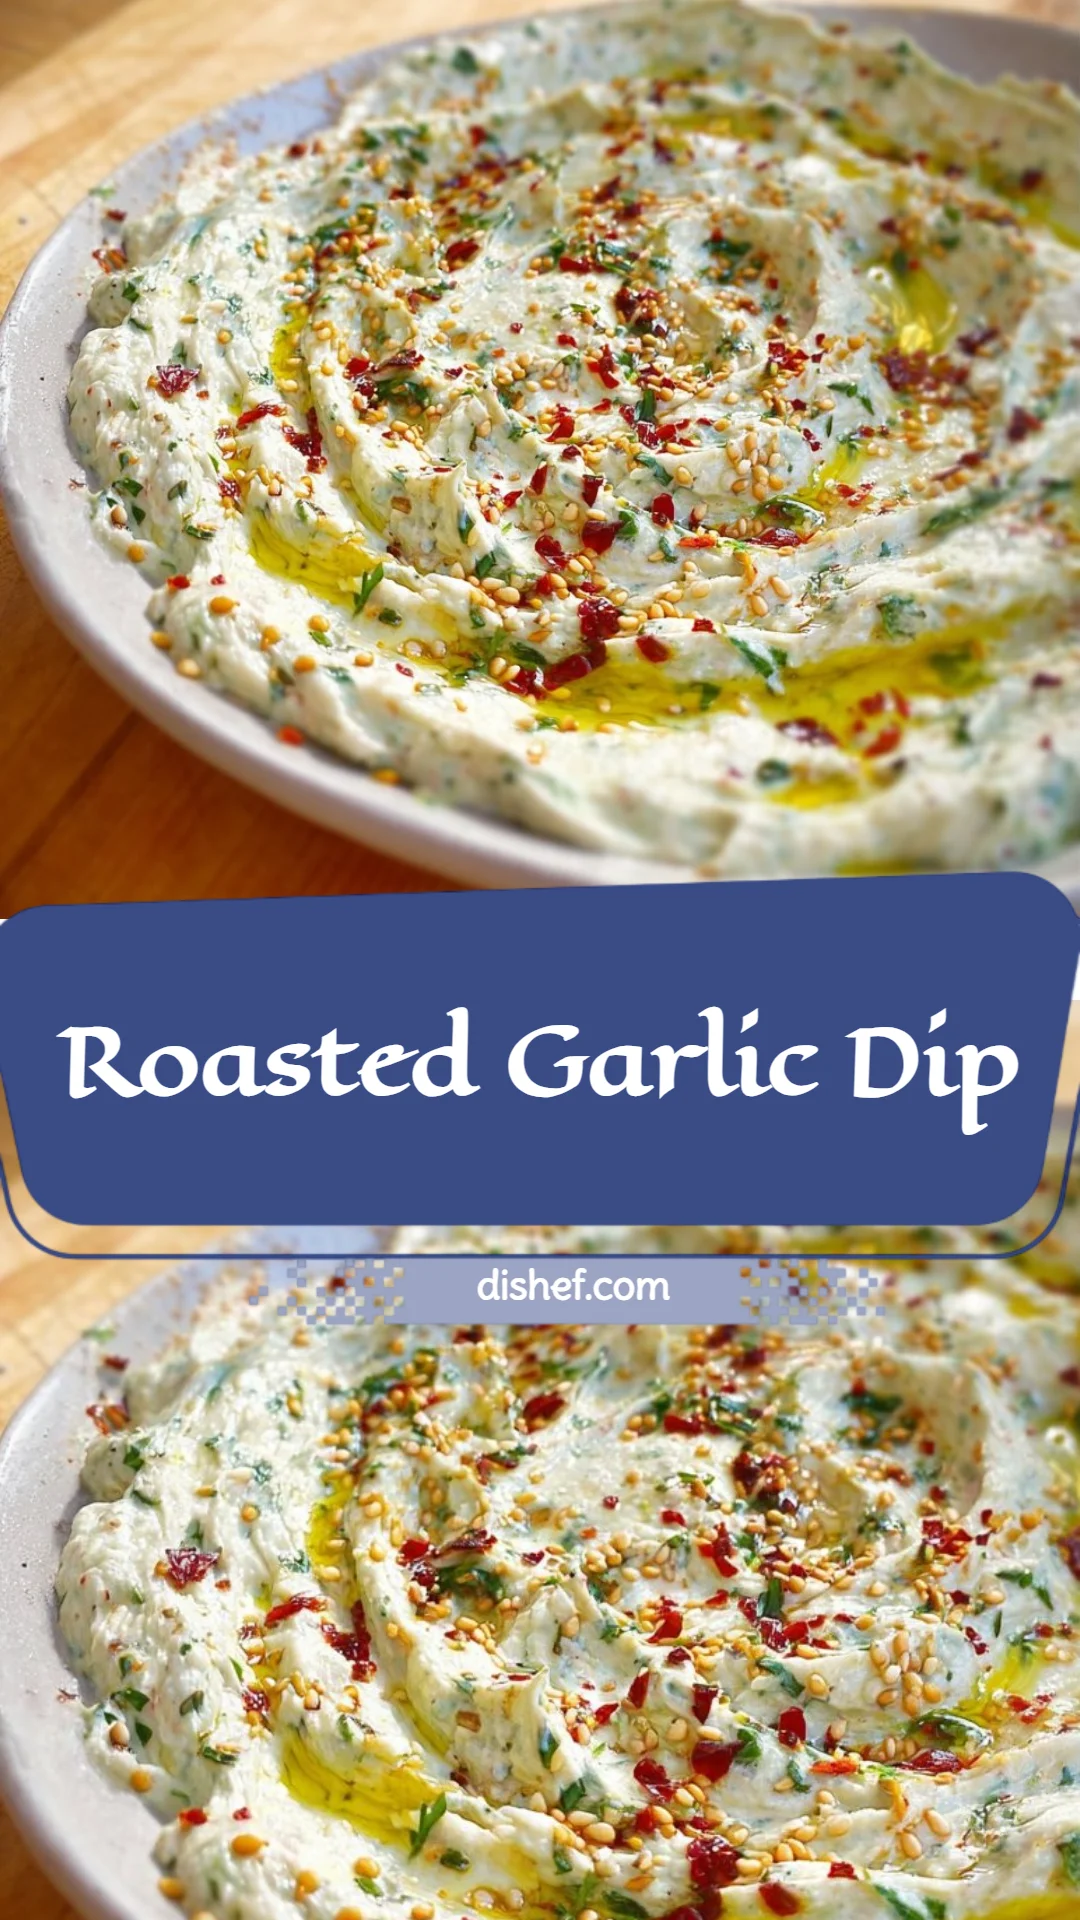
Roasted Garlic Dip is a creamy, mellow spread made from two main things: sweet, caramelized roasted garlic and smooth vegan mayonnaise. It’s a comforting, plant-friendly way to add big flavor to snacks and simple meals. This dip comes together quickly—roasting the garlic is the only step that takes time—and it’s forgiving, so home cooks and beginners can feel confident. Want an easy party hit or a fridge-friendly condiment that lifts grilled veggies and sandwiches alike? Keep scrolling to learn how simple and versatile this is.
Ingredients You’ll Need for Roasted Garlic Dip
Here’s everything you need to make this cozy, everyday dip. I’ll list the essentials first, then optional add-ons to personalize it, and finally substitutions or shortcuts if you’re in a hurry.
Essentials
- 1 head of garlic — choose a firm, fresh head without soft spots. Roasting mellows and sweetens the flavor.
- 1 cup vegan mayonnaise — this gives the dip its smooth, creamy body. Use a good-quality vegan mayo for best texture.
- 1 tablespoon olive oil — a little oil helps the garlic roast nicely and keeps it from drying out.
- 1 tablespoon lemon juice — brightens the dip and balances the roasted garlic’s sweetness.
- Salt to taste — I usually start with 1/4 teaspoon and adjust from there.
Optional add-ons
- Fresh herbs (chopped parsley, chives, or dill) for garnish — they add a pop of color and freshness.
- A pinch of smoked paprika or a tiny drizzle of chili oil for a smoky or spicy kick.
- 2–3 tablespoons of dairy-free yogurt or silken tofu to thin the dip for a lighter texture.
- A splash of maple syrup (just 1/4 teaspoon) if you prefer a sweeter, more caramel-forward profile.
Substitutions and shortcuts
- Vegan mayonnaise substitute: plain unsweetened dairy-free yogurt (Greek-style works well) — texture will be a touch tangier and thinner, but still lovely.
- No oven? Use a microwave shortcut: place a head of garlic (trimmed) in a small microwave-safe bowl with olive oil, cover with a microwave-safe plate, and microwave on high for 3–4 minutes, checking every minute until soft. Results won’t be as caramelized but will still give roasted garlic flavor.
- Pre-roasted option: Some grocery stores sell roasted garlic cloves in jars. Use about 2–3 teaspoons of jarred roasted garlic to start, then taste and add more as needed.
- Lemon juice swap: a splash of white wine vinegar or apple cider vinegar can work if you’re out of lemons—use slightly less and taste.
How to Make Roasted Garlic Dip Step-by-Step
I walk you through this like I would with a friend over the counter—slow and steady. The recipe is straightforward, but I’ll include little tips that make each step foolproof.
Step 1 — Prep the garlic and oven
- Preheat your oven to 400°F (200°C). This temperature gives a nice caramelization without burning.
- Take one head of garlic and peel away the loose outer papery layers so the cloves are still held together in their skins. With a sharp knife, slice the very top off the head—about the top inch—so the tips of the cloves are exposed in a flat cross-section.
- Place the garlic head on a small piece of foil or in a little oven-safe dish. Drizzle the exposed cloves with about 1 tablespoon of olive oil so each exposed clove gets a bit of oil. This helps them roast to a soft, spreadable texture.
Step 2 — Roast the garlic
- Wrap the garlic loosely in foil if you’re using foil, or cover the dish. This traps steam and helps the cloves become silky.
- Roast in the preheated oven for 30–35 minutes. Check at 25 minutes if your oven runs hot; you’re looking for cloves that are deeply golden, soft when pressed, and fragrant with a sweet, roasted aroma.
- Tip: If you like a deeper caramel flavor, open the foil for the last 5 minutes to let a little more color develop, but watch closely so it doesn’t burn.
Step 3 — Cool and squeeze
- Remove the garlic from the oven and let it cool for 10 minutes or so. You don’t want to handle piping-hot garlic.
- When cool enough to touch, hold the bulb upside down over a small bowl and press the base of the head; the soft, roasted cloves should slide out whole or you can gently squeeze each clove out with your fingers or a fork. If a clove sticks, use the tip of your fork or a small knife to coax it out.
Step 4 — Mash and blend
- Place the roasted garlic cloves into a mixing bowl. Use a fork or small whisk to mash the cloves into a paste. They should be very soft and easy to mash.
- Add 1 cup vegan mayonnaise and 1 tablespoon lemon juice to the bowl. Stir or whisk until the mixture is smooth and fully combined. Taste the dip and add salt a little at a time—start with 1/4 teaspoon and adjust to your preference.
- If you prefer a thinner consistency, stir in 1–2 tablespoons of water, plant milk, or dairy-free yogurt until you reach the texture you like.
Step 5 — Finish and chill (optional)
- Transfer the dip to a serving bowl. Garnish with chopped fresh herbs like parsley or chives if you want a fresh touch.
- You can serve this Roasted Garlic Dip immediately for a warm, rich flavor, or chill it for 30–60 minutes so the flavors marry and the dip firms up slightly. Both ways are delicious.
Step 6 — Storage
- Store leftovers in an airtight container in the fridge for up to 4–5 days. Because this uses vegan mayo rather than fresh dairy, it keeps well, but always smell and taste before serving if it’s been more than a few days.
Helpful tips as you go
- Taste as you go: roasted garlic varies in intensity. Start with less than you think and add more if you want a stronger garlic punch.
- If the garlic is under-roasted and still a bit sharp, return it to the oven for 5–10 more minutes. It should be soft, sweet, and almost spreadable like caramel.
- For a smoother texture, pulse everything briefly in a small food processor or blender. I usually mash by hand for a homestyle texture, but blending gives a silky finish.
Common Mistakes to Avoid
Even simple recipes can trip us up if we rush or skip a small step. Here are the things I see most often and how to avoid them.
Mistake 1: Not roasting the garlic long enough
If the garlic is only lightly golden, it will still be harsh and sharp. Make sure the cloves are soft and deeply colored. If they’re not, give them another 5–10 minutes in the oven.
Mistake 2: Adding too much lemon or salt at once
Lemon juice brightens the dip, but too much can make it tart. Salt can also quickly overpower. Add both gradually, tasting as you go, so you don’t lose the sweet roasted garlic flavor.
Mistake 3: Skipping cooling time
Squeezing piping-hot garlic into mayonnaise can melt the mayo and make the texture oily or separated. Let the garlic cool for a few minutes so it’s warm but not hot before mixing.
Serving Suggestions for Roasted Garlic Dip
This Roasted Garlic Dip is one of those comforting both/and recipes: it’s a cozy snack and a lively condiment. Here are a few of my favorite ways to serve it.
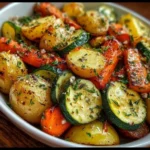
I love scooping it with warm pita or spreading it on sandwiches. It’s also fantastic alongside simple roasted vegetables or as a bright finishing sauce on bowls. If you want a ready-made pairing idea, try it in a wrap inspired by my lemon garlic chicken pitas for a zesty lunch swap.
For dipping
- Serve with a platter of crudités (carrots, cucumber, bell peppers), pita chips, or toasted baguette slices. The dip’s creamy texture makes it ideal for scooping.
As a spread
- Use it as a spread on sandwiches and wraps instead of mayo or store-bought sauces. It pairs beautifully with roasted vegetables, grilled eggplant, or baked tofu.
As a sauce or garnish
- Dollop on roasted potatoes, grilled corn, or even use as a finishing sauce over bowls and grain salads. A spoonful warmed and swirled into hot cooked greens is quietly magical.
Conclusion
I always tell friends that Roasted Garlic Dip is much easier than it looks—roasting a head of garlic is the only “big” step, and it’s mostly hands-off. Once you have the basics down, this dip is endlessly customizable: swap herbs, thin it into a sauce, or add a pinch of spice for warmth. It’s warm, cozy, and perfect for beginner cooks who want to impress without stress. If you want another take on a creamy roasted garlic dip with a slightly different twist, check out this creamy roasted garlic parmesan dip for inspiration.
FAQs About Roasted Garlic Dip
How long does Roasted Garlic Dip keep in the refrigerator?
Roasted Garlic Dip will keep for about 4–5 days in the fridge when stored in an airtight container. Because it’s made with vegan mayonnaise, it’s a bit more stable than fresh dairy-based dips, but always check for off smells or changes in texture before serving.
Can I make Roasted Garlic Dip ahead of time?
Yes—I often roast the garlic a day ahead and mix the dip the next day. Making it ahead allows the flavors to meld even more. Keep it chilled and bring it to room temperature before serving for the best texture.
Is Roasted Garlic Dip spicy or very garlicky?
Roasted garlic is sweet and mellow compared with raw garlic, so the dip is garlicky but not sharp. You control the intensity—start with a small amount of roasted garlic and add more if you want a stronger flavor. Add a pinch of chili or smoked paprika if you want some heat.
Can I use Roasted Garlic Dip on hot foods?
Absolutely. Roasted Garlic Dip is lovely both warm and chilled. Spoon it over roasted vegetables or warm potatoes, or use it as a spread on hot sandwiches. If you warm it, do so gently to avoid separation.
How can I make Roasted Garlic Dip creamier or lighter?
For a creamier, richer dip, use full-fat vegan mayo and consider blending briefly in a small food processor for a silky texture. To make it lighter, substitute part of the mayo with unsweetened dairy-free yogurt or plant-based Greek-style yogurt; this gives a lighter mouthfeel and a pleasant tang.
I hope this recipe becomes one of your kitchen staples. If you try it, I’d love to hear how you served it and what add-ins you enjoyed.
Print
Roasted Garlic Dip
- Total Time: 45 minutes
- Yield: 4 servings 1x
- Diet: Vegan
Description
A creamy, mellow spread made from caramelized roasted garlic and smooth vegan mayonnaise that adds big flavor to snacks and simple meals.
Ingredients
- 1 head of garlic
- 1 cup vegan mayonnaise
- 1 tablespoon olive oil
- 1 tablespoon lemon juice
- Salt to taste
- Optional: Fresh herbs (chopped parsley, chives, or dill) for garnish
- Optional: A pinch of smoked paprika or chili oil
- Optional: 2–3 tablespoons dairy-free yogurt or silken tofu
- Optional: A splash of maple syrup
Instructions
- Preheat your oven to 400°F (200°C) and prepare the garlic by peeling away the outer layers and cutting off the top.
- Drizzle the garlic cloves with olive oil and wrap in foil or place in an oven-safe dish.
- Roast for 30–35 minutes until deeply golden and soft.
- Cool the garlic for 10 minutes before squeezing the roasted cloves into a bowl.
- Add vegan mayonnaise and lemon juice, then mix until smooth. Season with salt.
- Transfer to a serving bowl and garnish with fresh herbs if desired. Can be served warm or chilled.
Notes
For a smoother texture, pulse the dip in a food processor. It can be stored in the refrigerator for up to 4-5 days.
- Prep Time: 10 minutes
- Cook Time: 35 minutes
- Category: Dip
- Method: Roasting
- Cuisine: Vegan
Nutrition
- Serving Size: 2 tablespoons
- Calories: 200
- Sugar: 1g
- Sodium: 200mg
- Fat: 15g
- Saturated Fat: 1g
- Unsaturated Fat: 12g
- Trans Fat: 0g
- Carbohydrates: 8g
- Fiber: 0g
- Protein: 2g
- Cholesterol: 0mg
Keywords: garlic dip, vegan dip, roasted garlic, appetizer, creamy dip