Last updated on January 31, 2026
A Cozy Scoop
Do you ever get a late-night craving for something sweet that tastes like a beach vacation and childhood cookies all at once? I do — and that’s often how this Samoa Ice Cream was born in my kitchen after a sticky, snack-filled movie night. If you’re new to no-churn ice cream or worried about whipping cream into the right texture, I promise this recipe is forgiving. It’s simple, low-stress, and there’s plenty of wiggle room for little mishaps.
A Quick Look at This Samoa Ice Cream Recipe
This Samoa Ice Cream is built around two star ingredients: thick whipping cream and sweetened condensed milk, which come together to make a creamy, no-churn base. Toasted coconut and shortbread cookie pieces add crunch and texture, while ribbons of caramel and chocolate bring the classic Samoa cookie flavors. It’s a convenient, comfort-food dessert—no ice cream maker needed—so it’s perfect for home cooks and beginners. Keep reading to see how easy it is to build layers of flavor with minimal fuss.
Ingredients You’ll Need for Samoa Ice Cream
Essentials
- 2 cups (about 480 ml) heavy whipping cream, very cold
- 14 ounces (about 395 g) sweetened condensed milk (one standard can)
- 1 teaspoon pure vanilla extract
- 1/2 teaspoon coconut extract (optional, but nice for extra coconut flavor)
- 1 cup sweetened toasted coconut flakes, divided
- 1 cup shortbread cookies (or butter cookies), roughly chopped
- 1/2 cup caramel sauce (store-bought or homemade)
- Chocolate sauce for drizzling/garnish
These essentials give you the classic Samoa Ice Cream profile: a rich, no-churn base with coconut and cookie textures plus caramel and chocolate swirls.
Optional add-ons
- 1/4–1/2 cup toasted pecans or macadamia nuts for extra crunch
- 1/4 cup shredded unsweetened coconut to deepen coconut flavor without more sweetness
- A pinch of sea salt to sprinkle on top for a salted-caramel contrast
- 1–2 tablespoons cocoa nibs or finely chopped dark chocolate for texture
- 1–2 tablespoons rum extract (omit if avoiding alcohol flavor) — note: use extracts sparingly
Optional add-ons let you play with texture and contrast, but none are required for a delicious result.
Substitutions and shortcuts
- Heavy cream substitute: Use 2 cups of whipping cream labeled "heavy" or "whipping" cream—avoid light cream, as it won’t whip properly. No-churn ice cream relies on plenty of fat in the cream to hold air.
- Sweetened condensed milk: This is central to sweetness and stability. If you must, you can try evaporated milk with added sugar, but results will be different.
- Coconut extract: Skip it if you don’t have it; the toasted coconut provides most of the coconut flavor.
- Shortbread cookies: Graham crackers, digestive biscuits, or even crushed vanilla wafers work in a pinch; adjust sweetness accordingly.
- Caramel sauce: Use store-bought caramel for convenience, or make a quick caramel by melting 1 cup sugar until amber and stirring in 1/2 cup cream off the heat (be careful — hot sugar burns).
- Toasted coconut: If you don’t have toasted coconut, spread unsweetened coconut on a baking sheet and toast at 325°F (160°C) for 5–8 minutes, stirring often until golden.
Shortcuts keep this accessible for busy nights. I often use store-bought caramel and pre-toasted coconut to save time.
How to Make Samoa Ice Cream Step-by-Step
I like to prep everything before I start whipping the cream — it makes the process calm and joyful. Here’s how I do it, step by step, with tips for beginners.
Chill your tools and ingredients
- Place a large mixing bowl and the beaters or whisk attachment in the fridge for at least 15–20 minutes before you start. Cold equipment helps the cream whip faster and attain a stable texture. Keep the heavy cream in the coldest part of the fridge until you’re ready.
Toast the coconut (if not already toasted)
- Spread the coconut flakes in an even layer on a baking sheet. Toast at 325°F (160°C) for 5–8 minutes, stirring once or twice, until they are golden brown and fragrant. Watch carefully — coconut browns quickly. Let cool completely.
Roughly chop the cookies
- Break the shortbread cookies into chunks — aim for a mix of small pieces and a few larger shards for contrast. Measure out 1 cup total; reserve 3/4 cup for mixing into the ice cream and the rest for topping.
Whip the cream to soft peaks
- Pour the very cold heavy whipping cream into the chilled bowl. Using a hand mixer or stand mixer on high speed, whip for 4–5 minutes. You’re aiming for soft, billowy peaks that hold shape but are still fluffy. If you overwhip, the cream can turn grainy or become butter; stop once peaks form and the cream looks airy and stable.
Gently fold in the sweetened condensed milk and extracts
- Reduce the mixer to low speed (or switch to a spatula for more control). Add the 14-ounce can of sweetened condensed milk, the vanilla extract, and the coconut extract (if using). Mix just until combined. The mixture should be smooth and silky, not deflated. Taste the base — it should be sweet and creamy.
Add coconut, caramel, and cookies
- Measure 3/4 cup of the toasted coconut and 3/4 cup of the chopped cookies. Carefully fold these into the whipped base with a spatula. Also drizzle in the 1/2 cup caramel sauce as you fold, but don’t over-blend; you want ribbons of caramel rather than everything being one color. Folding gently keeps the mixture light and airy.
Layer and finish in the loaf pan
- Choose a loaf pan or another freezer-safe container with a lid. Spoon about half of the ice cream base into the pan and spread evenly. Drizzle a little extra caramel over this layer and scatter a few of the reserved coconut flakes and cookie bits. Add the remaining ice cream base on top. Smooth the surface with the spatula.
Garnish for show and texture
- Sprinkle the remaining toasted coconut and cookie pieces across the top. Drizzle chocolate sauce in a lattice or zigzag pattern. For a decorative look and a hint of sea-salt contrast, finish with a light sprinkle of flaky sea salt.
Freeze properly
- Cover the pan tightly with plastic wrap or a lid to prevent ice crystals, and freeze for at least 6 hours, ideally overnight. The longer it freezes, the firmer the texture will be.
Scoop and serve
- To scoop neatly, run your ice cream scoop under hot water and shake off excess before scooping. The warmer scoop glides through frozen ice cream more easily. Serve with extra caramel or chocolate sauce if you like.
Tips for beginners:
- Don’t rush chilling and whipping steps. Patience makes the texture better.
- Folding is key — do it gently to keep air in the base.
- Avoid overmixing after adding caramel; you want visible swirls.
Common Mistakes to Avoid
Making ice cream at home is forgiving most of the time, but there are a few mistakes that can turn a cozy batch of Samoa Ice Cream into a dense or icy disappointment. Start here and you’ll avoid the usual traps.
Mistake 1: Not chilling your bowl and beaters
Warm equipment slows or prevents cream from whipping properly, resulting in loose ice cream that won’t hold air. I always pop my bowl and beaters in the fridge so the cream whips quickly and forms stable peaks.
Mistake 2: Overwhipping or underwhipping the cream
Overwhipping turns cream grainy and buttery, while underwhipping leaves the base too soft to hold mix-ins. Aim for soft to medium peaks — look for billowy, stable peaks that aren’t dry.
Mistake 3: Mixing the caramel and mix-ins too aggressively
If you stir until everything is one color, you lose the pretty caramel ribbons and the contrast in texture. Fold gently and add the caramel in ribbons; that way each scoop has a little of everything.
Serving Suggestions for Samoa Ice Cream
This ice cream is a treat on its own, but I love turning it into little dessert moments. It’s great for family nights, potlucks, or when a slice of nostalgia is needed.
Here are three easy ways I like to serve it.
With warm brownies or skillet cookies
A warm brownie topped with a scoop of Samoa Ice Cream creates a hot-and-cold contrast that’s irresistible. The caramel melts slightly and the toasted coconut crunch stands up to the fudgy base.
As an ice cream sandwich
Use two slightly soft shortbread cookies to sandwich a thick scoop of the ice cream. Roll the edges in extra toasted coconut or cookie crumbs for a hand-held treat.
Topped with extra drizzle and sea salt
A few extra drizzles of chocolate and caramel, plus a tiny sprinkle of flaky sea salt, elevates the flavors. That hit of salt brightens the sweetness and makes the chocolate taste deeper.
Conclusion
I hope this Samoa Ice Cream recipe makes your kitchen feel cozy and a little adventurous. It’s easier than it looks: with a whipped cream base and sweetened condensed milk you can craft a scoop that tastes like the beloved cookie — coconut, caramel, chocolate, and shortbread all in one. I like that it’s completely customizable, too; you can add nuts, change cookies, or adjust the caramel for sweetness. If you’re curious about the word “ice cream” in Samoan and how it’s said, this little language detour is fun: how to say ‘ice cream’ in Samoan. Now, grab your chilled bowl and let’s get scooping — you’ll be amazed at how quickly this cozy dessert comes together.
FAQs About Samoa Ice Cream
Q1: Can I make Samoa Ice Cream without an ice cream maker?
A1: Yes — this Samoa Ice Cream is a no-churn recipe, meaning the whipped cream and sweetened condensed milk create a stable base without an ice cream machine. Simply fold in your mix-ins and freeze; the result is creamy and scoopable after several hours.
Q2: How long will Samoa Ice Cream keep in the freezer?
A2: Properly stored in an airtight container, Samoa Ice Cream will keep well for about 2–3 weeks. After that, ice crystals can form and the texture may become icy. Press a layer of plastic wrap directly onto the surface before sealing to minimize freezer burn.
Q3: Can I make Samoa Ice Cream ahead for a party?
A3: Absolutely. I often make this Samoa Ice Cream a day ahead. It needs at least 6 hours to firm up, so making it the night before is perfect. Remove it from the freezer 5–10 minutes before serving to soften slightly for easier scooping.
Q4: Is Samoa Ice Cream kid-friendly?
A4: Yes. This Samoa Ice Cream is very kid-friendly — no alcohol and no complex techniques. You can involve kids in folding in the coconut and cookie pieces or decorating the top with extra drizzle.
Q5: Can I adapt Samoa Ice Cream to be dairy-free or vegan?
A5: You can try, but results differ because traditional no-churn relies on heavy cream and sweetened condensed milk. For a dairy-free version, use full-fat coconut cream chilled until whipped and a dairy-free sweetened condensed milk alternative. Expect a slightly different texture and an even stronger coconut flavor, which can be lovely if you like coconut.
Samoa Ice Cream
- Total Time: 360 minutes
- Yield: 8 servings 1x
- Diet: Vegetarian
Description
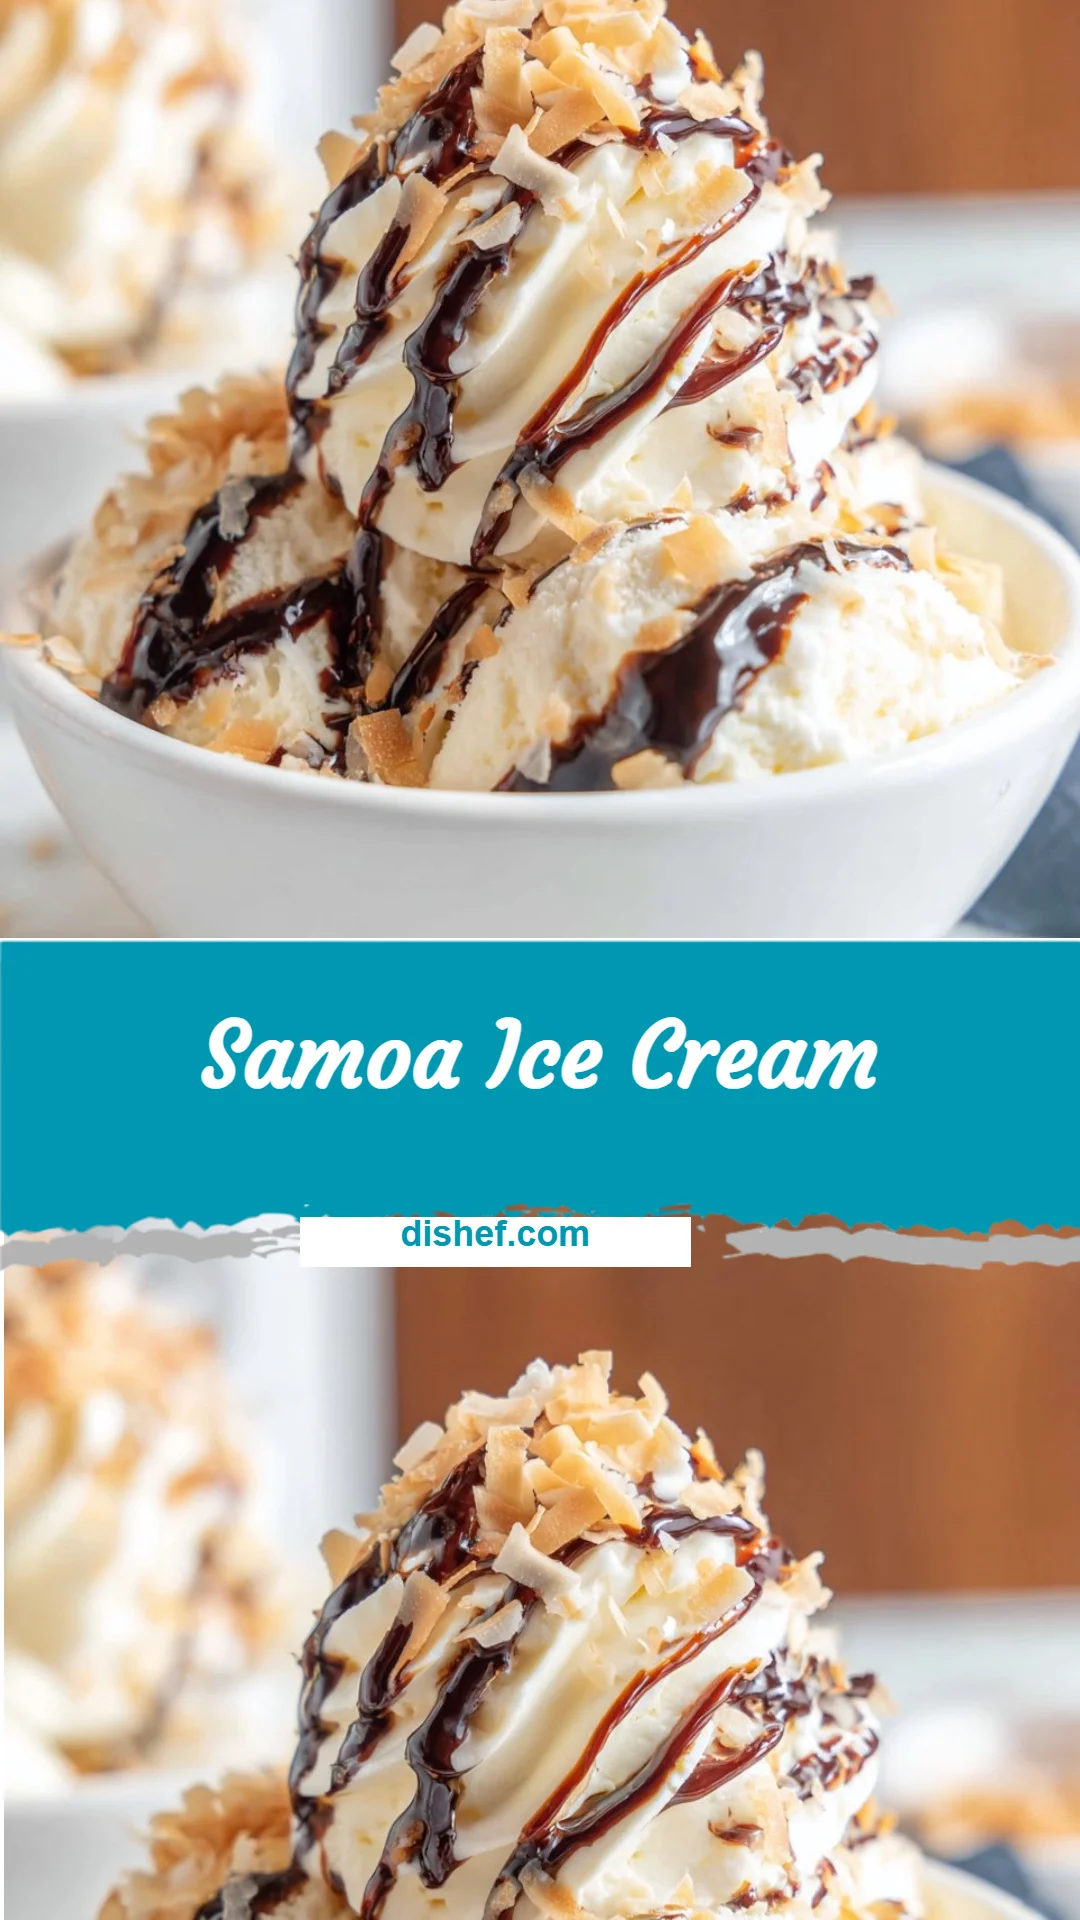
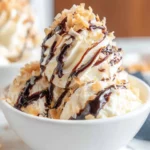
A creamy, no-churn Samoa Ice Cream infused with toasted coconut, shortbread cookie pieces, and swirls of caramel and chocolate, reminiscent of the classic Samoa cookie.
Ingredients
- 2 cups (about 480 ml) heavy whipping cream, very cold
- 14 ounces (about 395 g) sweetened condensed milk (one standard can)
- 1 teaspoon pure vanilla extract
- 1/2 teaspoon coconut extract (optional)
- 1 cup sweetened toasted coconut flakes, divided
- 1 cup shortbread cookies, roughly chopped
- 1/2 cup caramel sauce (store-bought or homemade)
- Chocolate sauce for drizzling/garnish
- 1/4–1/2 cup toasted pecans or macadamia nuts (optional)
- 1/4 cup shredded unsweetened coconut (optional)
- A pinch of sea salt (optional)
- 1–2 tablespoons cocoa nibs or finely chopped dark chocolate (optional)
Instructions
- Chill your tools and ingredients by placing a large mixing bowl and beaters in the fridge for at least 15–20 minutes.
- Toast the coconut on a baking sheet at 325°F (160°C) for 5–8 minutes until golden brown and fragrant.
- Roughly chop the shortbread cookies and reserve 3/4 cup for topping.
- Whip the very cold heavy whipping cream in the chilled bowl for 4–5 minutes until soft peaks form.
- Gently fold in the sweetened condensed milk and extracts until smooth.
- Add 3/4 cup toasted coconut, 3/4 cup chopped cookies, and drizzle in the caramel, folding gently.
- Layer half of the ice cream base into a loaf pan, drizzle with caramel, and top with reserved coconut and cookie pieces.
- Add the remaining ice cream base, smooth the surface, and garnish with remaining coconut, cookie pieces, and chocolate sauce.
- Cover and freeze for at least 6 hours or ideally overnight.
- Scoop and serve, optionally drizzling with extra caramel or chocolate sauce.
Notes
Tips: Chill your mixing tools for better whipping results. Fold gently to maintain airiness. Serve with warm brownies or as an ice cream sandwich for enhanced experiences.
- Prep Time: 15 minutes
- Cook Time: 0 minutes
- Category: Dessert
- Method: No-Churn
- Cuisine: American
Nutrition
- Serving Size: 1 scoop
- Calories: 350
- Sugar: 30g
- Sodium: 100mg
- Fat: 22g
- Saturated Fat: 14g
- Unsaturated Fat: 8g
- Trans Fat: 0g
- Carbohydrates: 36g
- Fiber: 1g
- Protein: 4g
- Cholesterol: 90mg
Keywords: Samoa Ice Cream, No-Churn Ice Cream, Dessert Recipes, Coconut, Chocolate, Caramel