Last updated on May 4, 2026
I still remember the first time I tried to shape something that was more crumb than dough—my kitchen looked like a science experiment and I laughed so hard I almost forgot to preheat the oven. Have you ever craved warm, simple bread but felt intimidated by long ingredient lists or unfamiliar techniques? If so, this cozy, no-fuss recipe is for you; even if you’re a beginner who worries about rising times or yeast, these 3-Ingredient Quinoa Bread Rolls are forgiving, quick, and very satisfying. If you like comforting bakes with a healthy twist, you might also enjoy my take on banana bread cinnamon rolls for another easy, crowd-pleasing treat.
A Quick Look at This 3-Ingredient Quinoa Bread Rolls Recipe
These 3-Ingredient Quinoa Bread Rolls pack a surprising nutritional punch while keeping things simple. Quinoa flour contributes plant-based protein and essential minerals such as magnesium and iron, and the whole recipe is naturally low in added sugar. They’re also fiber-friendly—especially if you stir in seeds or grated veggies—which helps keep you full longer and supports balanced meals. Because the rolls are quick to prepare and freeze-friendly, they fit neatly into meal prep routines or lighter comfort-food evenings.
Ingredients You’ll Need for 3-Ingredient Quinoa Bread Rolls
Essentials
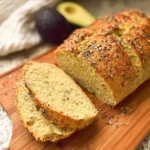
- 1 cup quinoa flour — The base of these rolls. Quinoa flour adds a gentle nutty flavor, natural protein, and micronutrients that help round out a balanced bite.
- 1 cup lukewarm water — Hydrates the flour and activates the texture; lukewarm is comfortable to the touch and helps the dough come together faster.
- 1/2 teaspoon salt — Brings out the flavors and balances the natural nuttiness of the quinoa flour.
Optional add-ons
These let you nudge the rolls toward savory breakfasts, sandwich rolls, or snackable bites. Add any combination to match your taste:
- 1–2 tablespoons seeds: sesame, sunflower, chia, or flaxseed — Seeds add crunch, healthy fats, and extra fiber.
- 1 teaspoon dried herbs: oregano, rosemary, or thyme — For a fragrant savory note.
- 1–2 cloves garlic, minced — For a warm, aromatic kick.
- 1/4 cup grated carrot or zucchini — Adds moisture, mild sweetness, and a little extra fiber and vitamins.
- 1 tablespoon nutritional yeast — Gives a cheesy, savory umami lift and a vitamin-friendly boost.
Substitutions and shortcuts
- Flour swaps: If you don’t have quinoa flour, a blend of brown rice flour and a small amount of tapioca starch can work in a pinch, but the texture and protein content will differ. I recommend sticking to quinoa flour when possible for the best results.
- Liquid adjustments: If your kitchen is very dry, you might need an extra tablespoon of water. If the dough feels too wet, dust your hands with a pinch of extra quinoa flour while shaping.
- Salt alternatives: You can use 1/4 to 1/2 teaspoon of a low-sodium salt if you’re monitoring sodium intake, but be cautious—too little salt can leave the rolls tasting flat.
- Make-ahead shortcut: Mix the dough and shape the rolls, then freeze them raw on a tray. Once solid, transfer to a bag and bake from frozen, adding a few extra minutes to the bake time.
- For a chewier texture: Let the shaped rolls rest a little longer (up to 20 minutes) before baking; this can help the dough relax and hold together better. For more guidance on different quinoa-based breads, I sometimes reference a clear, friendly quinoa bread recipe that inspired a few of my texture tweaks.

How to Make 3-Ingredient Quinoa Bread Rolls Step-by-Step
I like to keep this method friendly for beginners while sharing small tips that make a big difference. The goal is simple: a sticky, workable dough that bakes into golden, tender rolls.
Preheat and prepare
- Preheat your oven to 375°F (190°C). Line a baking sheet with parchment paper so the bottoms don’t stick and cleanup is easy.
- Preheating ensures the rolls get an immediate lift and a nice crust.
Mix the dry ingredients
- In a medium bowl, whisk together 1 cup of quinoa flour and 1/2 teaspoon salt until evenly combined. This even distribution helps each roll taste balanced.
Heat and combine the water
- Heat 1 cup of water until lukewarm—comfortable to touch, not hot. Add the water to the dry mix and stir with a wooden spoon or spatula until a sticky dough forms.
- Tip: Stir just until combined. Over-mixing won’t ruin this dough the way it can with gluten flours, but you still want a gentle hand to keep the texture light.
Rest briefly
- Let the dough rest for 5–10 minutes. This short rest allows the flour to fully hydrate, which improves texture and makes shaping easier.
- If you added grated zucchini or carrot, the rest lets those veggies release a little moisture and integrate their flavor.
Shape the rolls
- With slightly wet or floured hands, divide the dough into 6–8 portions. Shape each portion into a roll by cupping and gently forming a round or slightly oblong shape.
- Because the dough is sticky, lightly wetting your hands between shapes prevents sticking without adding extra flour. Pressing them just a little flatter will speed baking and give more surface crisp.
Add toppings (optional)
- Sprinkle seeds, herbs, or a pinch of extra salt on top before baking. They’ll toast in the oven and add texture.
Bake until golden
- Bake for 20–25 minutes at 375°F (190°C). Look for a golden color and a firm feel when you gently tap the top.
- Note: Ovens vary. If the tops brown too quickly, lower the temperature by 10–15°F and extend the bake time a few minutes.
Cool before serving
- Cool the rolls on a wire rack for at least 10–15 minutes. Quinoa flour bakes a little differently than wheat, and cooling helps the crumb set and prevents the rolls from falling apart when sliced.
- If you can, let them rest a full 20 minutes for the best slicing experience—warm but set is where I like them.
Tips for nutrient preservation and texture:
- Add seeds or nutritional yeast after shaping rather than mixing large seeds into the dough if you want them concentrated on top—this keeps their texture intact.
- Minimal handling preserves air pockets. Quinoa-based doughs don’t rely on gluten, so gentle shaping wins.
- If you stir in grated veggies, squeeze out excess water from zucchini to avoid a soggy interior. Mild moisture is fine and helps keep the rolls tender.
These rolls are forgiving—if one batch comes out a touch dense, I’ll toast a slice and turn it into a crunchy sandwich base. I find small adjustments each time make it better for my kitchen’s humidity and oven quirks.
Common Mistakes to Avoid
Even simple recipes have a few traps that can trip up a beginner. I’ll walk through the ones I see most often and how to sidestep them.
Mistake 1: Using water that’s too hot or too cold
If the water is hot, it can make the dough gloopy and affect texture; if it’s too cold, the flour may not hydrate fully leading to dryness. Aim for lukewarm—pleasant to the touch.
Mistake 2: Over-handling the sticky dough
Because this dough is naturally sticky and lacks gluten, people often knead or overwork it trying to develop structure. Gentle shaping is the trick—minimal handling preserves the tender crumb.
Mistake 3: Skipping the cooling time
Quinoa flour needs a little time to set after baking. Cutting too soon can make the rolls crumble. Give them at least 10–15 minutes on a wire rack; patience pays off.
Serving Suggestions for 3-Ingredient Quinoa Bread Rolls
These rolls are versatile—satisfying on their own with a smear of butter or dressed up into a filling for a wholesome meal. Here are three ways I love to serve them.
Savory breakfast or brunch
Slice a warm roll and top with mashed avocado, a squeeze of lemon, and a sprinkle of seeds. Add a soft-boiled egg or smoked salmon alternative for extra protein.
Sandwich or lunch base
Use the rolls as mini sandwich buns—grilled vegetables with hummus or a hearty chickpea salad make a filling, balanced lunch option. They work well with both cold and warm fillings.
Snack or soup companion
Serve one or two rolls alongside a bowl of vegetable soup or a lentil stew. They’re great for dipping and add a little chew and comfort without being heavy.
Conclusion
These 3-Ingredient Quinoa Bread Rolls are a simple, nourishing addition to a health-conscious kitchen—easy enough for a weekday, flexible enough for meal prep, and satisfying enough to calm a bread craving without fuss. I love that they let you control add-ins like seeds and veggies so the rolls fit into a variety of eating styles and balance well with proteins, healthy fats, and vegetables. If you’d like a deeper dive into the original inspiration and nutrition notes for a similar recipe, check out 3-Ingredient Quinoa Bread Rolls (9g Protein) for another helpful perspective. Try a batch this week, and tell me which add-ins you love most—I’m always eager to hear new combinations.
FAQs About 3-Ingredient Quinoa Bread Rolls
Q1: Can I make the 3-Ingredient Quinoa Bread Rolls gluten-free?
A1: Yes—these rolls are naturally gluten-free when you use certified gluten-free quinoa flour and ensure any add-ins (like seeds or nutritional yeast) are also gluten-free. Because they don’t rely on gluten for structure, they work well for people avoiding wheat.
Q2: How long do 3-Ingredient Quinoa Bread Rolls keep, and can I freeze them?
A2: Stored in an airtight container at room temperature, the rolls stay fresh for 2–3 days. For longer storage, freeze cooled rolls in a sealed bag for up to 3 months. Reheat from frozen in a warm oven for a few minutes.
Q3: Are the 3-Ingredient Quinoa Bread Rolls suitable for meal prep?
A3: Absolutely. These rolls are great for meal prep because they’re quick to mix, bake, and freeze. I often make a double batch on the weekend and use them for toast, sandwiches, or soup sides during the week.
Q4: Can I add vegetables or seeds to the 3-Ingredient Quinoa Bread Rolls without changing the bake time?
A4: Yes—small amounts like 1/4 cup grated carrot or zucchini and a tablespoon of seeds typically do not require major adjustments to the bake time. If you add very wet ingredients, gently squeeze excess moisture from grated veggies to avoid a soggy center.
Q5: What’s the best way to get a golden crust on these 3-Ingredient Quinoa Bread Rolls?
A5: Preheat the oven fully, use parchment paper for easy release, and consider a light brush of olive oil on the tops before baking. Sprinkling seeds or herbs on top also promotes beautiful browning and texture.
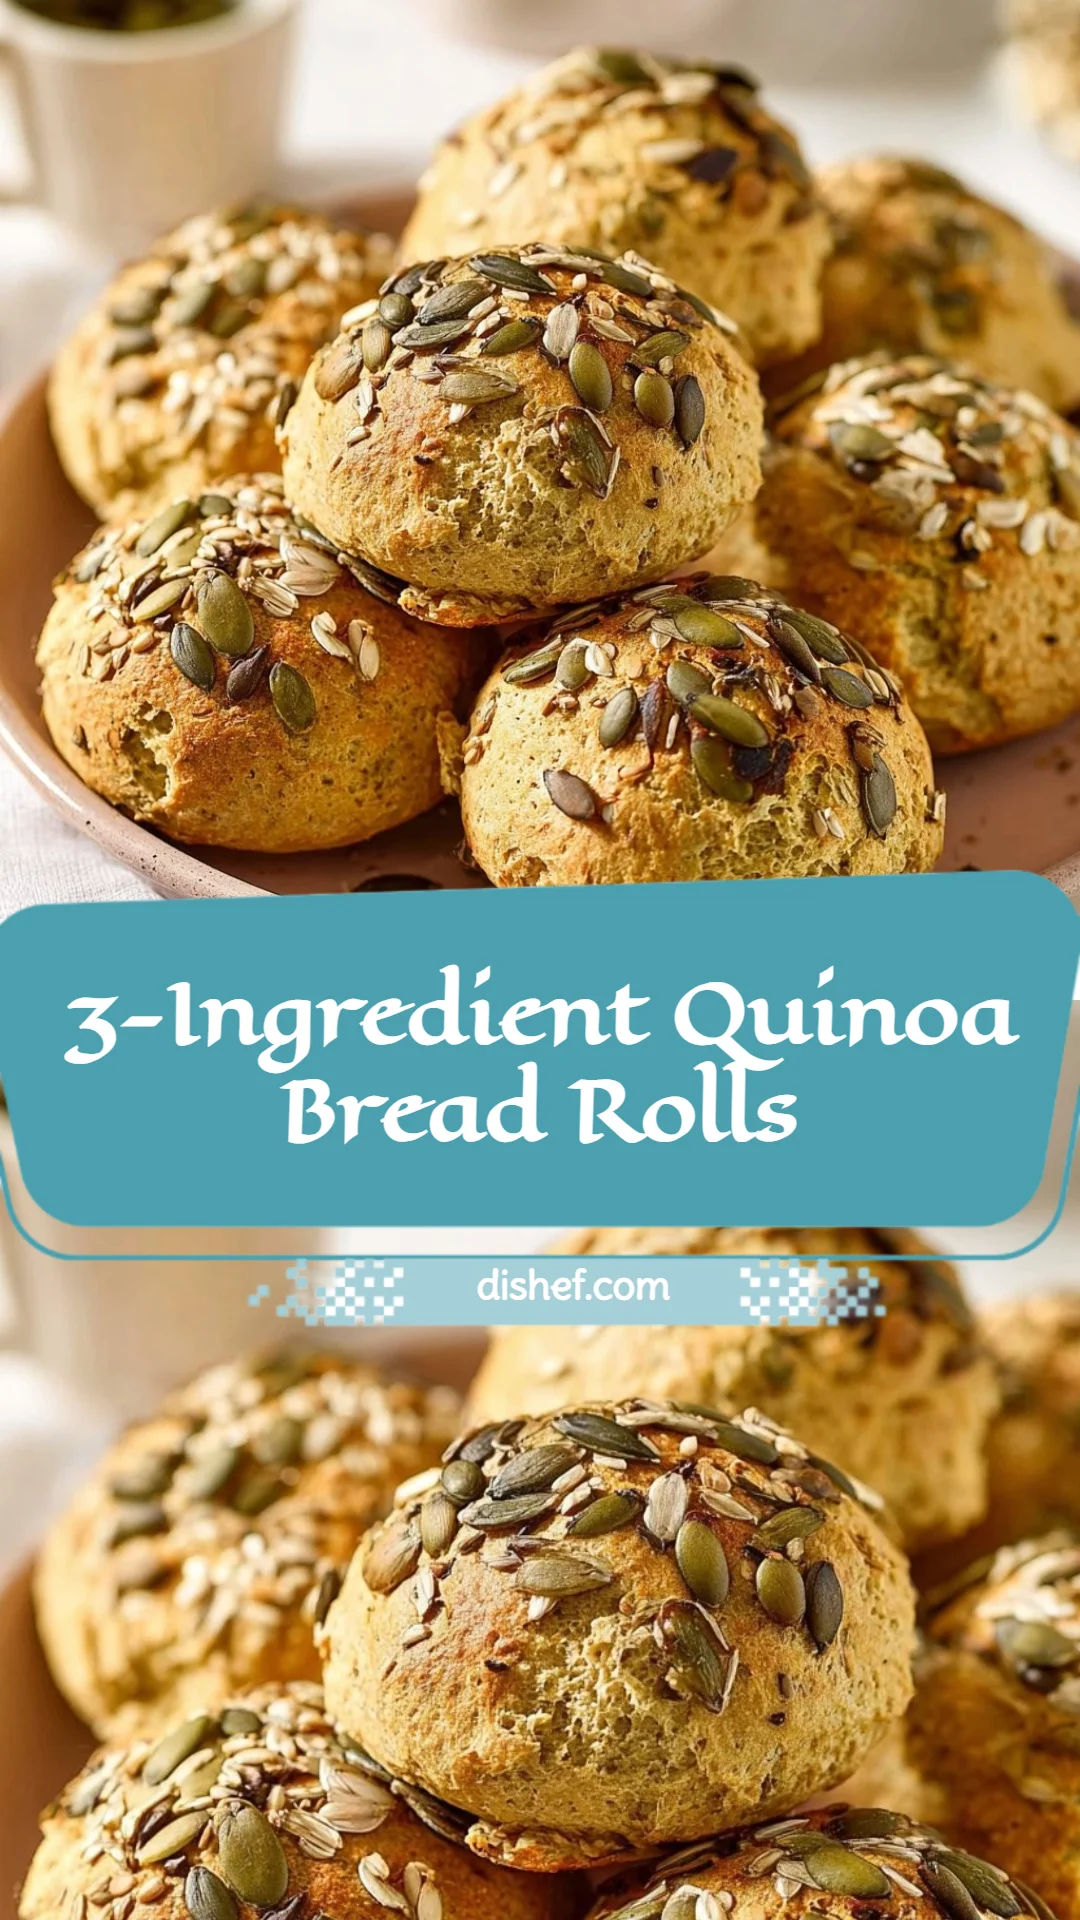
3-Ingredient Quinoa Bread Rolls
- Total Time: 35 minutes
- Yield: 6-8 rolls 1x
- Diet: Gluten-Free, Vegetarian
Description
These forgiving and satisfying quinoa bread rolls are simple to make with just three ingredients, perfect for beginners and packed with nutrition.
Ingredients
- 1 cup quinoa flour
- 1 cup lukewarm water
- 1/2 teaspoon salt
- 1–2 tablespoons seeds (optional): sesame, sunflower, chia, or flaxseed
- 1 teaspoon dried herbs (optional): oregano, rosemary, or thyme
- 1–2 cloves garlic, minced (optional)
- 1/4 cup grated carrot or zucchini (optional)
- 1 tablespoon nutritional yeast (optional)
Instructions
- Preheat your oven to 375°F (190°C) and line a baking sheet with parchment paper.
- Mix together 1 cup of quinoa flour and 1/2 teaspoon salt in a medium bowl until evenly combined.
- Heat 1 cup of water until lukewarm, then add it to the dry ingredients, stirring until a sticky dough forms.
- Let the dough rest for 5–10 minutes to fully hydrate.
- Divide the dough into 6–8 portions and shape each into a roll.
- Sprinkle optional toppings on each roll before baking if desired.
- Bake for 20–25 minutes until golden and firm to the touch.
- Cool on a wire rack for at least 10–15 minutes before serving.
Notes
Avoid overworking the dough and allow the rolls to cool after baking for the best results. Add toppings before baking for extra flavor and texture.
- Prep Time: 10 minutes
- Cook Time: 25 minutes
- Category: Side Dish
- Method: Baking
- Cuisine: American
Nutrition
- Serving Size: 1 roll
- Calories: 150
- Sugar: 0g
- Sodium: 150mg
- Fat: 5g
- Saturated Fat: 1g
- Unsaturated Fat: 4g
- Trans Fat: 0g
- Carbohydrates: 22g
- Fiber: 3g
- Protein: 5g
- Cholesterol: 0mg
Keywords: quinoa bread, gluten-free rolls, easy bread recipe, healthy baking, vegetarian side dish