Last updated on January 26, 2025
Picture this: it’s a sunny afternoon, and you’re craving something sweet yet refreshing, a treat that satisfies without being heavy. But there’s one twist—you need it to be gluten-free. Whether for yourself, a family member, or a friend, gluten-free baking often feels like an intimidating venture. But when it comes to these lemon bars, you’re in for a surprise. This recipe is an invitation to indulge in every tangy, mouthwatering bite without a worry in sight. A delightful citrus treat, gluten free lemon bars recipe deliver a tartness balanced by a sweet, crumbly crust that’s impossible to resist.
For many, traditional lemon bars bring back memories of sunny kitchens and family gatherings. But what if I told you that making them gluten-free could be just as satisfying, without sacrificing any of the nostalgic flavors? Let’s dive into this simple yet delicious recipe for gluten free lemon bars and explore a few baking secrets along the way.
Table of Contents
What Makes These Gluten Free Lemon Bars Irresistible?

Tangy Flavor and Perfect Texture
Let’s start with the most compelling reason these bars are so loved: flavor. Lemon bars are all about balance. The buttery crust, made gluten-free here, provides a soft, crumbly base that perfectly complements the bright, tart lemon filling. You get a burst of citrus followed by a soft melt-in-your-mouth texture—each bite is as refreshing as it is indulgent.
Unlike some gluten-free recipes that fall flat in taste or texture, these bars have been crafted to hit all the right notes. You won’t notice any difference from the traditional versions, except for perhaps how light they feel. The gluten-free crust is designed to crumble just enough, offering a delightful contrast to the creamy lemon filling.
Health-Conscious Ingredients for a Lighter Dessert
Going gluten-free can be about more than just dietary restrictions. These bars are made with a blend of gluten-free flour that’s lighter on the stomach, perfect for anyone looking for a more digestible option. It’s also a great way to cater to different guests without compromising flavor or texture.
Essential Ingredients for Gluten Free Lemon Bars

Before you start baking, let’s look at the ingredients you’ll need. Each ingredient has been chosen to deliver the best possible flavor and texture while keeping things gluten-free.
Main Ingredients Table
| Ingredient | Quantity | Details |
| Gluten-Free Flour Blend | 1 cup | A mix that includes xanthan gum for binding |
| Unsalted Butter | 1/2 cup | Softened for easier blending |
| Sugar | 1 cup | For the filling, to balance the tartness |
| Fresh Lemon Juice | 1/3 cup | Freshly squeezed for optimal flavor |
| Lemon Zest | 1 tbsp | Intensifies the citrus flavor |
| Eggs | 3 large | At room temperature for a smooth filling |
| Powdered Sugar (optional) | For dusting | Adds a sweet finishing touch |
Selecting the Right Gluten Free Flour Blend
Using a quality gluten-free flour blend is essential. Look for one that includes xanthan gum or guar gum, which act as binding agents and help the crust hold together. Blends with rice flour, potato starch, and tapioca starch tend to work best for baked goods, offering a light texture while remaining sturdy enough for slicing.
Step-By-Step Instructions for Perfect Gluten Free Lemon Bars Recipe
Following these steps will make the baking process straightforward and enjoyable. Remember, preparation is key, so measure everything in advance to avoid any stress later.

1. Prepare the Crust
- Preheat Your Oven: Start by preheating the oven to 350°F (175°C). This step ensures that your crust bakes evenly.
- Mix Ingredients: In a bowl, combine your gluten-free flour, softened butter, and sugar. Work the butter into the flour using your fingers or a pastry cutter until the mixture takes on a coarse, crumbly texture.
- Bake the Crust: Press the crust mixture evenly into the bottom of an 8×8-inch baking dish. Bake for approximately 15 minutes, until the edges turn a golden brown. The slight crispness here is essential—it will hold up beautifully under the filling.
2. Make the Lemon Filling
- Whisk the Filling: In a separate bowl, whisk together the eggs, sugar, lemon juice, and zest until the mixture is smooth and well combined. Be gentle but thorough; you don’t want bubbles, just a creamy blend.
- Pour Over the Crust: Once the crust is ready, pour the lemon filling over it. The filling should spread evenly across the crust, so make sure the baking dish is level.
3. Bake & Chill
- Final Bake: Return the dish to the oven and bake for an additional 20 minutes. The filling should set, with just a slight jiggle in the center. Keep an eye on it—overbaking will reduce the lemon’s fresh taste.
- Cool & Refrigerate: Allow the lemon bars to cool completely at room temperature before placing them in the refrigerator. Chilling for at least 2 hours enhances the flavor and allows for cleaner slicing.
4. Finishing Touch
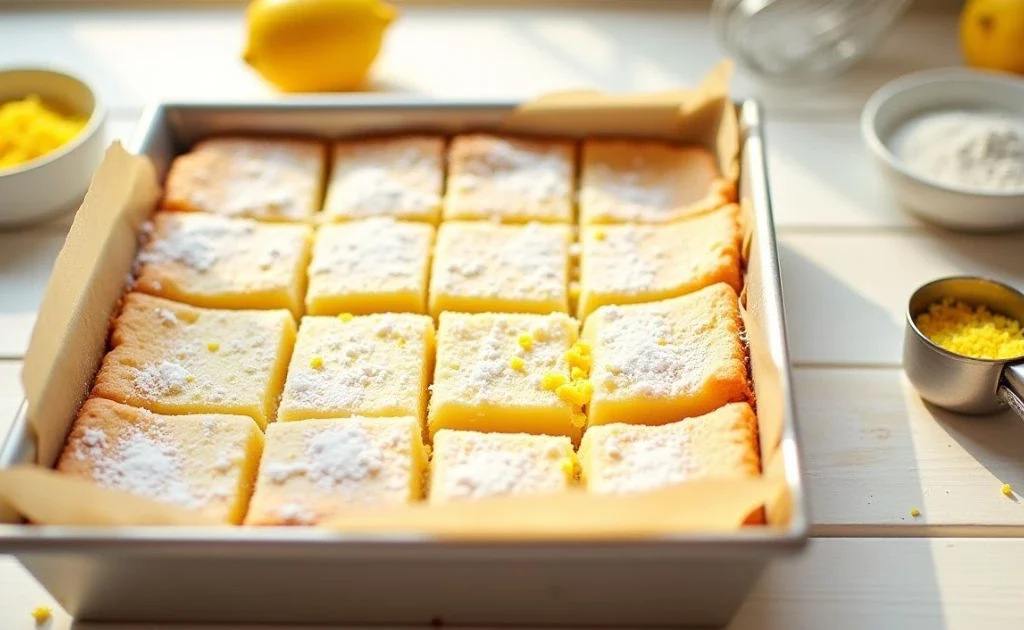
- Dust with Powdered Sugar: Just before serving, dust the top of the bars with powdered sugar. This simple addition elevates the appearance and adds a hint of sweetness, balancing the tart lemon flavor.
Tips & Tricks for Baking Perfect Lemon Bars
Even if you’re an experienced baker, there are a few insider tips that will make your lemon bars turn out better than ever.

Adjusting for Flavor Preferences
If you’re someone who loves an extra punch of citrus, feel free to add a bit more lemon zest or juice. Taste the filling before baking—just a small spoonful—to ensure it meets your tartness preference. Conversely, if you prefer a more subtle lemon flavor, reduce the lemon juice slightly.
Troubleshooting Tips
- If the Crust is Too Crumbly: Make sure your butter was softened but not melted. Also, using a flour blend with xanthan gum helps the crust hold together.
- If the Filling Doesn’t Set: Increase baking time by a few minutes, checking frequently. The filling should have a slight jiggle but be mostly firm.
- For Even Slices: Use a sharp knife and wipe it between cuts for clean edges.
Storage Tips
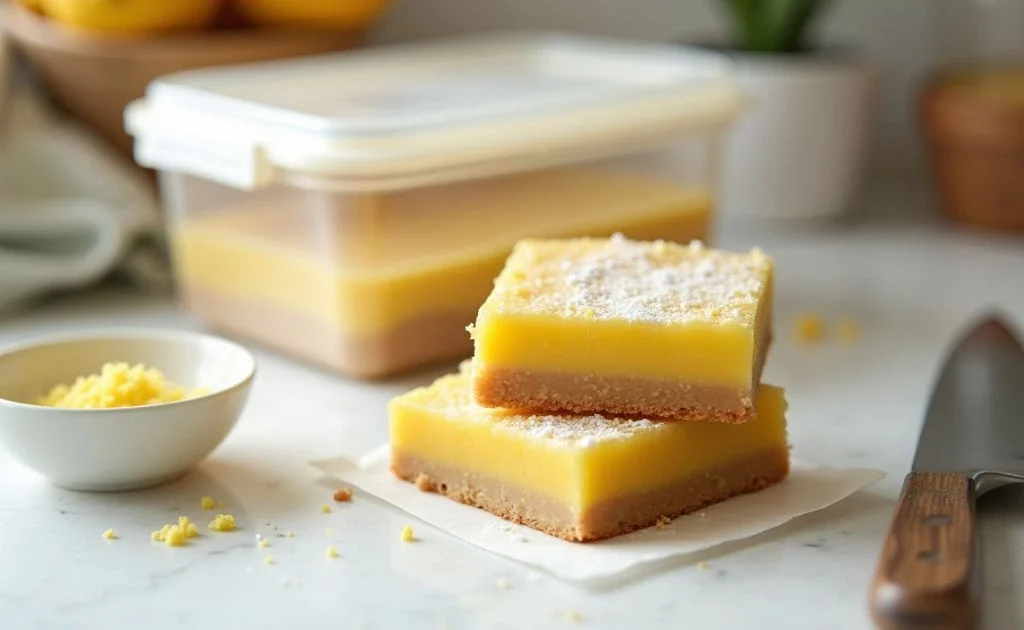
Gluten-free lemon bars should be stored in an airtight container in the refrigerator. These bars will keep fresh for about a week. To store them longer, wrap each one securely in plastic wrap and place them in an airtight container before freezing; they’ll stay good for up to three months.
Nutritional Information
These lemon bars are a balanced treat, with a reasonable calorie count and not too much sugar. They’re light enough for an everyday snack and indulgent enough for special occasions.
| Nutrient | Per Serving |
| Calories | 180 |
| Total Fat | 9g |
| Sugars | 12g |
| Protein | 2g |
| Carbohydrates | 24g |
Note: Based on an 8-serving recipe.
In this video you will learn how to make gluten-free lemon bars that are a fresh twist on a timeless favorite, crafted with just five ingredients for a quick and delightful dessert. Bursting with zesty lemon flavor and a tender, melt-in-your-mouth texture, they’re an ideal choice for a simple, satisfying treat. Featuring almond flour, fresh lemon juice, and the natural sweetness of maple syrup, these bars strike the perfect balance between wholesome and delicious.
Conclusion
Now that you’ve got all the tips, tricks, and step-by-step instructions, you’re ready to make these irresistible gluten-free lemon bars. They’re ideal for any occasion—whether you’re preparing a simple family dessert, hosting a party, or just want something sweet and refreshing for yourself. Each bite brings a little sunshine to your day, with the perfect blend of tart and sweet.
Give this recipe a try, and don’t be surprised if these gluten-free lemon bars quickly become a favorite in your home. And if you’ve enjoyed this recipe, why not share it with others? There’s something truly rewarding about spreading the joy of homemade, gluten-free goodness.
Frequently Asked Questions
Is it possible to use almond flour to make gluten-free lemon bars?
Definitely! You can swap the gluten-free flour blend for almond flour if that’s your preference. Just note that almond flour will add a slightly nutty flavor and denser texture, which can be delightful in its own right. Consider adding a tablespoon of coconut flour if you want to keep the crust light.
How do I know when my gluten-free lemon bars are ready?
Achieving flawless lemon bars comes down to looking for a gentle jiggle in the center. You’ll know they’re done when the edges are set, but the middle has a bit of movement when shaken gently. Avoid overbaking, as it can lead to a drier, less flavorful filling.
Can I freeze gluten-free lemon bars?
Yes! Lemon bars freeze very well. Simply wrap each bar in plastic wrap and store them in an airtight container. When you’re ready to enjoy them, let them thaw in the fridge or at room temperature for about an hour.


1 thought on “Tangy Bliss: Irresistible Gluten Free Lemon Bars Recipe”