Last updated on December 8, 2024
There’s something magical about sugar cookies. They’re simple, versatile, and perfect for any celebration. Whether it’s the holidays, a birthday party, or just a cozy afternoon of baking, sugar cookies always bring people together.
But for those living a gluten-free lifestyle, finding a sugar cookie recipe that delivers on taste, texture, and appearance can feel like a challenge. I’ve been there—disappointed by crumbly, dry cookies or dough that was too fragile to roll out.
After countless experiments and adjustments, I found a gluten-free sugar cookie recipe that’s not just “good for gluten-free,” but truly delicious. These cookies are buttery, soft, and hold their shape perfectly, making them ideal for cutting and decorating. By the end of this guide, you’ll have all the knowledge and confidence you need to bake cookies that everyone will love—whether they’re gluten-free or not.
Why Choose Gluten-Free Sugar Cookies?
Meeting Dietary Needs Without Compromise
Living gluten-free doesn’t mean giving up on your favorite treats. For people with celiac disease, gluten intolerance, or those choosing to avoid gluten, finding inclusive recipes that taste amazing is essential.
This gluten-free sugar cookie recipe is designed to replicate everything you love about traditional sugar cookies: the buttery flavor, the soft yet sturdy texture, and the endless decorating possibilities. The best part? Your guests won’t even realize they’re gluten-free!
Perfect for Any Celebration

Sugar cookies are a blank canvas for creativity. You can adapt them for any occasion:
- Christmas: Snowflakes, reindeer, and trees with colorful icing.
- Valentine’s Day: Hearts and roses with romantic red and pink hues.
- Easter: Pastel eggs, bunnies, and chicks.
- Everyday Fun: Alphabet letters, animals, or custom shapes.
These cookies are perfect for cookie exchanges, gifts, or as a fun family activity. You’ll love how easily they can be tailored to suit any theme or season.
Essential Ingredients for Gluten-Free Sugar Cookies
What You’ll Need
Here’s a detailed table to keep your prep work organized:
| Ingredient | Quantity | Notes |
| Gluten-free flour blend | 2 ½ cups | Ensure it contains xanthan gum or add 1 tsp separately. |
| Baking powder | 1 tsp | Helps achieve a light, soft texture. |
| Salt | ¼ tsp | Balances the sweetness and enhances flavor. |
| Unsalted butter | 1 cup (softened) | Substitute with vegan butter for dairy-free options. |
| Sugar | 1 cup | Granulated sugar is recommended for the best consistency. |
| Egg | 1 large | Acts as a binder; substitute with a flax egg for vegan alternatives. |
| Vanilla extract | 2 tsp | Use pure vanilla for the best flavor. |
Ingredient Insights
Each ingredient plays a critical role:
- Gluten-free flour blend: Provides the structure. Look for one with a mix of rice flour, potato starch, and tapioca starch for a balanced texture.
- Butter: enhances the richness and contributes to a soft, tender crumb.
- Egg: Acts as a binder, ensuring the dough holds together.
- Vanilla extract: Enhances the flavor and adds a warm, sweet aroma.
Step-by-Step: How to Make Gluten-Free Sugar Cookies
Making gluten-free sugar cookies requires a bit of care and attention, but the process is straightforward if you follow these steps carefully.

Step 1: Prepare Your Workspace
Before you begin mixing, take a few minutes to set up your space:
- Preheat your oven to 350°F (175°C). A consistent oven temperature is key for evenly baked cookies.
- Cover your baking sheets with parchment paper or silicone mats for easy cleanup and nonstick baking. This prevents sticking and ensures the cookies bake evenly.
- Gather your tools: measuring cups, a rolling pin, mixing bowls, cookie cutters, and a cooling rack.
Taking time to organize beforehand makes the entire process smoother and more enjoyable.
Step 2: Mix the Dry Ingredients
In a medium-sized bowl:
- Scoop out 2 ½ cups of gluten-free flour blend. Make sure your blend includes xanthan gum; if not, add 1 teaspoon to the mix.
- Add 1 teaspoon of baking powder, which helps the cookies rise slightly and stay soft.
- Sprinkle in ¼ teaspoon of salt to balance the sweetness.
- Whisk everything together thoroughly. This ensures the ingredients are evenly distributed, which is essential for a consistent dough.
Step 3: Cream the Butter and Sugar
- In a large mixing bowl, combine 1 cup of softened butter and 1 cup of granulated sugar.
- The butter should be soft but not melted. Too soft, and your dough may become greasy. Too hard, and it won’t cream properly.
- Using an electric mixer, beat the butter and sugar on medium speed for 2-3 minutes.
- The mixture should become pale and fluffy. This step is crucial—it incorporates air, which gives your cookies a light, tender texture.
- Halfway through mixing, use a spatula to scrape down the sides of the bowl to make sure all ingredients are fully blended.
Step 4: Add the Wet Ingredients
- Crack 1 large egg into the butter-sugar mixture. If you’re making a vegan version, substitute with a flax egg (1 tablespoon of ground flaxseed mixed with 3 tablespoons of water, left to sit for 5 minutes).
- Add 2 teaspoons of vanilla extract. This is where the cookies get their signature flavor, so don’t skimp on quality!
- Stir the mixture once more until the egg and vanilla are completely blended in. The mixture should be smooth and creamy.
Step 5: Combine Wet and Dry Ingredients
- Slowly incorporate the dry ingredients into the wet mixture, mixing as you go. Add about ½ cup at a time to avoid overwhelming your mixer.
- Start mixing on low speed to prevent flour from flying out of the bowl.
- As the dough begins to come together, switch to mixing by hand or with a sturdy spatula. Overmixing can make the cookies tough, so stop as soon as everything is combined.
The dough should feel soft and pliable, with a slight tackiness, but it shouldn’t be overly sticky. If the dough is too sticky to work with, gradually add more gluten-free flour, one tablespoon at a time, until it reaches the right consistency.
Step 6: Chill the Dough
- Securely wrap the dough in plastic wrap or store it in an airtight container to keep it fresh.
- Refrigerate for a minimum of 30 minutes to allow it to chill properly.
- Chilling the dough helps it firm up, making it easier to roll and cut. It also minimizes spreading during baking, ensuring well-shaped cookies.
Pro Tip: For extra convenience, you can prepare the dough up to 3 days in advance or freeze it for up to 2 months.
Step 7: Roll and Cut the Dough
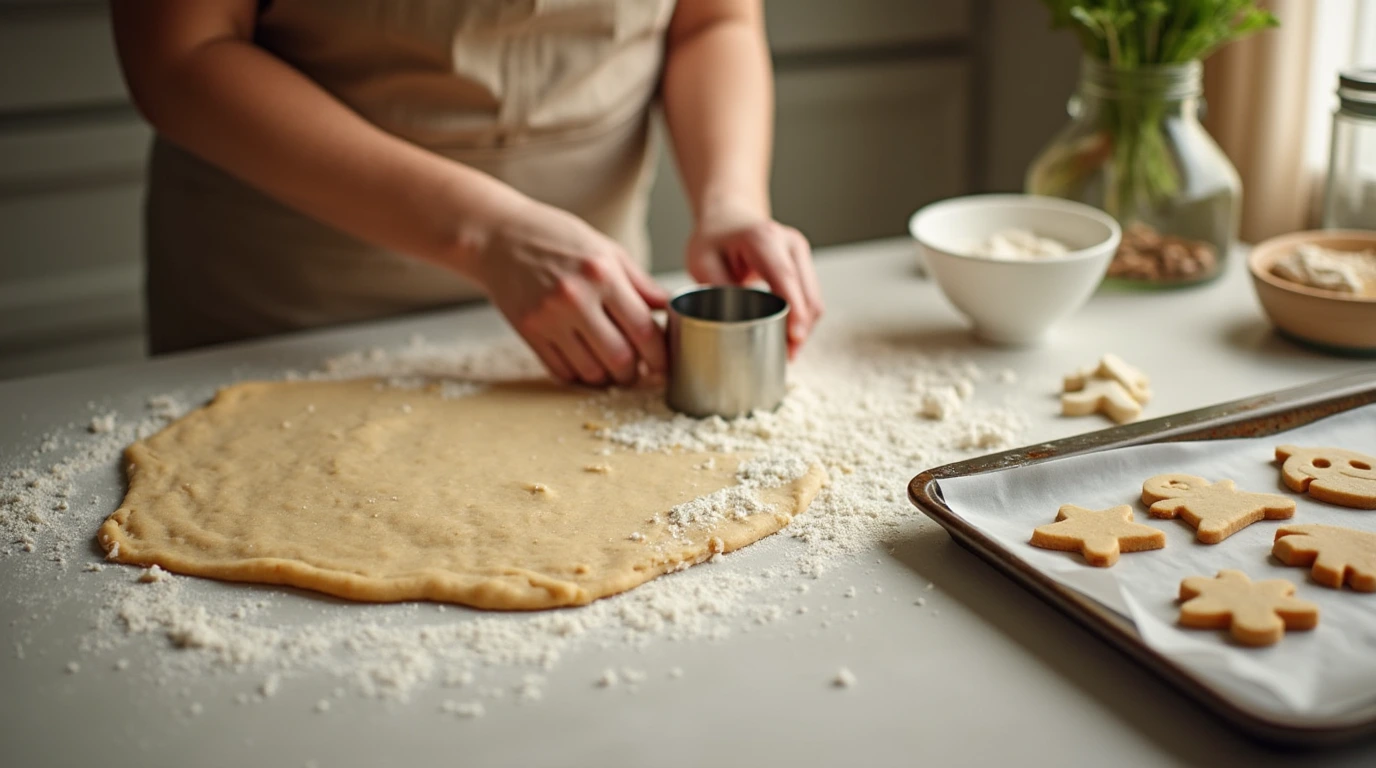
- Lightly flour your work surface with gluten-free flour. This helps keep the dough from sticking as you roll it out.
- Roll the chilled dough to approximately ¼ inch thickness for even baking. Use a rolling pin with thickness guides for consistent results.
- Use cookie cutters to create your desired shapes. Press down firmly and lift carefully to ensure the edges remain neat and defined.
Step 8: Arrange on Baking Sheets
- Place the cut-out cookies on your prepared baking sheets, leaving at least 1 inch of space between them.
- If you’re reusing the same baking sheet for multiple batches, let it cool completely before adding new cookies. Warm baking sheets can lead to the dough spreading too much.
Step 9: Bake the Cookies
- Bake in the preheated oven for 8-10 minutes.
- Keep a close eye on them. The edges should just start to turn golden, but the centers should remain pale.
- Turn the baking sheet halfway through the baking time to ensure even cooking.
Remember, gluten-free cookies often look underdone when they’re actually ready. Don’t overbake—they’ll firm up as they cool.
Step 10: Cool Completely
- Let the cookies rest on the baking sheet for approximately 5 minutes before moving them. They’re fragile when hot, so moving them too soon can cause them to break.
- Move the cookies to a wire rack to cool fully and maintain their crisp texture. This step ensures they stay crisp on the outside and soft on the inside.
Tips and Tricks for Perfect Gluten-Free Cookies

Troubleshooting Sticky Dough
- If the dough feels too sticky to roll, chill it longer. You can also knead in a bit more gluten-free flour until it’s easier to handle.
Preventing Spreading
- Ensure your dough is cold before baking. If it starts to warm up while you’re rolling and cutting, return it to the fridge for 10-15 minutes.
Achieving Even Shapes
- Use a sharp-edged cookie cutter and flour it lightly between cuts to avoid sticking.
Decorating Ideas for Every Occasion
Creative Themes
- Christmas: Use royal icing and sprinkles for festive designs.
- Birthdays: Customize with names or numbers using food-safe pens.
- Weddings: Opt for delicate floral patterns in pastel colors.

Frequently Asked Questions (FAQ)
Can I make these cookies dairy-free?
Yes! Swap the butter for a plant-based alternative like vegan butter or coconut oil.
How do I store gluten-free sugar cookies?
Store in an airtight container at room temperature for up to 5 days or freeze undecorated cookies for up to 3 months.
Can I freeze the dough?
Definitely. Wrap it securely in plastic wrap and freeze for up to two months. Thaw in the fridge overnight before using.
Conclusion
This gluten-free sugar cookie recipe is your ticket to delicious, foolproof treats that everyone will enjoy. With its buttery flavor, soft texture, and adaptability, it’s perfect for any occasion.
So gather your ingredients, let your creativity shine, and create memories with every batch. Don’t forget to share your creations and let others experience the joy of these cookies. Happy baking!


