Looking for a quick and easy gluten-free breakfast? This recipe is perfect! It’s a great choice for those who love homemade bagels but can’t find good gluten-free ones in stores. In just about 40 minutes, you can make 8 delicious bagels that are both tasty and healthy.
By making this gluten-free bagel recipe at home, you can choose what goes into them. This lets you make them just the way you like. Let’s explore gluten-free baking and make something amazing together!
Key Takeaways
- This gluten free bagel recipe takes approximately 40 minutes from start to finish.
- The recipe yields 8 bagels, perfect for a satisfying breakfast or snack.
- Using 3 ½ cups of gluten-free bread flour blend ensures a great texture.
- Boiling the bagels for 45 seconds creates that classic chewy exterior.
- These homemade bagels are a healthier option for gluten-free diets.
Why Choose Gluten-Free Bagels?
Many people choose gluten-free bagels, mainly those with gluten sensitivities or celiac disease. Gluten-free products now make up about 30% of the U.S. bread market. This shows how much people want these options.
Going gluten-free can lead to better health and more food choices. It’s a great way to explore new tastes and recipes.
Embracing a Gluten-Free Lifestyle
About 1 in 100 people worldwide have celiac disease, needing a gluten-free diet. In the U.S., 18 million people have non-celiac gluten sensitivity. This makes gluten-free baking very popular.
By making my own gluten-free bagels, I can eat what I want without losing flavor or texture. It’s all about finding the right ingredients and quality.
Benefits of Homemade Gluten-Free Bagels
Making gluten-free bagels lets me pick my ingredients and control the quality. This way, I get a healthier breakfast. Homemade bagels taste fresher and are made with better ingredients.
Each bagel has about 135 calories, which is good for my daily diet. They also have 7 grams of protein and fiber, making them a nutritious start to the day.
But it’s not just about health. Making gluten-free bagels is also fun and creative. I get to try new flavors and recipes. Whether plain or with spreads, they’re a tasty, guilt-free choice.
What Makes This Gluten-Free Bagel Recipe Special?
This gluten-free bagel recipe is special because it’s easy and quick. It’s perfect for those who want a tasty gluten-free breakfast. The recipe is unique because it doesn’t require rising the dough. Instead, it uses the oven to make the bagels light and fluffy.
The Delight of No Rise Necessary
Waiting for dough to rise can be a challenge. This recipe skips that step, saving you time. You get a delicious bagel in just 30 minutes of prep and 20 minutes of cooking. It’s perfect for busy mornings when you need a warm breakfast fast.
Quick and Easy Preparation
This recipe is simple and easy to follow. It uses basic ingredients like gluten-free flour and water. You can make these tasty bagels in no time. The whole process is quick and doesn’t take hours in the kitchen.
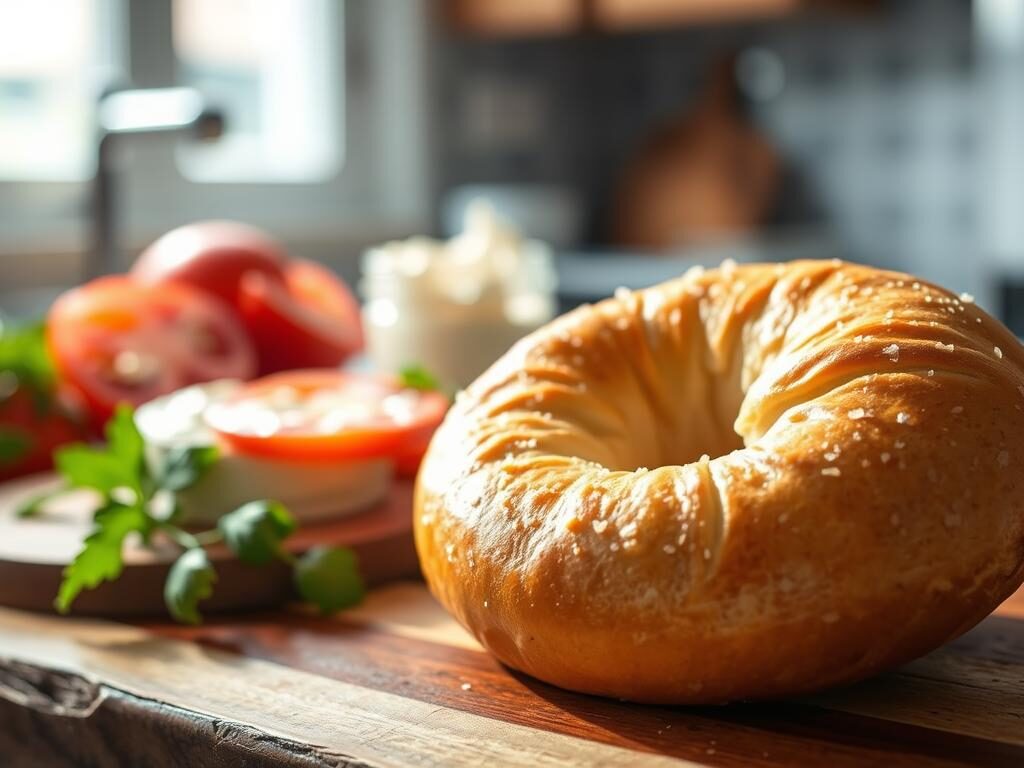
Essential Ingredients for Your Homemade Bagel
To make the perfect gluten-free bagels, knowing the key ingredients is important. Each part is vital for the right texture and taste. Here’s what you need for this gluten free bagel recipe.
Gluten-Free Bread Flour Explained
Gluten-free bread flour is essential for gluten-free recipes. It’s made to replace traditional wheat flour’s structure. It includes ingredients like whey protein isolate and modified tapioca starch. This flour makes the bagels rise well and stay chewy.
I suggest using 4 cups or 480 grams of gluten-free bread flour for the best results.
Importance of Yeast in Bagel Making
Yeast is key for the bagel’s taste and texture. It makes the dough rise, giving it a light, airy feel. For this recipe, you’ll need one (¼-ounce) package of active dry yeast, or about 2¼ teaspoons.
Let the dough rise for 60 to 90 minutes. This is important for getting the right consistency before shaping.
Substitutions and Variations for Dietary Needs
Dietary restrictions can be a challenge. If you’re sensitive to dairy or eggs, there are alternatives. You can use dairy-free yogurt instead of Greek yogurt. For egg wash, try ground flaxseed mixed with water or skip it.
This makes it possible for everyone to enjoy these tasty gluten-free bagels!
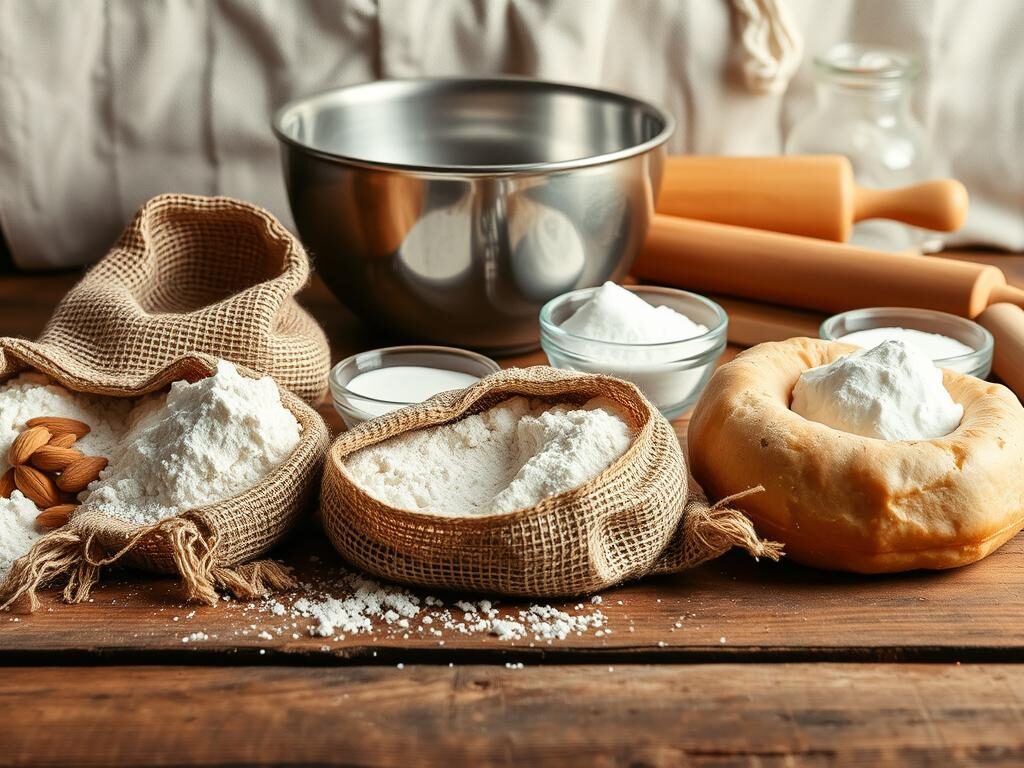
Step-by-Step Guide to Making Your Gluten-Free Bagels
Making homemade bagels is rewarding, thanks to easy recipes. Gluten-free bagels need simple steps for a tasty result. Follow these steps for a delicious gluten-free bagel that’s just as good as the real thing.
Mixing the Dough
First, get your ingredients ready: 2 cups of gluten-free flour, 2 tablespoons of brown sugar, 1 teaspoon of instant yeast, 1 teaspoon of sea salt, and 1 cup of warm milk at 110°F. If your flour lacks xanthan gum, add 1 teaspoon. Mix the dry ingredients well in a big bowl. Then, add the warm milk slowly until a dough forms.
Let the dough rise in a warm place for about 2 hours. It should get a bit puffy.
Shaping Your Bagels
Once the dough has risen, split it into 6 equal parts, each about 103g. Roll each part into a ball and make a hole in the middle, about 3/4″ to 1″ wide. This hole will close a bit when boiled. Let them rest for 45 to 60 minutes to keep their shape.
Boiling and Baking Perfect Bagels
Boiling the dough is key for a chewy bagel. Boil a large pot of water with 3 tablespoons of sugar and ¼ cup of baking soda. Bring it to a gentle boil. Boil each bagel for 60 seconds on each side.
Preheat your oven to 450°F. Place the boiled bagels on a baking sheet lined with parchment paper. Bake for 20 to 24 minutes until they’re golden brown. Enjoy your warm, fresh gluten-free bagel with your favorite toppings!
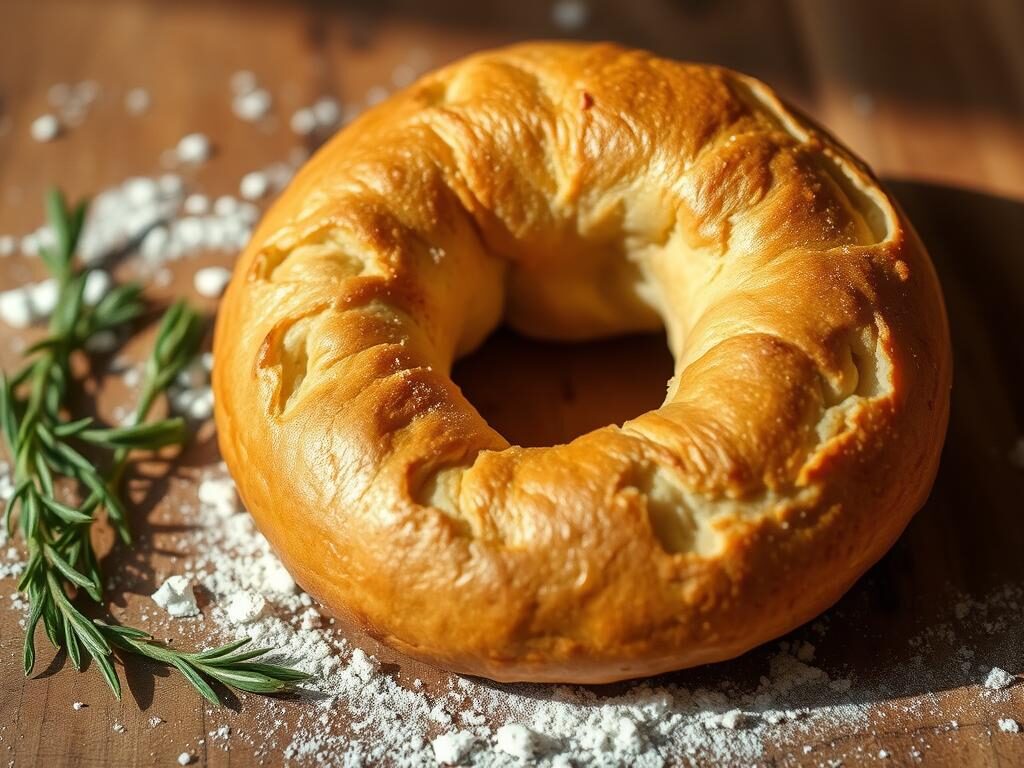
No Rise Gluten-Free Bagel Recipe
Making homemade bagels is fun and rewarding, thanks to this no rise gluten-free recipe. You get to enjoy tasty and fluffy bagels without waiting for yeast dough to rise. Here’s what you need and how to make six delicious gluten-free bagels.
Full Ingredient List
| Ingredient | Amount |
|---|---|
| White rice flour | 220 g (1 1/2 cups) |
| Sorghum flour | 80 g (1/2 cup) |
| Tapioca flour | 120 g (1 cup) |
| Psyllium husk powder | 15 g |
| Yeast | 7.5 g (1 sachet) |
| Fine salt | 1 – 1 1/2 teaspoons |
| Sugar | 1/2 tablespoon |
| Vegetable or plain oil | 1/4 cup (60 ml) |
| Boiling water | 150-165 g |
| Warm water | 1 – 1 1/4 cups (250-310 ml) |
Detailed Preparation Instructions
To make your gluten-free bagels, follow these easy steps:
- In a large bowl, mix together white rice flour, sorghum flour, tapioca flour, psyllium husk powder, yeast, fine salt, and sugar.
- In another container, mix vegetable oil with warm water. Slowly add this mix to the dry ingredients while stirring.
- Add boiling water to the mix and stir until a dough forms. Knead the dough for about five minutes until it’s smooth.
- Let the dough rest for 10-15 minutes while you preheat your oven to 375º F.
- Divide the dough into six parts and shape into bagels. Let them rest while you prepare the boiling water.
- Boil a large pot of water, adding baking soda for better browning. Boil each bagel for 20-30 seconds on each side.
- Put boiled bagels on a baking sheet lined with parchment paper. Bake for 20-25 minutes until golden and puffed.
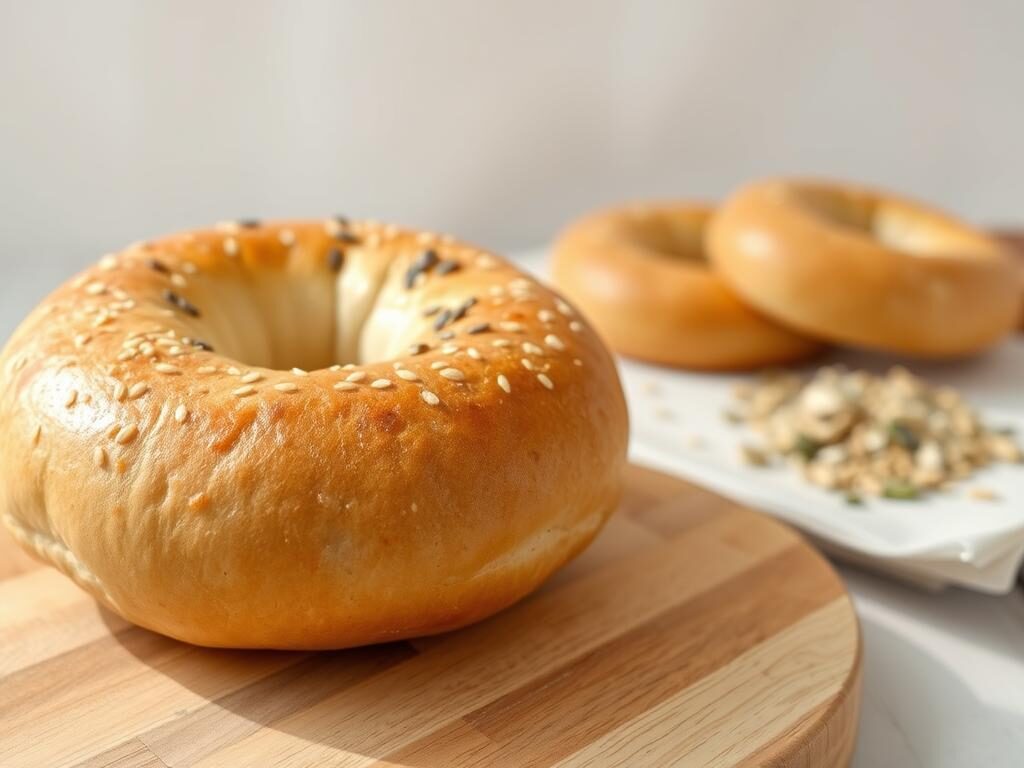
In about 40 minutes, you can enjoy your homemade bagel. Each bagel has around 216 kcal, perfect for a mindful breakfast. These bagels are best fresh but can be frozen to keep their taste. Feel free to experiment with flavors and toppings in this gluten-free baking journey!
Tips for Achieving the Perfect Bagel
Making the perfect gluten-free bagel recipe needs focus and a bit of baking know-how. I’ve collected some key tips to help your bagels be chewy and perfectly risen. With these tips, you can become a pro at making easy bagel recipes that are both tasty and fulfilling.
Understanding Oven Spring
Oven spring is when your bagels suddenly rise in the first few minutes of baking. It’s key for getting that chewy crust and airy inside. To get the most oven spring, preheat your oven to 450°F. Also, don’t open the oven door during the first few minutes of baking. This high heat turns the dough’s moisture into steam, letting the bagels expand right.
How to Ensure a Chewy Texture
Here are some ways to get a chewy bagel texture:
- Don’t overproof your bagels. Overproofing can make them deflate in the water bath. So, let the dough rise until it doubles, but not more.
- Use the “poke-and-stretch” method to shape your bagels. This method gives even tension across the surface. Or, try the “rope-shaping” method for a firmer chew.
- Adjust your boiling time for the texture you want. For chewier bagels, boil them for about 90 seconds on each side. For a thinner crust, boil for 45 seconds.
By using these tips in your gluten-free bagel recipes, you can improve your baking skills. Try different sweeteners and baking methods to get even closer to perfect bagels.
Variation Ideas for Your Bagels
Getting creative with gluten-free bagel recipes can turn a simple breakfast into something amazing. By adding unique flavors to the dough or using different toppings, I can make each batch special. Here’s how I like to mix things up with flavor and toppings.
Flavoring Your Bagels
Adding herbs or spices to the dough can make my gluten-free bagels taste even better. Here are some tasty variations I enjoy:
- Cinnamon Raisin Bagel: Mix in 1 to 2 teaspoons of ground cinnamon and ½ to ¾ cup of raisins.
- Salt Bagel: For a salty kick, I use coarse sea salt instead of Everything But the Bagel seasoning.
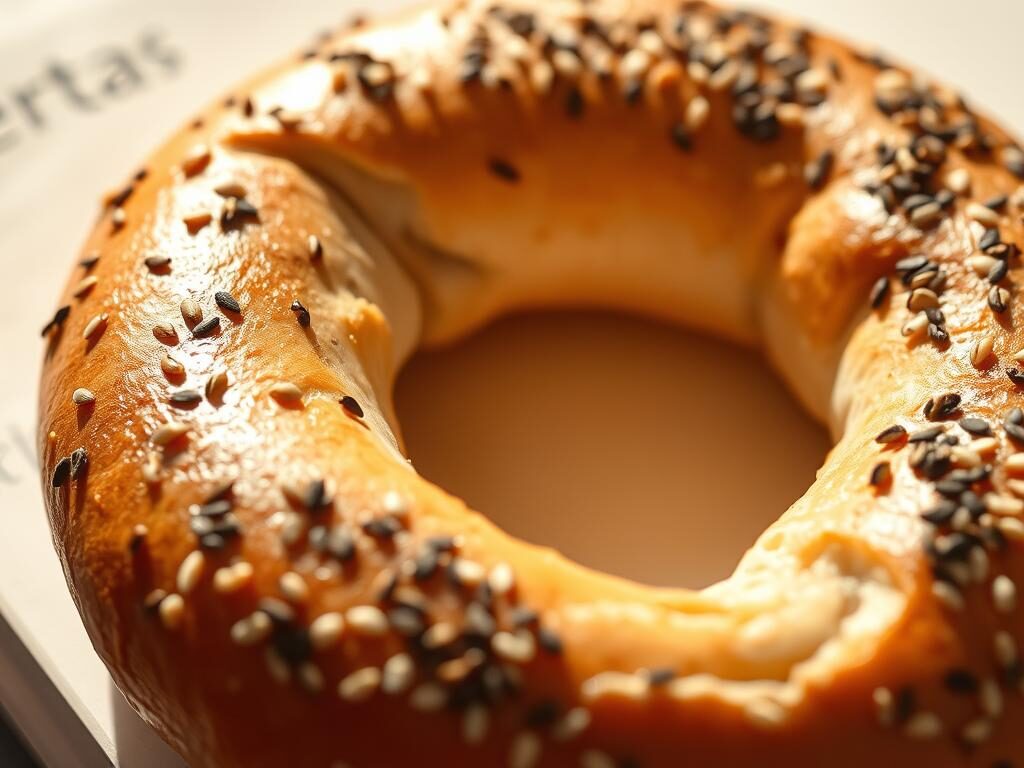
- Sesame Bagel: I substitute the seasoning with a mix of white and black sesame seeds for a nutty flavor.
- Poppyseed Bagel: Simple yet delicious, I use only poppyseeds as a substitute for the seasoning.
Creative Topping Combinations
Once my bagels are shaped, the fun doesn’t stop. The toppings can take them to another level. I enjoy trying out different toppings, including:
- Traditional Everything Bagel seasoning for a classic taste.
- Fresh herbs such as rosemary or thyme for an aromatic twist.
- Shredded cheese before baking for a cheesy crust.
- Summary of other spices like garlic powder or onion flakes to enhance flavor.
Storage and Reheating Instructions
After enjoying my delicious gluten-free bagels, I want to keep them fresh. Proper storage is key for taste and texture. Whether refrigerating or freezing, the right methods are essential for a great gluten-free baking experience.
How to Keep Your Bagels Fresh
Storing bagels in an airtight container is a game-changer. They stay fresh for up to three days in the fridge. This keeps them moist. If they get hard, a 25-30 second microwave blast softens them up again.
Best Practices for Freezing Gluten-Free Bagels
Freezing is the best way to store them for longer. I can freeze my bagels for up to four months. Just place them in a zipper bag, removing as much air as possible.
When I want one, I simply pull it out of the freezer. For the best taste, reheat in a toaster or oven. This way, I can enjoy gluten-free bagels whenever I want.
Serving Suggestions for a Delicious Breakfast
Gluten-free bagels open up a world of possibilities. They’re perfect for spreads or as the base for bagel sandwiches. Starting your day with a gluten-free breakfast has never been tastier or more versatile.
Pairing with Cream Cheese or Spreads
Pairing a bagel with cream cheese is a timeless choice. You can stick with traditional cream cheese or try flavors like chive or strawberry. For those who prefer dairy-free, there are plenty of options too. Here are some other great choices:
- Butter or a vegan margarine
- Hummus for a savory twist
- Pesto for a fresh and vibrant taste
- Nut butter such as almond or peanut for added protein
- Greek yogurt mixed with herbs for a tangy dip
Creating Bagel Sandwiches
Turn your gluten-free bagels into satisfying sandwiches. A healthy bagel recipe is perfect for many fillings. Here are some ideas:
- Scrambled eggs or egg alternatives for protein
- Fresh avocado slices for creaminess
- Smoked salmon and capers for a classic taste
- Turkey or ham with lettuce and tomato for a hearty lunch
- Vegetables, like cucumbers and sprouts, for a refreshing crunch
These ideas elevate my healthy bagel recipe. Feel free to experiment and find your favorite combinations!
Conclusion
Making gluten-free bagels at home is very rewarding. You get to enjoy fresh, tasty bagels and control what goes into them. This easy recipe guides you through each step, from choosing the right flour to baking.
With just a few ingredients and simple steps, you can make bagels without preservatives or extra sugars. This makes them better than store-bought ones.
Try this recipe, even if you’re new to baking. It’s quick, with a short rising time and fast baking. You can have a batch ready in under two hours!
Feel free to get creative with toppings like cream cheese, avocado, or smoked salmon. This homemade bagel journey will soon be a part of your mornings. So, get your ingredients ready and enjoy making these tasty gluten-free bagels in your kitchen!
FAQ
Can I make gluten-free bagels without special flours?
It’s possible, but I recommend gluten-free bread flour for the best texture. Regular flours won’t give you the same results.
How do I know if my bagels are cooked properly?
They should be golden-brown on the outside and firm to the touch. Tap the bottom—if it sounds hollow, they’re ready!
What can I add to the dough for extra flavor?
Try mixing in herbs like dill or rosemary, or spices like garlic powder and onion powder. Experiment to find your favorite flavor!
How long do homemade gluten-free bagels last?
They can last up to a week in the fridge in an airtight container. For longer storage, freeze them to keep them fresh for months.
Can I use dairy-free alternatives in the recipe?
Yes! Swap out dairy with options like almond milk or coconut yogurt. This makes the recipe safe for those with dairy sensitivities.
Is this bagel recipe suitable for individuals with celiac disease?
Absolutely! This recipe is designed for those with gluten sensitivities or celiac disease. It’s safe and delicious.
What’s the best way to reheat leftovers?
Microwaving is quick, but for better texture, use a toaster or oven. This keeps them chewy and fresh!
Can I make mini gluten-free bagels instead?
Yes, shape smaller dough portions into mini bagels. Just watch the boiling and baking time, as they cook faster.
Can I make these bagels ahead of time?
Definitely! Prepare the dough ahead, shape the bagels, and refrigerate them. Then, boil and bake for fresh bagels anytime!



1 thought on “Easy Gluten-Free Bagel Recipe for a Delicious Breakfast”
Comments are closed.